Safety first. The following information is for educational purposes. CNC machining involves high-speed rotating cutters. Always wear eye and ear protection, never leave a running machine unattended, and verify all feeds and speeds for your specific setup.
Rest machining is a CAM strategy that sends a smaller tool only to the material a larger tool left behind, instead of recutting the whole job. The CAM tracks the remaining stock — the “rest” — after your first operation and generates a path that visits just the corners, slots, and details the big cutter could not reach. Done right, it can cut a two-tool job’s runtime by 50% or more and keeps a small, fragile tool out of the full-width cuts that snap it. It is the step that makes a two-tool job fast instead of a small-tool job slow.
The idea matters because roughing tools are sized for speed, not detail. A 1/4 inch end mill clears a pocket quickly but leaves a 3.2 mm radius in every internal corner. Switching to a 1/8 inch tool and recutting the entire pocket to clean those corners wastes most of the runtime cutting air over ground already cleared. Rest machining is the smart middle step in the CAM toolpath mastery sequence, sitting between roughing and finishing.
How the CAM Knows What Is Left
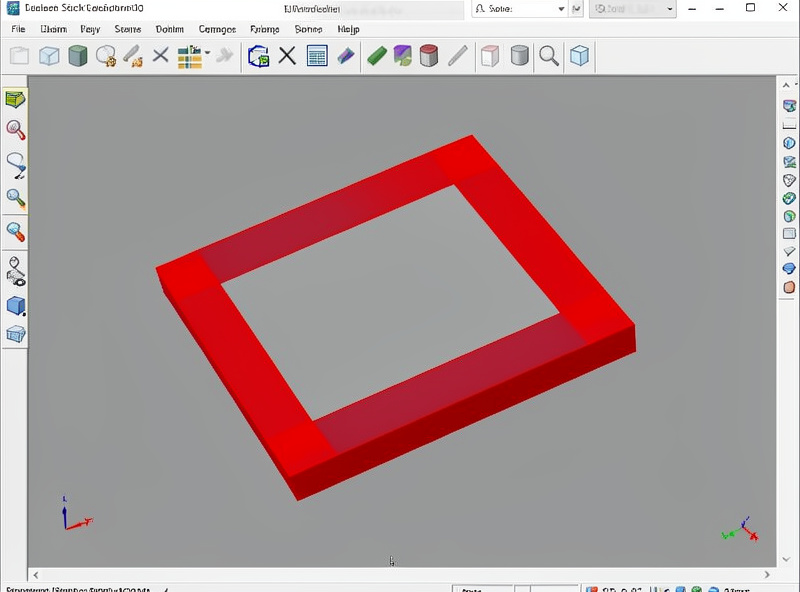
Rest machining depends on the CAM keeping a model of the stock as it is removed. After the first roughing operation, the software compares the part geometry to what the first tool actually cleared and identifies every region where leftover material remains. The second operation then targets only those regions. In Fusion 360 this is the “rest machining” checkbox on a 2D or 3D clearing path; in other CAM it may be called “rest roughing,” “remachining,” or driven by a reference tool you name.
The cleanest way to set it up is the reference-tool method: you tell the second operation which tool ran first, and it assumes everything that tool could reach is gone. That is faster to compute than full stock simulation and accurate enough for almost all hobby work. Either way, the result is the same — the small tool only goes where it is needed, which is the whole point. The stock model is also what drives good simulation, covered in the complete CNC workflow.
The Two-Tool Workflow
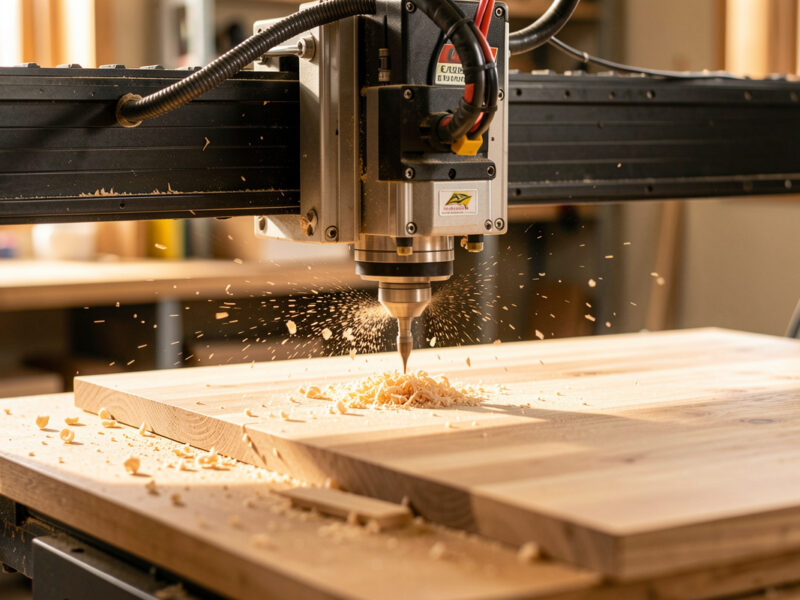
My standard rest-machining workflow is a large tool followed by a small one. Rough the whole job with the biggest end mill that fits the smallest feature you do not mind rounding — usually a 1/4 inch in wood. Then run a rest operation with a 1/8 inch or smaller tool that visits only the leftover corners and narrow areas. Because the small tool takes a light, partial cut rather than plowing a full slot, it survives, and the corners come out sharp.
The settings for the rest pass matter. The small tool is fragile, so I drop the step-down and keep the feed conservative — it is removing a sliver, not roughing. I also let the rest path overlap slightly into already-cleared material so there is no witness line where the two tools meet. The tool sequencing follows the same rule as everywhere else: group by tool, minimize changes, and re-zero carefully after each swap. Tool selection is in the end mills guide.
Rest Machining for 3D Surfaces
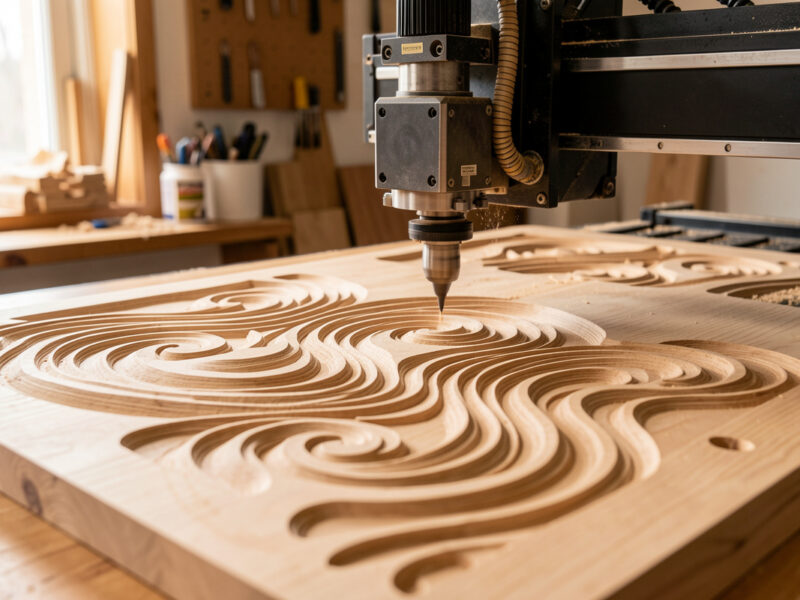
Rest machining is not just for flat pockets — it is essential on 3D work. When you rough a 3D part with a big end mill and finish with a ball-nose, the ball-nose may still leave material in tight valleys and steep corners it cannot fit into. A 3D rest finish (sometimes called pencil tracing or a steep-and-shallow combination) sends a smaller ball-nose only into those untouched regions. This keeps the bulk of the long 3D finishing pass on the big tool and reserves the slow small-tool work for the few square centimeters that actually need it.
On the machines I run, a 3D rough with a 1/4 inch flat, a 3D finish with a 6 mm ball-nose, then a rest finish with a 3 mm ball-nose is a reliable recipe for carved signs and contoured parts. The rest pass is short because it only handles the detail. The broader 3D strategy choice between parallel and scallop is in the 3D parallel and scallop guide, and the tooling in the ball-nose end mill guide.
Common Mistakes That Cost Tools
The first mistake is skipping the reference tool, so the CAM assumes the stock is full and the “rest” pass plows full-width slots with a tiny cutter — instant breakage. Always tell the rest operation what came before it. The second is making the corner radius mismatch impossible to fix: if your design has a 1 mm internal corner and your smallest tool is 1/8 inch (3.2 mm), no amount of rest machining will reach it, because a round tool cannot cut a corner sharper than its own radius. Design with a corner radius your smallest tool can produce, or add a relief cut.
The third mistake is running the rest pass too aggressively because “it is only cleaning up.” It is still cutting metal or hardwood with a fragile tool, so feeds and depths should respect that. I treat the rest tool with more caution than the rougher, not less. Getting these wrong is a common source of broken bits, covered alongside other failure modes in the troubleshooting guide.
When You Can Skip It
Rest machining is not always needed. If your part has no internal corners tighter than your roughing tool, or the rounded corners are cosmetically and functionally fine, skip it and save a tool change. Plenty of bracket and panel jobs round their corners by design precisely so one tool does everything. The decision is the same total-cost thinking that runs through all of CAM: is the extra operation worth the time and the tool risk for this specific part. Often it is; sometimes it is not.
What Rest Machining Actually Saved on One Job
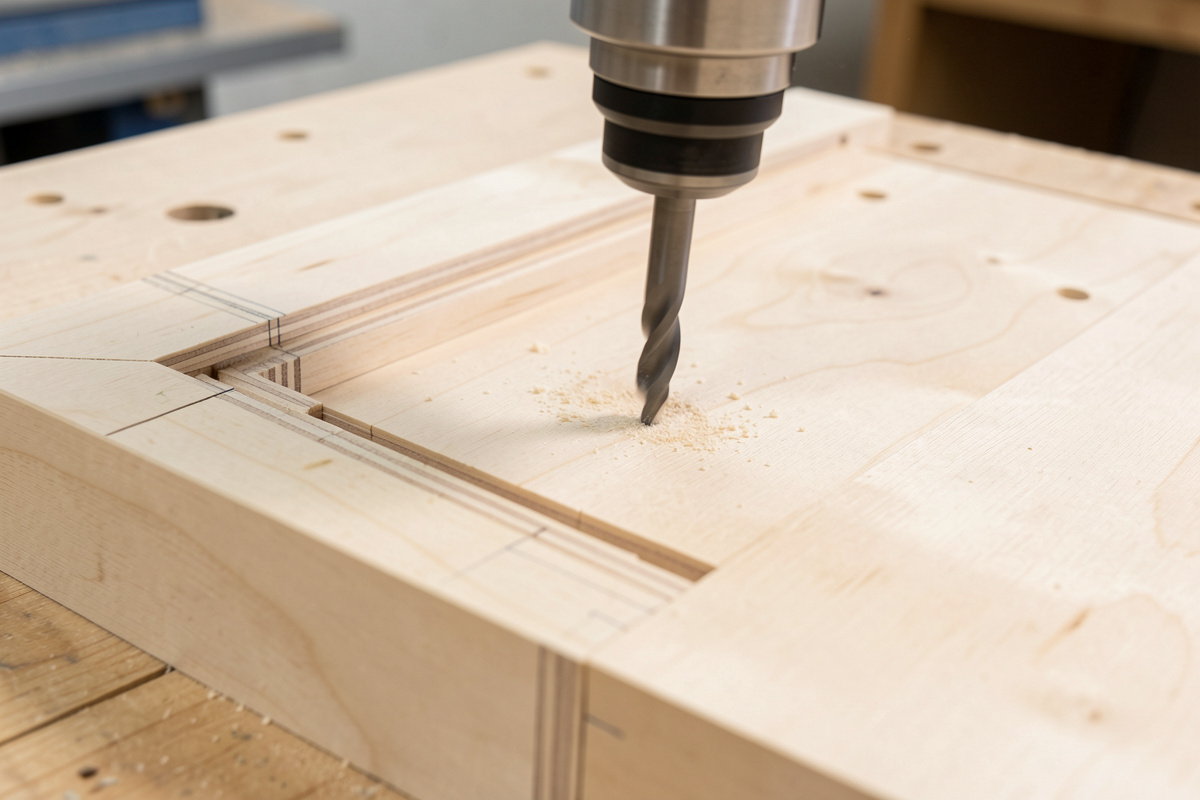
Numbers make the case better than theory. I cut a run of control-panel faceplates in 12 mm hardwood — a big rectangular pocket with eight small cutouts and tight 2 mm internal corners. Roughing the whole thing with a 1/8 inch tool so the corners came out sharp would have run close to fifty minutes per plate, most of it the little cutter inching through full-width stock, and it snapped a bit halfway through the first one.
Instead I roughed with a 1/4 inch single-flute in about twelve minutes, then ran a rest pass with the 1/8 inch tool referenced to the 1/4 inch. The rest pass touched only the corners and the narrow webs and finished in under four minutes, with no broken bit because it never saw a full slot. Sixteen minutes against fifty, and the small tool lived — that is the whole argument for rest machining in a single job.
The one thing I would tell my earlier self: set the rest tool stepover small. The first time I tried this I left the stepover at the roughing value, and the 1/8 inch tool grabbed in a corner and deflected enough to leave a visible step in the wall. Dropping it to roughly a third of the tool diameter cured it and barely cost time, because the rest pass is short anyway. Now a small rest stepover lives in my default template for any two-tool job, right beside the reference-tool setting — the two changes that turn rest machining from a bit-breaker into the most reliable time-saver in the whole CAM sequence.
Frequently Asked Questions
What is rest machining in CNC?
Rest machining is a CAM strategy that sends a smaller tool only to the material a larger tool left behind, such as internal corners and narrow slots. The software tracks the remaining stock after the first operation and cuts only those regions, saving time and protecting the small tool from full-width cuts.
How does the CAM know where the leftover material is?
It keeps a model of the stock and compares the part geometry to what the first tool cleared, or it uses a reference tool you name. The reference-tool method assumes everything the first tool could reach is gone, which is faster to compute and accurate enough for nearly all hobby work.
Why did my small rest-machining tool break?
Usually because no reference tool was set, so the CAM assumed full stock and the small cutter plowed full-width slots. Always tell the rest operation which tool ran first. Also keep the rest pass conservative on feed and depth, since it is still cutting with a fragile tool, not just dusting.
Can rest machining cut sharper corners than my tool radius?
No. A round tool cannot produce an internal corner sharper than its own radius. If your design needs a 1 mm corner and your smallest tool is 3.2 mm, no rest pass will reach it. Design corners to match your smallest tool, or add a relief cut to clear the corner.
Do I need rest machining on every job?
No. If the part has no corners tighter than your roughing tool, or the rounded corners are fine functionally and cosmetically, skip it and save a tool change. Many bracket and panel parts are designed with rounded corners specifically so a single tool finishes the whole job.