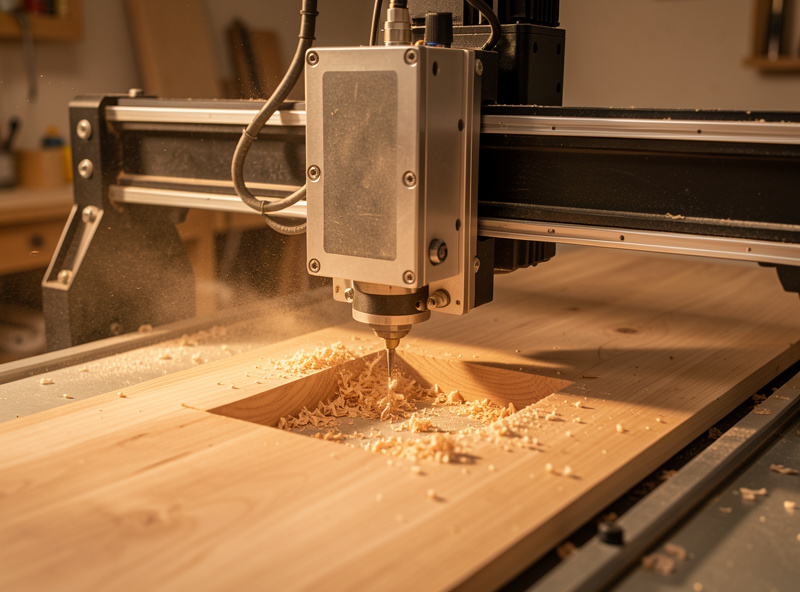
Safety first. The following information is for educational purposes. CNC machining involves high-speed rotating cutters. Always wear eye and ear protection, never leave a running machine unattended, and verify all feeds and speeds for your specific setup.
CNC control software is the layer that turns your G-code into motor pulses: the firmware running on the controller, the G-code sender on your computer, and the settings that tie them together. Get this layer right and a cheap machine cuts clean; get it wrong and a $5,000 machine loses steps. It is not the same thing as CAM.
I run a Shapeoko Pro as my daily driver with a Genmitsu PROVerXL and a 3018-PROVer on the budget end of the bench, plus an Onefinity that deliberately breaks the GRBL mold. Across those machines I have flashed firmware, swapped senders, and rebuilt $-settings from scratch more times than I can count. Almost every “my machine won’t cut right” problem I have ever chased lived in this control layer, not in the toolpath. This guide is the map of that layer, and it points to the deep-dive spoke for each piece.
CAM Is Not Control Software: The Distinction That Saves Hours
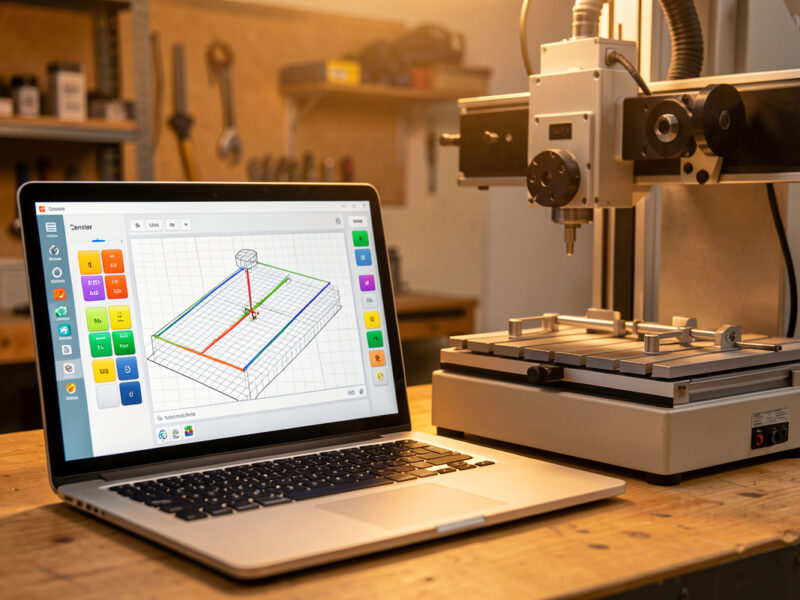
CAM software (Fusion 360, VCarve, Carbide Create) designs toolpaths and exports G-code. Control software runs that G-code on the machine. They are two separate jobs, and confusing them is the most common beginner trap I see.
Your CAM program never talks to the stepper motors. It hands off a text file of G-code through a post-processor matched to your controller. From there, three things in the control layer take over: the firmware (the program burned onto the controller board), the sender (the application on your laptop that streams G-code line by line), and the settings (the $-parameters that tell the firmware how your specific machine is built). If you want the design side, that lives in my CNC CAM software comparison and the Fusion 360 for hobby CNC guide. Everything below is downstream of the exported file.
The Three Layers Nobody Separates
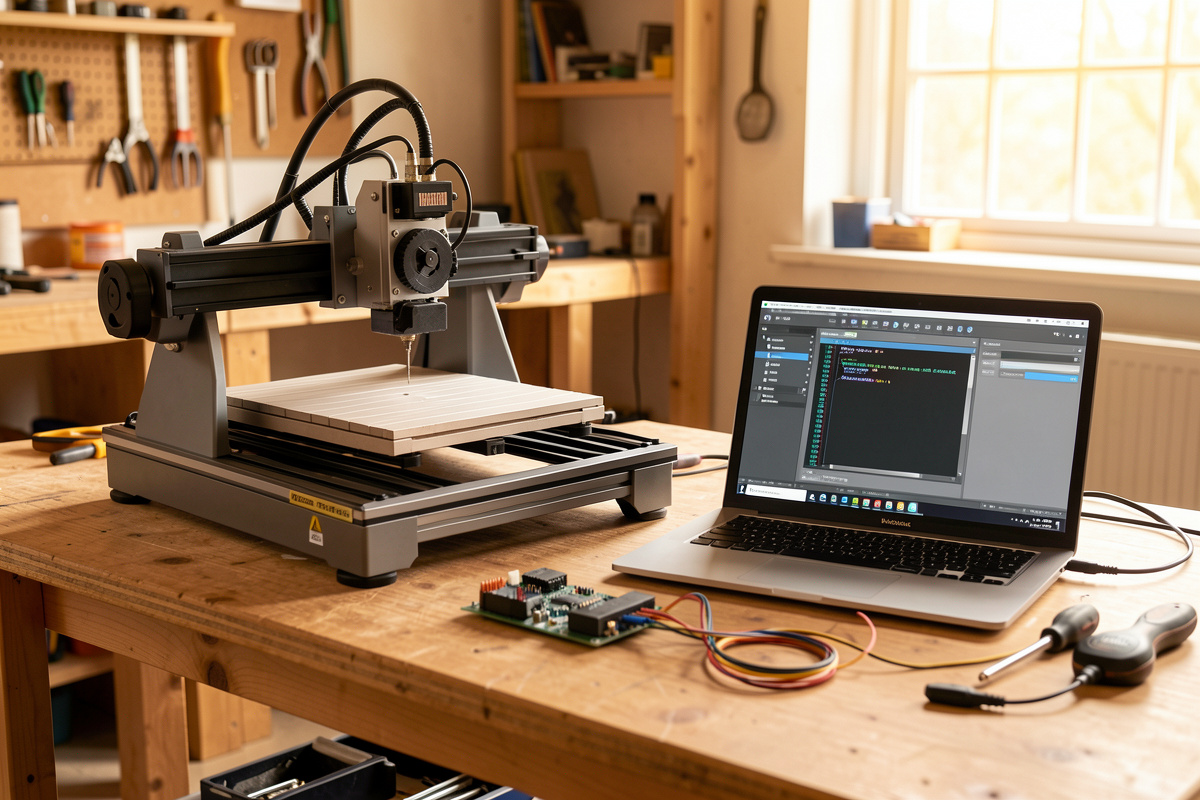
Think of control software as a stack. Firmware sits on the controller and does the real-time math: turning G-code coordinates into timed step pulses while respecting acceleration limits. The sender lives on your PC and feeds the firmware one line at a time over USB, showing you position, letting you jog, and running probing routines. The settings are the bridge — the numbers that describe your gantry to the firmware so its math comes out right.
When people say “GRBL,” they usually mean all three at once, and that imprecision causes real trouble. GRBL is the firmware. gSender, UGS, and Carbide Motion are senders that talk to GRBL. The $100 through $132 numbers are GRBL settings. Knowing which layer a problem lives in is half the fix — a jog that chatters is usually acceleration ($120), a part that comes out 2% undersized is steps-per-mm ($100), and a machine that won’t connect at all is almost always the sender or the USB driver, not the firmware.
Firmware: What Actually Runs on the Controller
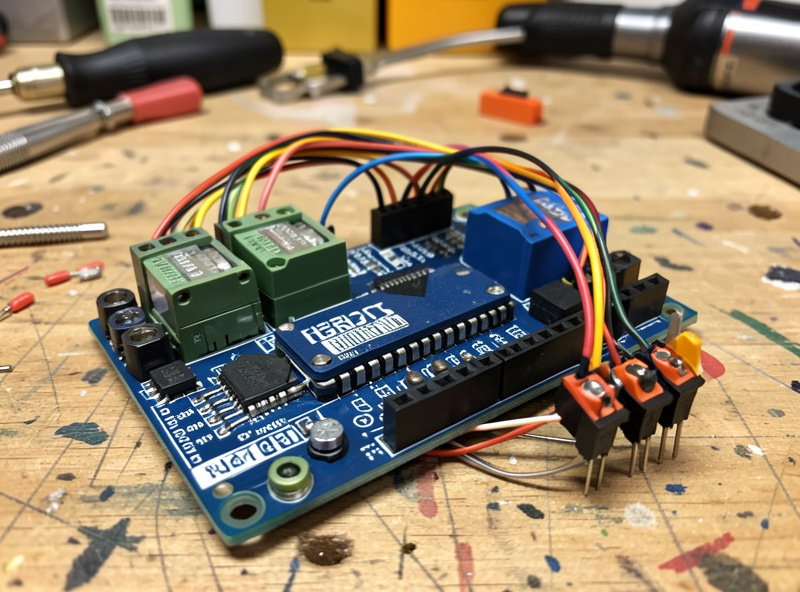
Firmware is the brain. On most hobby machines it is GRBL, an open-source motion controller originally written to run on an 8-bit Arduino. GRBL 1.1 is still the workhorse: it fits on an ATmega328, parses G-code, plans acceleration, and pulses up to three (or with builds, more) axes. Its limits are the 8-bit hardware — limited lookahead buffer, no spindle closed-loop, and three or four axes max.
The modern branches solve those limits by moving to 32-bit chips. grblHAL runs GRBL’s logic on Teensy, STM32, and similar boards with far more lookahead and more axes. FluidNC runs on the ESP32, adds WiFi and a web UI, and configures from a text file instead of a fixed register map. Marlin appears on some converted 3D-printer-style controllers. Two of my machines are deliberately not GRBL at all: the Onefinity uses a Buildbotics-derived controller with its own touchscreen firmware, and the Shapeoko runs Carbide 3D’s own GRBL fork tuned for Carbide Motion. Knowing which firmware you actually have decides everything downstream — which sender connects, which settings exist, and how you flash an update. I cover that whole process in the flashing CNC firmware guide.
G-code Senders: The Program on Your Computer
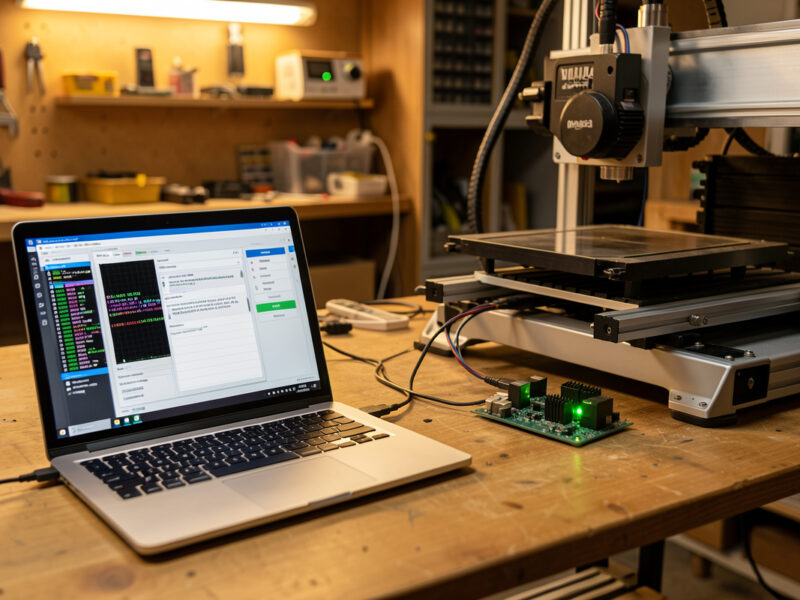
The sender is the application you stare at while the machine cuts. It opens the G-code file, streams it to the firmware over USB, shows machine position, and gives you jog buttons, zeroing, probing, and feed-rate overrides. A good sender makes a mediocre machine pleasant; a bad one makes you crash.
The three I reach for most are gSender (Sienci Labs — clean, modern, free, brilliant probing widget), UGS (Universal Gcode Sender — the old reliable, ugly but bulletproof and cross-platform), and Carbide Motion (Carbide 3D — locked to Shapeoko/Nomad but dead simple). There are others worth knowing: CNCjs runs in a browser and is great on a Raspberry Pi, and bCNC is the power-user’s pendant. Here is how the mainstream three stack up on my bench.
| Sender | Best for | Firmware | Probing | Cost |
|---|---|---|---|---|
| gSender | Most hobby GRBL machines | GRBL, grblHAL | Excellent built-in widget | Free |
| UGS | Tinkerers, any platform | GRBL, grblHAL, TinyG | Manual / macro | Free |
| Carbide Motion | Shapeoko / Nomad owners | Carbide 3D GRBL fork | BitSetter / BitZero | Free |
| CNCjs | Raspberry Pi / headless | GRBL, Smoothie, TinyG | Macro-driven | Free |
I run gSender on the Genmitsu machines and Carbide Motion on the Shapeoko, and I keep UGS installed as a diagnostic tool because it shows the raw firmware chatter when something is wrong. If you are choosing, the full head-to-head — including how each handles a mid-cut feed hold and a USB disconnect — is in gSender vs UGS vs Carbide Motion.
GRBL $ Settings: The Numbers That Decide Whether It Cuts
Type $$ into your sender’s console and GRBL prints its entire configuration — roughly 35 numbered parameters that describe your machine. These are the single most misunderstood thing in hobby CNC, and they are also where most cut-quality problems get fixed. A factory machine ships with a generic profile; dialing it to your actual hardware is what separates a machine that loses steps from one that doesn’t.
The ones you will touch most: $100/$101/$102 are steps-per-mm for X/Y/Z (the calibration that controls dimensional accuracy), $110/$111/$112 are max rate in mm/min, $120/$121/$122 are acceleration in mm/sec² (the setting that causes lost steps when it is too high), and $130/$131/$132 are max travel. Then there are the behavior flags: $20 soft limits, $21 hard limits, $22 homing enable, and the invert masks $2/$3/$5/$6 that fix backwards motors and stuck switches. I would not change a single one without understanding what it does — the complete walkthrough is in tuning GRBL $ settings, and the first-time setup from a blank board is in the GRBL setup and configuration guide.
Homing, Limit Switches, and Soft Limits
Homing is the controller establishing a repeatable machine origin by driving each axis into a limit switch on startup. Once a machine homes reliably, you get two gifts: tool changes that return to the exact same coordinate, and soft limits that stop a job before it slams the gantry into a hard stop. It is the cheapest reliability upgrade in the hobby.
The settings side is what trips people up. $22=1 enables the homing cycle, $23 sets which direction each axis seeks, $24 and $25 set the feed and seek speeds, and $27 sets the pull-off distance so the switch releases after triggering. Soft limits ($20=1) only work once homing is enabled and your $130-$132 travel numbers are correct. If your switch never triggers, or triggers constantly, that is the $5 limit-pin invert mask — a software fix, not a wiring one. The full configuration sequence is in CNC homing and limit switch setup; if you are adding the switches as hardware, pair it with my limit switches and homing upgrade on the wiring side.
Probing and Touch Plates: Telling the Controller Where Zero Is
Probing is how you set work zero precisely instead of eyeballing it. A touch plate is a conductive block; the controller jogs the tool down until it completes a circuit, then it knows exactly where the material surface is. The G-code behind it is G38.2 — probe toward the workpiece and stop on contact — wrapped in a macro that subtracts the plate thickness and sets the zero.
This lives squarely in the control layer because the sender runs the routine and the firmware needs $6 (probe pin invert) set correctly or the probe triggers the instant you start. gSender’s probing widget handles XYZ and corner probing out of the box; UGS needs a macro. Tool-length probing — re-zeroing Z after a bit change — is the same mechanism and the thing that makes multi-tool jobs sane. The complete setup, including the macro math and why a misread plate thickness ruins a cut, is in the touch plate and tool probing guide, and the hardware side is in CNC touch probe and touch plate.
Squaring and Steps-Per-Mm Calibration in Firmware
A machine can home perfectly and still cut a part 1.5 mm out of square or 2% undersized, because mechanical alignment and firmware calibration are different problems. The firmware side is two things: getting $100-$102 steps-per-mm dead accurate so commanded distance equals actual distance, and — on dual-motor gantries — getting both motors to home square.
Steps-per-mm calibration is a measure-and-correct loop: command a 100 mm move, measure what you actually got with calipers, and recompute with new = (current × commanded) / actual. True auto-squaring of a ganged Y axis needs dual endstops and firmware that homes each motor independently — grblHAL and FluidNC support it; classic 8-bit GRBL generally does not, which is why a Shapeoko squares mechanically and an Onefinity handles it differently. The firmware-side walkthrough is in squaring and calibrating your CNC router. For the purely mechanical side — tramming the spindle, shimming the gantry — see squaring and tramming a desktop CNC router and the broader CNC router calibration steps.
Flashing and Updating Firmware: When and Why
You flash firmware when you change controller boards, switch from classic GRBL to grblHAL or FluidNC for more features, or recover a board with corrupted settings. It is not something you do casually — a bad flash bricks a board until you re-flash it — but it is also not the dark art people fear.
The method depends on the chip. Classic GRBL on an Arduino flashes a .hex with XLoader or compiles from the Arduino IDE. FluidNC on an ESP32 uses a web installer over USB. grblHAL on a 32-bit board often drag-and-drops a firmware file onto a USB drive the board exposes. The critical habit either way: back up your $$ settings to a text file first, because a flash usually wipes them to defaults and you do not want to recalibrate from scratch. The full process per chip is in the flashing CNC firmware guide.
Offline Controllers vs Computer-Tethered Senders
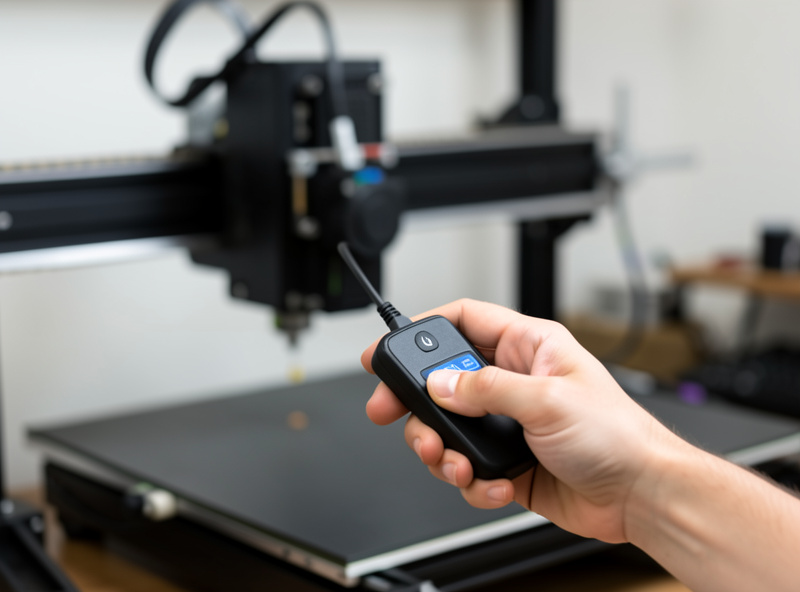
Not every machine streams from a laptop. Many budget machines ship with an offline controller — a small handheld screen with a jog wheel and an SD-card slot — and the Onefinity runs a full touchscreen. The tradeoff is real and worth understanding before you decide where to run your jobs from.
An offline controller frees up your computer and isolates the cut from a flaky USB connection, which matters in a noisy shop with a VFD spindle nearby. The cost is convenience: probing routines, feed-rate overrides, and live position visualization are usually crippled or absent compared with gSender on a real screen. On my Genmitsu machines I keep the offline controller plugged in as a backup but run real jobs from gSender, because the probing and override controls are worth the USB tether. The exception is a long single-tool job in a dusty corner — then the SD-card-and-offline route is genuinely the safer call. Either way, the firmware underneath is the same GRBL; the offline screen is just another sender talking to it.
USB, Drivers, and the Connection That Fails First
The most common “my machine went crazy mid-cut” story is not a firmware bug or a CAM error — it is the USB connection dropping or getting corrupted by electrical noise. The control layer is only as reliable as the wire feeding it, and on hobby machines that wire is fragile.
Most GRBL boards talk over a CH340 or FTDI USB-serial chip, and on Windows the CH340 driver is the first thing to install when a board will not connect at all. GRBL communicates at 115200 baud by default; if your sender shows garbage characters in the console, that is a baud mismatch. The bigger enemy is electrical noise: a VFD spindle, a shop-vac, or a poorly grounded router will inject interference that scrambles the serial stream and can trigger a phantom alarm or a lost connection. The fixes are physical — a snap-on ferrite choke on the USB cable, a shielded cable routed away from the spindle’s power leads, and a solid common ground. I learned this the expensive way on my Shapeoko after the VFD upgrade: the cut would die at a random line until I added a ferrite and re-routed the USB away from the spindle cable. No setting fixes a noise problem; it has to be solved in the wiring.
Real-Time Control: Feed Holds, Overrides, and Jogging
A good sender does more than dump a file at the firmware — it gives you live control while the machine is moving, and that is what saves parts mid-cut. GRBL accepts real-time commands that take effect instantly, outside the normal G-code queue, and learning to use them is the difference between watching a crash happen and stopping it.
The feed hold (sent the instant you hit the pause button) decelerates the machine to a controlled stop without losing position — far safer than killing power, which loses your zero. Feed-rate override lets you dial the speed from 10% to 200% live, so when you hear chatter you can back off without re-running CAM. Spindle override does the same for RPM. And cycle-start resumes exactly where the hold stopped. The one command to know in an emergency is the soft reset (Ctrl-X in most senders), which halts everything immediately. Knowing these turns the sender from a passive file-player into a real cockpit — and it is the single biggest reason I run jobs tethered to a screen rather than blind from an SD card.
My Recommended Setup Path
If you are standing in front of a new machine, do it in this order and you will skip most of the pain. First, identify the firmware and install the matching sender — Carbide Motion for a Shapeoko, gSender for almost everything else GRBL. Second, get it connecting and jogging, and fix any backwards axis with the invert masks before you touch anything else. Third, set up homing and confirm it returns to the same spot twice. Fourth, calibrate steps-per-mm so a commanded inch is an actual inch. Fifth, set up probing so zeroing is repeatable. Only then start cutting real parts.
This sequence matters because each step depends on the one before it — you cannot calibrate travel before the machine jogs, and soft limits are meaningless before homing works. For the bigger picture of how this fits design-to-part, see my complete CNC workflow, and when something goes wrong mid-cut, the troubleshooting desktop CNC guide sorts control-layer faults from mechanical ones. New to all of this? Start with desktop CNC explained and how to choose a desktop CNC machine.
A few control-layer essentials are cheap insurance: a proper CNC limit switch kit for reliable homing and a conductive touch plate for repeatable zeroing both pay for themselves the first time they save a crash or a scrapped part. As an Amazon Associate I earn from qualifying purchases.
Frequently Asked Questions
Is GRBL the same as a G-code sender?
No. GRBL is the firmware that runs on the controller board and turns G-code into motor pulses. A sender like gSender or UGS is the application on your computer that streams the G-code to GRBL and gives you jog and probing controls. They work together but are different layers.
Do I need different control software than my CAM program?
Yes. CAM (Fusion 360, VCarve, Carbide Create) designs the toolpath and exports a G-code file. Control software runs that file on the machine. Carbide Create is the exception that pairs with Carbide Motion, but the design and control jobs are still separate.
Which G-code sender should a beginner use?
gSender from Sienci Labs for most GRBL machines because it is free, clean, and has an excellent built-in probing widget. Shapeoko and Nomad owners should use Carbide Motion. UGS is the rugged cross-platform fallback that runs on almost anything.
What does typing $$ do in my sender?
It prints GRBL’s full configuration, about 35 numbered settings that describe your machine: steps-per-mm, max rates, acceleration, travel limits, and behavior flags. Always save this output to a text file before flashing firmware, because a flash usually resets it to defaults.
Will flashing firmware erase my settings?
Usually yes. A firmware flash typically resets GRBL settings to factory defaults. Back up your current configuration by saving the $$ output to a text file first, so you can paste it back and avoid recalibrating steps-per-mm and homing from scratch.
Why does my machine cut parts slightly undersized?
That is almost always steps-per-mm ($100, $101, $102) being slightly off, not a CAM error. Command a 100 mm move, measure the actual travel with calipers, and recompute with new = (current steps x 100) / measured. It is a five-minute fix once the machine jogs.
Related Guides in This Cluster
- GRBL Setup and Configuration Guide — first-time setup from a blank board
- gSender vs UGS vs Carbide Motion — choosing your sender
- Tuning GRBL $ Settings — the parameter-by-parameter walkthrough
- CNC Homing and Limit Switch Setup — the configuration side
- Touch Plate and Tool Probing Guide — repeatable zeroing
- Squaring and Calibrating Your CNC Router — steps-per-mm and auto-square
- Flashing CNC Firmware Guide — GRBL, grblHAL, and FluidNC