Safety first. The following information is for educational purposes. CNC machining involves high-speed rotating cutters. Always wear eye and ear protection, never leave a running machine unattended, and verify all feeds and speeds for your specific setup.
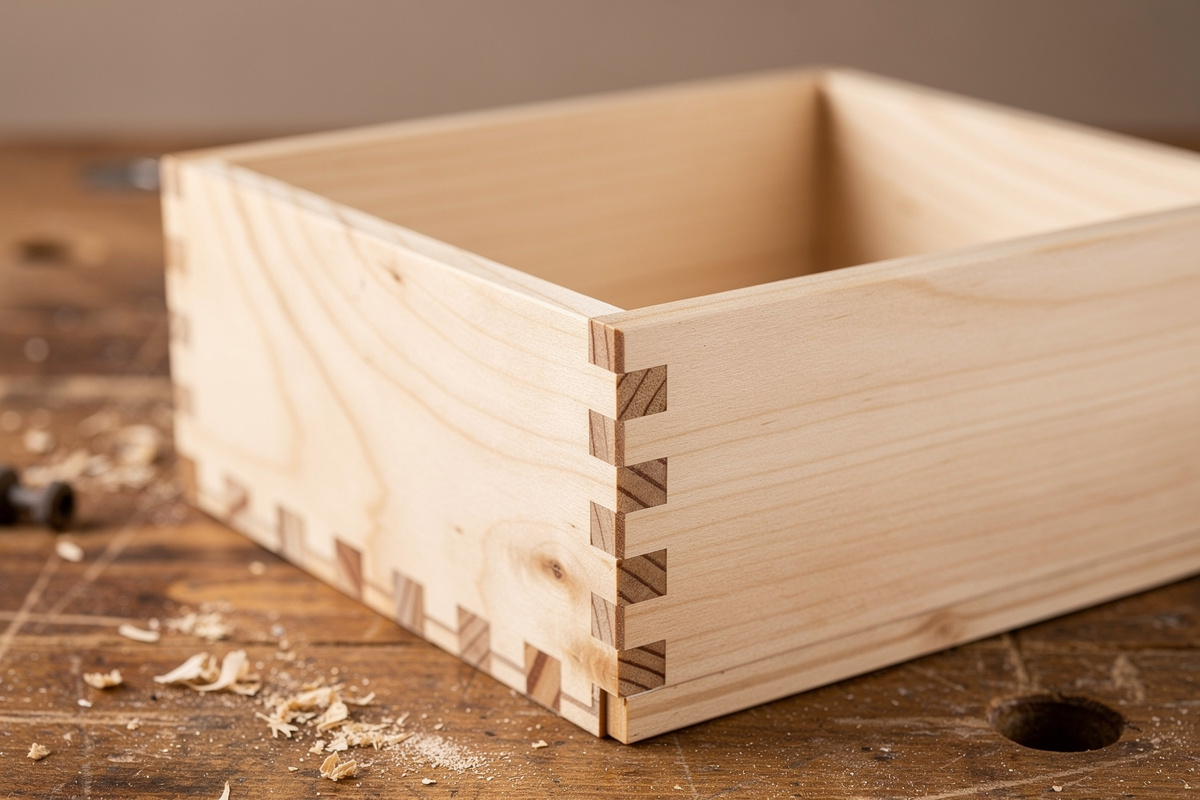
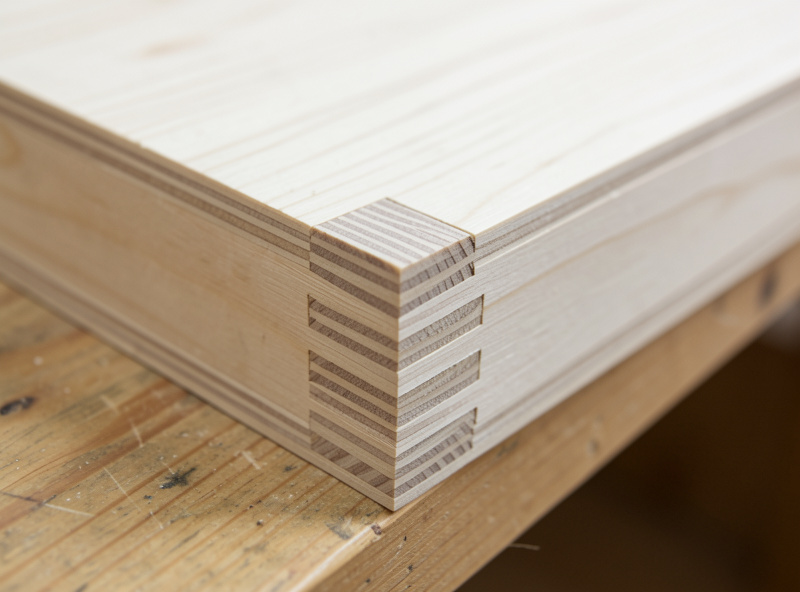
A CNC box joint is a corner joint of square, evenly spaced fingers — the same idea as a finger joint but with fingers and slots of identical width that read as a deliberate grid on the corner. On my Shapeoko Pro the box joint is the joint I cut when I want maximum glue surface, dead-even spacing, and a corner that looks machined on purpose. The CNC’s advantage over a table-saw box-joint jig is total: no incremental jig error stacking up across the cut, every box in a batch identical, and the freedom to set any finger width I like without buying a dado stack to match. This is the complete method, including the one detail that decides whether the joint closes at all.
Box joints belong to the wider family I cover in my CNC router joinery guide. They are mechanically close to the comb finger joint — if you want the variable-width, drawer-oriented version, see my CNC finger joints guide. The box joint’s distinction is the uniform square grid: equal finger and slot width all the way across, which is what makes it the go-to for small boxes, drawers, and the shop jigs I build to hold other work.
Getting the Spacing Math Right
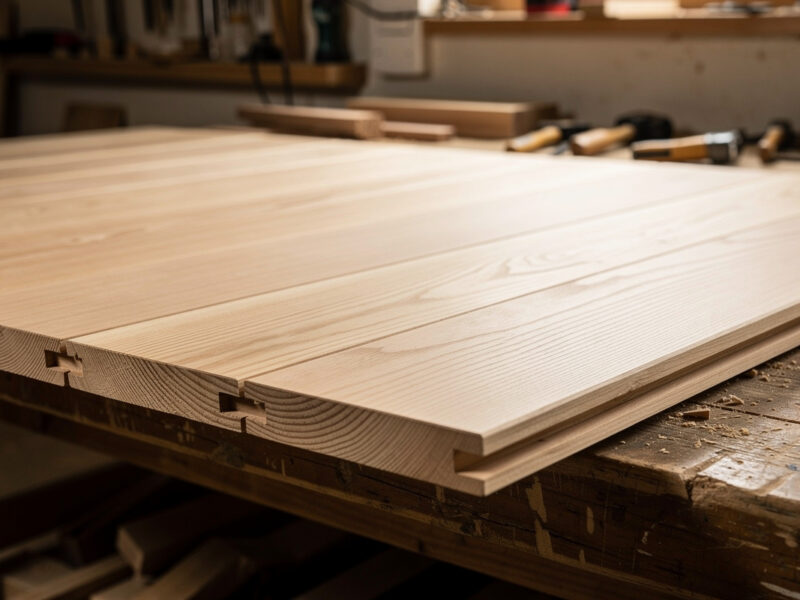
A box joint only looks right when the fingers come out even and the joint ends symmetrically — ideally a finger on one edge and a slot on the other, mirrored between the two boards. The math: divide your board width by your chosen finger width and you want a whole, odd number of divisions so the pattern is symmetric. A 90mm board at 10mm fingers gives 9 divisions — clean and symmetric. A leftover partial finger at one edge is the hallmark of spacing you didn’t plan.
I let the finger width follow the stock and the look I want. For a small jewelry-scale box I run 6mm fingers; for a sturdy tool box, 12mm. Wider fingers are stronger per finger and faster to cut; narrow fingers add glue surface and look finer. Because the CNC cuts whatever width I program, I am not locked to a dado-stack width the way a table-saw jig is — I size the fingers to the box, then adjust the board width by a millimeter or two if needed to land on whole, symmetric divisions.
Box Joints Need Corner Relief More Than Anything
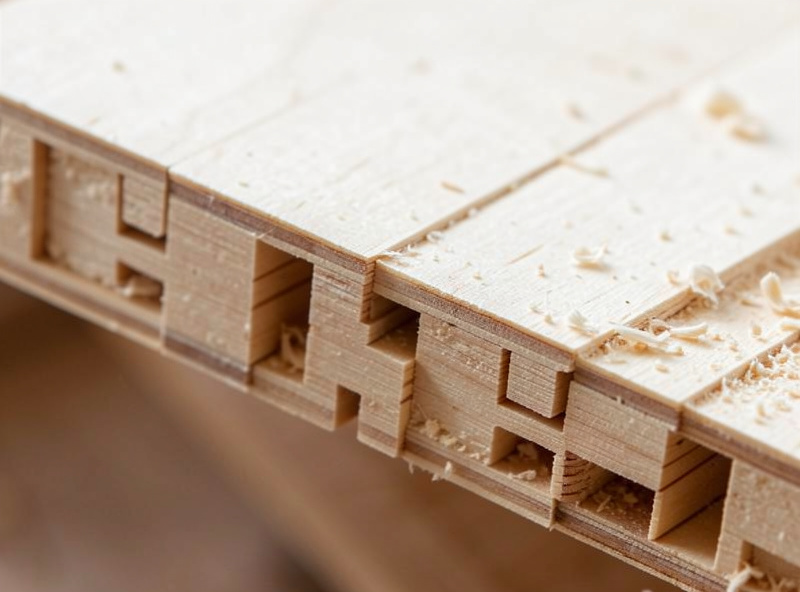
This is the detail that sinks more box joints than any other. Box-joint slots have square inside corners, but a round endmill physically cannot cut a square inside corner — it leaves a radius at every corner equal to half the bit diameter. The mating finger, which has true square corners, lands on those four radii and stops dead. The joint stands proud and refuses to close, even though every dimension on screen is perfect.
The fix is a dogbone or T-bone fillet at each inside corner, relieving past the corner so the square finger seats flush. Because a box joint has so many corners — four per slot, many slots — it is the joint most punished by skipping relief. I use T-bone fillets pushed into the slot walls so the relief stays off the visible finger faces. Apply them in CAM and the joint drops together; forget them and you will sand fingers thin trying to force a fit that geometry won’t allow. I explain dogbone versus T-bone selection in the main joinery guide; for a box joint, just never cut one without relief.
Dialing the Fit with a Test Cut
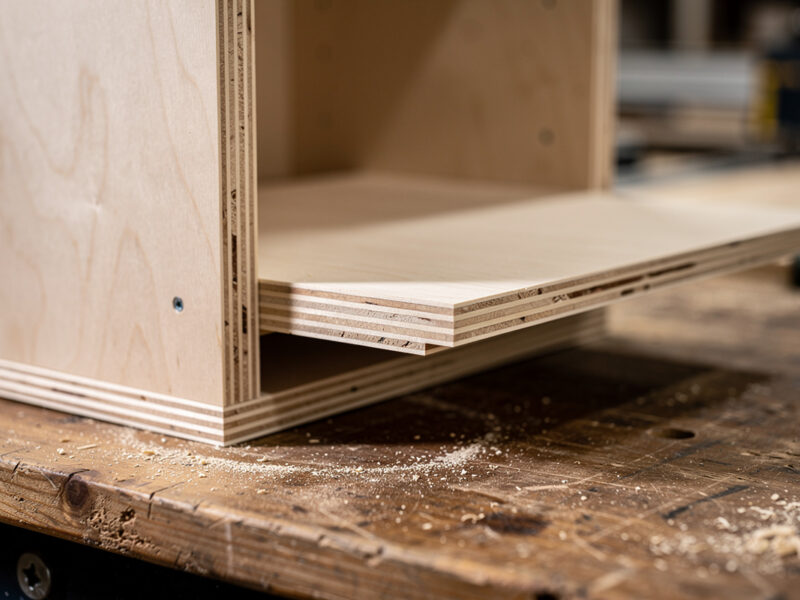
Even with perfect relief, the box joint still needs a fit allowance — a few tenths of a millimeter of clearance per face so the parts assemble without splitting. In ply I start around 0.1–0.15mm per face because plywood fuzzes at the cut line; in hardwood I tighten that up. I always cut a short two- or three-finger test in the actual project stock first, because the same file fits differently in birch ply than in maple.
The fit error compounds hard on a box joint because every finger is a mating face — a tiny per-face miss multiplied across nine fingers either locks solid or rattles. That is why the test cut matters more here than on almost any other joint. I keep the working allowance written on a scrap test piece per material so the next box starts from a known-good number. The same discipline I use on finger joints applies, just with less tolerance for error given the higher face count.
Bit and Toolpath
I cut box joints with a straight bit sized for a sensible corner radius — usually 1/4″ for speed, dropping to 1/8″ when I want smaller relief and finer fingers. A downcut leaves the cleanest top edge on the show face, which matters because the box-joint grid is right there on the corner for everyone to see. I avoid upcut spirals on the finished face for the same fuzzing reason that applies to all joinery; the full bit logic lives in my downcut vs upcut comparison and the router bits guide.
I pocket the slots in multiple depth passes, not one plunge — full-depth in plywood deflects the bit and can leave a slot wall that isn’t square top-to-bottom, which throws the fit. I support the exit edge with a sacrificial backer so the bit doesn’t blow out the back face as it cuts through, and I run the finishing pass as a light climb cut along the slot walls for the cleanest possible surface.
Holding Box-Joint Parts
Box joints get cut into board ends, often into thin plywood that wants to lift or chatter. I clamp the part flat with the joint end overhanging onto a sacrificial backer, keep the clamps well off the toolpath, and for thin sheet I will tape it down to kill any chance of lift. A part that moves a fraction of a millimeter mid-cut ruins the whole grid — box joints are unforgiving of workholding slop because every finger has to land in register. My workholding playbook is in the workholding guide, and the clamps I keep nearest the machine.
Why the CNC Wins on a Batch of Boxes
The single strongest case for cutting box joints on the CNC instead of a table-saw jig is repeatability across a batch. A table-saw box-joint jig indexes each finger off the previous one, so any tiny error in the indexing pin accumulates across the cut — by the far edge the fingers can drift. The CNC references every finger to the same machine zero, so the ninth finger is exactly where the program put it, and the tenth box in a run is identical to the first. When I cut a set of matching drawer boxes or a stack of shop organizers, that consistency is the whole point — the same batch advantage that makes the CNC worth it for repeated mortise and tenon frame members.
It also frees the design. Because there is no dado stack dictating finger width, I size fingers to suit each box and nest several parts on one sheet, cutting all their joints in a single program. That is how the box joint earns its place in my shop — not as a showpiece, but as a reliable, repeatable corner I can produce in quantity. Many of the jigs and fixtures I build to hold other work use box-jointed plywood carcasses for exactly this reason: strong, square, and quick to reproduce.
Assembly and Squaring
A well-cut box joint pulls itself square because the fingers self-register on all four corners. I spread thin glue on the finger faces, tap the joint home with a mallet and a protective block, and check square against a reliable reference before the glue grabs. If it fights hard going together, the fit or the relief is off — I stop rather than force it, because a too-tight box joint splits the thin material between fingers. Light clamping just closes the seam; it should never be doing the work of a bad fit.
Frequently Asked Questions
What is the difference between a box joint and a finger joint?
A box joint uses square fingers and slots of equal, uniform width across the corner, reading as a regular grid. A finger joint is the broader family and can use variable widths. Mechanically they are nearly identical; the box joint’s signature is its even, symmetric spacing.
Why won’t my CNC box joint close?
The leftover corner radius. A round endmill cannot cut a square inside corner, so the square finger binds on the radius. Box joints have many corners, so add T-bone or dogbone fillets to every slot corner in CAM and the joint will seat flush.
How do I get even box-joint fingers?
Divide the board width by the finger width and aim for a whole, odd number of divisions so the pattern is symmetric, ideally a finger on one edge and a slot on the other. Adjust the board width slightly if needed to avoid a partial finger at the edge.
What fit allowance works for box joints in plywood?
Start around 0.1 to 0.15mm of clearance per mating face in plywood, since it fuzzes at the cut line, and tighten that in hardwood. Always cut a short test in the real stock first, because fit error compounds across many fingers and locks or rattles.
Can I cut box joints without a dado stack?
Yes, and that is the CNC’s advantage. You program any finger width you want instead of being locked to a dado-stack width. The machine cuts every finger identically with no jig error stacking up across the cut, so a batch of boxes comes out the same.
What bit should I use for CNC box joints?
A straight or downcut bit, typically 1/4 inch for speed or 1/8 inch for finer fingers and smaller corner relief. A downcut keeps the visible top edge clean. Cut in several depth passes, not one plunge, to keep the slot walls square top to bottom.