Safety first. The following information is for educational purposes. CNC machining involves high-speed rotating cutters. Always wear eye and ear protection, never leave a running machine unattended, and verify all feeds and speeds for your specific setup.
CNC clamps are the workhorse of desktop workholding — the first hold most of us reach for and the one that solves the widest range of jobs. The catch is that “clamp it down” hides a lot of decisions: which clamp style, where to place it, how hard to tighten, and how to keep it out of the toolpath. Get those right and a set of cheap step clamps holds nearly anything thick and rigid; get them wrong and you’ll spend the morning sweeping up a launched part and a snapped bit.
Across the machines I run, clamps still hold the majority of my work, and the failures almost always trace to placement rather than the clamp itself. This is the deep dive on clamp types, the placement rules that actually stop a part walking, and how clamps fit alongside the other methods in my CNC workholding guide. If you want the broader forces-and-locating theory first, the workholding fundamentals primer sets that up.
A quick note: some links below are affiliate links. Buy through one and I may earn a small commission at no extra cost to you. I only point to gear I’d actually clamp a part with on my own bench — details on my disclaimer page.
The Clamp Types That Earn a Place on My Bench
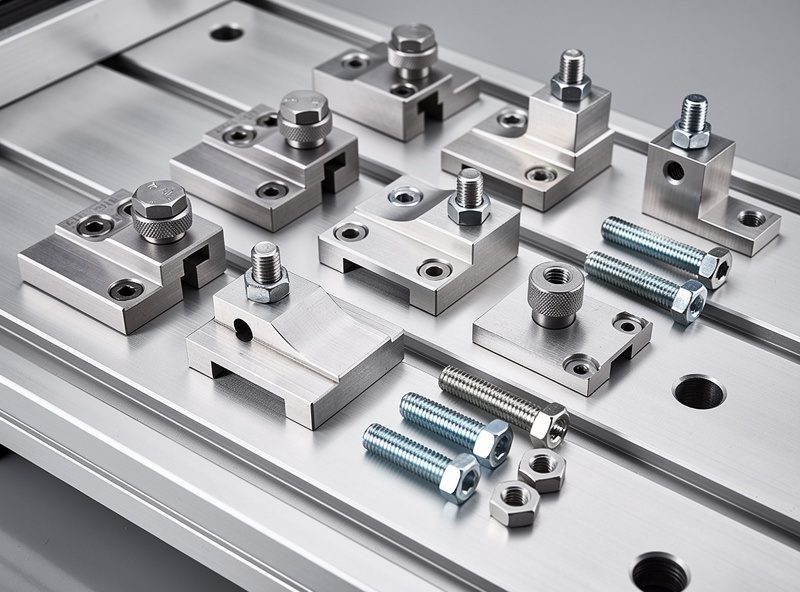
There are four clamp families I reach for, and each owns a different situation. Step clamps are the default — a stepped bar that bridges from a stud bolt in the T-track down to the workpiece, with the steps letting you match the clamp height to the stock thickness. Low-profile cam clamps trade some grip for height, which matters when the gantry sits close to the bed and a tall step clamp would collide. Toe clamps (eccentric or wedge-style) bite the edge of the part from the side and push it both down and against a fence, leaving the entire top face clear. Strap clamps are the cheap, simple option — a flat bar that presses down as a single bolt tightens — fine for flat stock on a spoilboard but the least versatile.
For most of my wood and plastic work, a kit of step clamps plus a couple of cam clamps covers everything. A solid CNC T-track clamp and hold-down kit with assorted T-nuts, studs, and step blocks is the single best first purchase — it gives you the range to handle thin and thick stock without buying one-offs.
Placement Beats Pressure Every Time
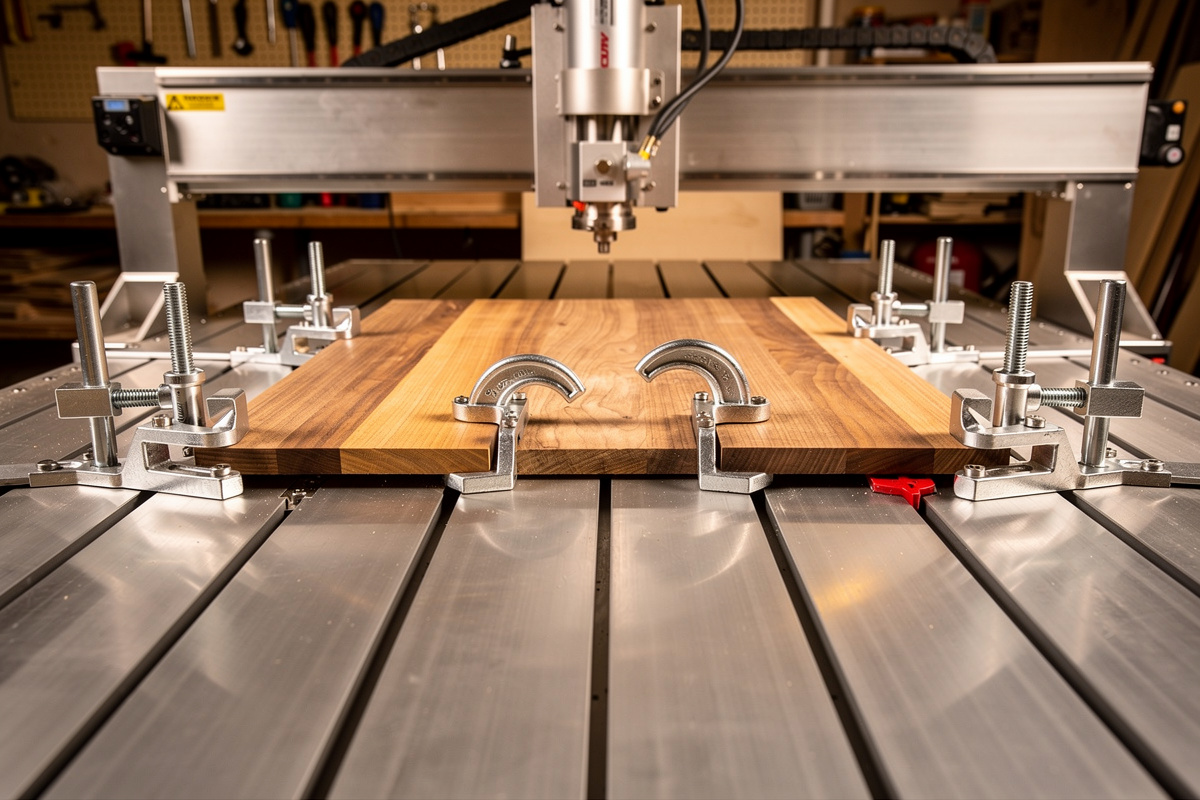
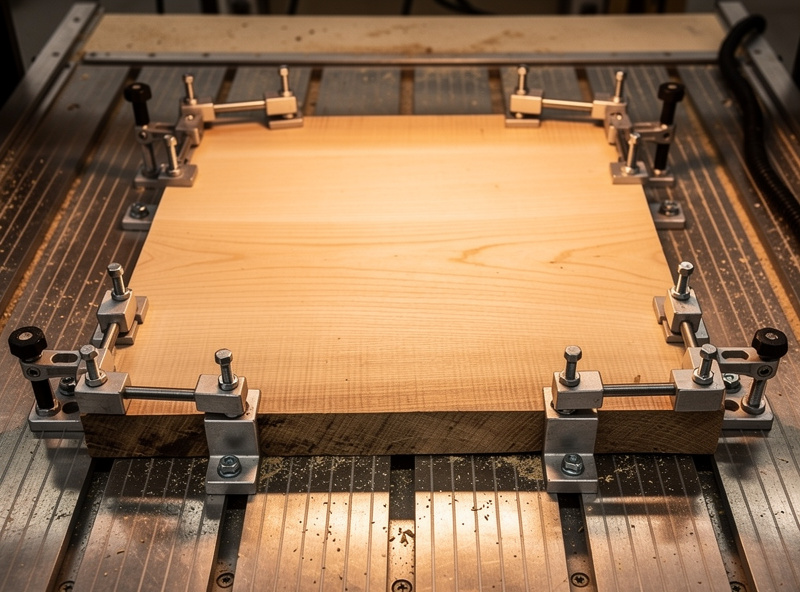
The single most common clamping mistake is putting the clamp where there’s a free T-slot instead of where the cutting forces are. Clamping force is local — it pins the part hard right under the clamp and does progressively less the farther away you cut. A part clamped only at the far corners can still flex and chatter right under the cutter in the middle. I distribute clamps around the perimeter and, wherever the geometry allows, place one near where the tool is most engaged.
The second rule: clamp to a flat, rigid spoilboard, not directly across the gaps in the T-slots, especially for thin stock that can bow down into those gaps. The third: more clamps with moderate force beat one or two cranked down hard, because even pressure stops the part rocking. And the fourth, which has saved me more bits than any other — simulate the clamp positions against the toolpath before you cut. Mentally walk every rapid and contour around the hardware, and on an unfamiliar setup, air-cut above the part to watch the gantry clear the clamps.
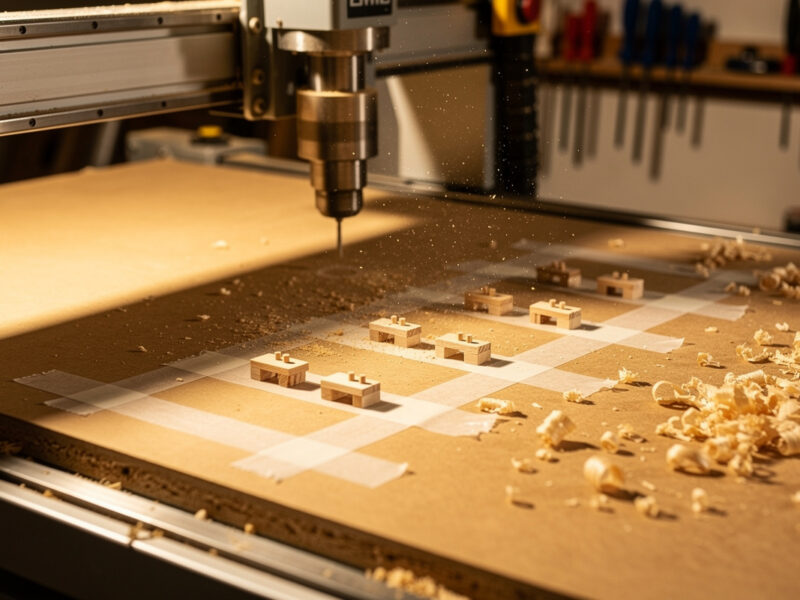
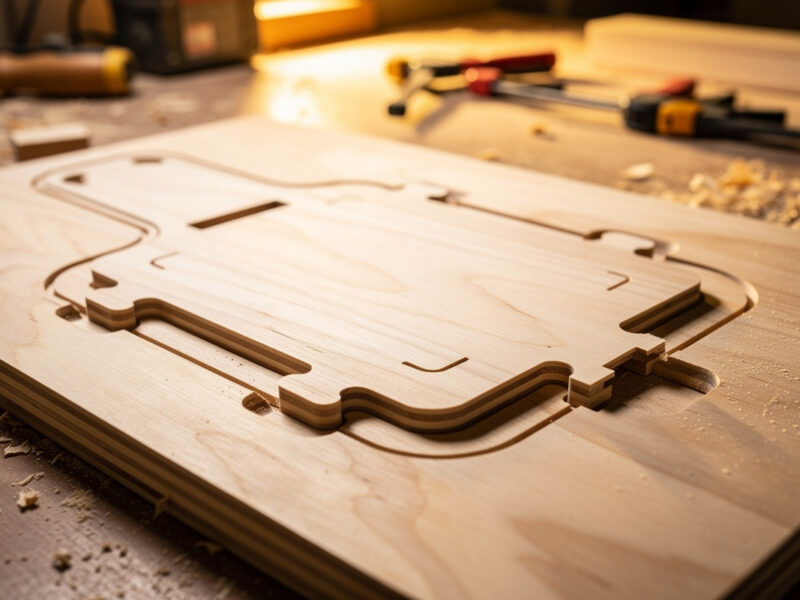
There’s a subtler placement issue with parts that get profiled free of the surrounding stock. As the cutter separates the part from the waste, anything held only by clamps on the waste side suddenly loses its hold — the offcut is still clamped, but the part isn’t. That’s where clamps stop being enough on their own and tabs or onion-skinning take over, keeping the part attached to the held stock until you choose to release it. On a part with inside cutouts, I also think about whether the cutout’s slug will lift into the spindle once it’s freed; a small clamp or a strip of tape over a captured slug saves a surprise. Clamping well is as much about anticipating what happens at the end of the cut as it is about the start.
How Tight Is Tight Enough
Clamping is not about maximum torque. Over-tightening a strap clamp can bow a thin part up in the middle or crack brittle stock like acrylic, while a cam clamp cranked past its sweet spot can mar the surface. I tighten until the part won’t shift under firm hand pressure, then add a quarter turn — enough that cutting forces can’t break it loose, not so much that I’ve distorted the part. The exception is heavy work: aggressive profiling in hardwood or an adaptive pass in aluminum genuinely needs the clamps locked down hard, and that’s also when I make sure I have enough of them.
Brittle and thin materials change the calculus. For acrylic and thin plastics I spread the load with a soft pad under the clamp or switch to toe clamps that push from the edge rather than pressing down on a surface that wants to crack. A set of dependable low-profile cam clamps earns its keep here — quick to set, gentle when you want them gentle, and low enough to clear a tight gantry.
Toe Clamps: Machining the Whole Top Face
When I need to surface or profile the entire top of a part, a clamp sitting on that surface is a non-starter. Toe clamps solve it: they grip the edge and apply a downward-and-inward force, holding the part against fence stops while leaving the top completely open. They’re my go-to for surfacing a slab, machining a full-face pocket, or any job where the toolpath covers the whole upper surface. The trade is that they need a clean, square edge to bite and they hold less aggressively than a step clamp pressing straight down, so I reserve them for moderate cuts and pair them with a fence for location.
For genuinely flat, thin sheet where even toe clamps get in the way, the answer shifts to adhesive or vacuum rather than mechanical clamps — that decision tree lives in the main workholding guide. And a downcut bit pairs beautifully with light clamping because it presses the part down into the hold instead of trying to lift it.
T-Nuts, Studs, and the Boring Hardware That Matters
Clamps are only as good as what anchors them. T-nuts must match your T-track profile and seat fully before you tighten — a partially seated T-nut strips threads or, worse, pulls out mid-cut. I keep M6 and M8 studs in a few lengths so the bolt protrudes just enough through the step block, because an over-long stud bottoms out and an over-short one strips. A handful of washers and a flip-up stop or two rounds out the kit. None of it is glamorous, but a drawer of mismatched, half-stripped hardware is its own source of failed holds.
If your machine shipped with a bare aluminum extrusion bed and no real clamping hardware, a comprehensive T-nut, stud, and step-block set is the fastest way to a working clamp system. Match the T-nut size to your slot before ordering — measuring the slot once beats returning a kit that doesn’t fit.
Clamping Changes With the Material
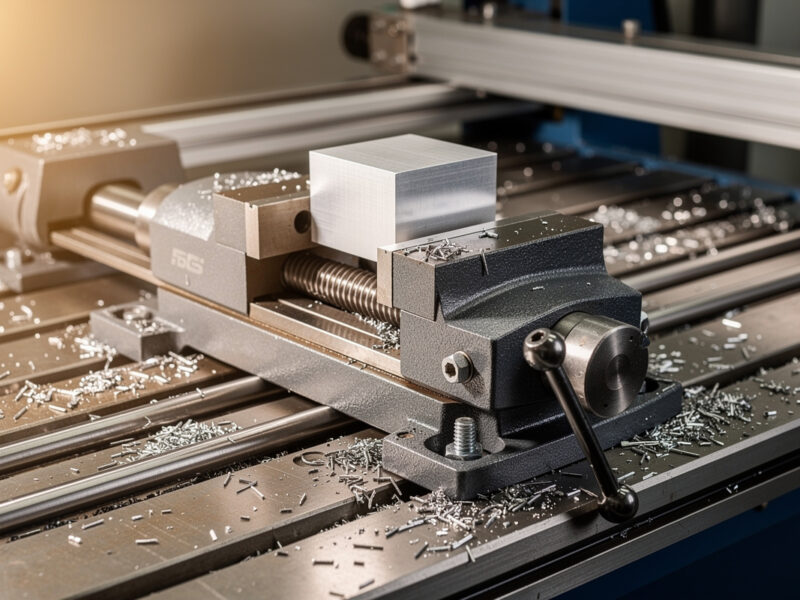
The same clamp behaves differently depending on what’s under it. Hardwood and thick ply take clamps happily — they’re rigid, they don’t crack, and they tolerate firm pressure, so step clamps near the cut are usually all I need. Aluminum is a different animal: the cutting loads in an adaptive roughing pass are several times what wood generates, the part can chatter if it’s not held rigidly, and a loose hold in aluminum doesn’t just ruin the part, it welds chips to the cutter and snaps it. For aluminum I clamp hard, use more clamps than feels necessary, and often move the work into a vise where the jaws grip with serious force.
Thin and brittle stock pulls the opposite direction. Acrylic cracks under a point load, thin plywood bows between supports, and a foam or composite panel can dent under a clamp face. Here I either spread the load, switch to edge-gripping toe clamps, or abandon mechanical clamping entirely for tape or vacuum. The lesson I keep relearning is that there’s no universal clamp pressure — there’s the right pressure for this material, this thickness, and this cut, and reading that correctly is most of the skill.
Clamp Types at a Glance
| Clamp type | Best for | Hold strength | Top-face access | Watch out for |
|---|---|---|---|---|
| Step clamp | Thick rigid stock, heavy cuts | High | Blocked at clamp | Tall profile vs gantry |
| Cam clamp (low-profile) | Tight gantry, quick setup | Medium-high | Blocked at clamp | Can mar soft surfaces |
| Toe clamp | Full top-face machining | Medium | Full | Needs clean square edge |
| Strap clamp | Flat stock on spoilboard | Low-medium | Blocked at clamp | Can bow thin parts |
Frequently Asked Questions
What clamps do I need for a CNC router?
Start with a T-track clamp kit containing step clamps, cam clamps, T-nuts, and studs. That set holds the majority of thick, rigid wood and plastic stock. Add toe clamps when you need to machine the entire top surface of a part.
Where should I place CNC clamps?
Place clamps near the cutting forces, not just at free T-slots. Clamping force is local and fades with distance. Distribute several clamps around the perimeter, clamp to a flat spoilboard rather than across T-slot gaps, and always check that clamps clear the toolpath.
How tight should I tighten CNC clamps?
Tighten until the part will not shift under firm hand pressure, then a quarter turn more. Over-tightening bows thin parts and cracks brittle stock like acrylic. Heavy cuts in hardwood or aluminum are the exception and genuinely need clamps locked down hard.
How do I machine the whole top of a part without clamps in the way?
Use toe clamps that grip the edge from the side and push down and inward, leaving the top face open. For thin flat sheet where even toe clamps interfere, switch to double-sided tape or a vacuum table instead of mechanical clamps.
Why does my part keep coming loose even when clamped?
Usually the clamps are too far from the cut, there are too few of them, or you are climb-milling a lightly held part on a flexy gantry. Add clamps closer to the tool, distribute the load, and consider a downcut bit to press the part down.