Safety first. The following information is for educational purposes. CNC machining involves high-speed rotating cutters. Always wear eye and ear protection, never leave a running machine unattended, and verify all feeds and speeds for your specific setup.
Tongue and groove is how you join boards edge-to-edge into a wide panel that stays flat — flooring, cabinet backs, shiplap walls, wide tabletops. A tongue milled on one board’s edge drops into a groove on the next, the joint hides any seasonal movement, and the interlock keeps the panel from cupping along the seam. On my Shapeoko Pro I cut both halves as mirrored edge profiles, so the fit is identical across a whole stack of boards and the panel goes together like flooring. This is how I cut tongue-and-groove joints on the CNC, including the one fit detail that keeps the panel from cracking in winter.
Tongue-and-groove belongs to the edge-joining branch of the family in my CNC router joinery guide. It is closely related to the dado and groove cuts I cover in my dado and rabbet guide — the groove half is literally a groove run along a board edge — but here the point is joining boards into a panel rather than capturing a shelf.
Why Tongue and Groove for Panels
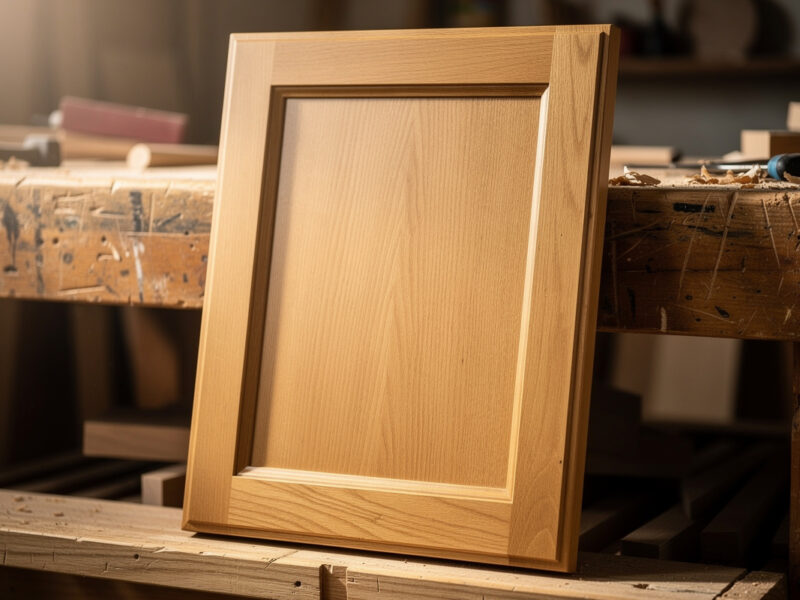
When you glue narrow boards into a wide panel, the seam is the weak point — it wants to telegraph, cup, or open up as the wood moves. Tongue and groove solves three problems at once: the tongue-in-groove interlock keeps adjacent boards in plane so the surface stays flat, the joint registers the boards during glue-up so you are not wrestling alignment, and the overlap hides any seasonal gap so a shrinking board doesn’t open a see-through crack. For flooring and shiplap the joint also lets each board move independently while looking like a continuous surface — the same floating-panel logic carries into a cope and stick cabinet door.
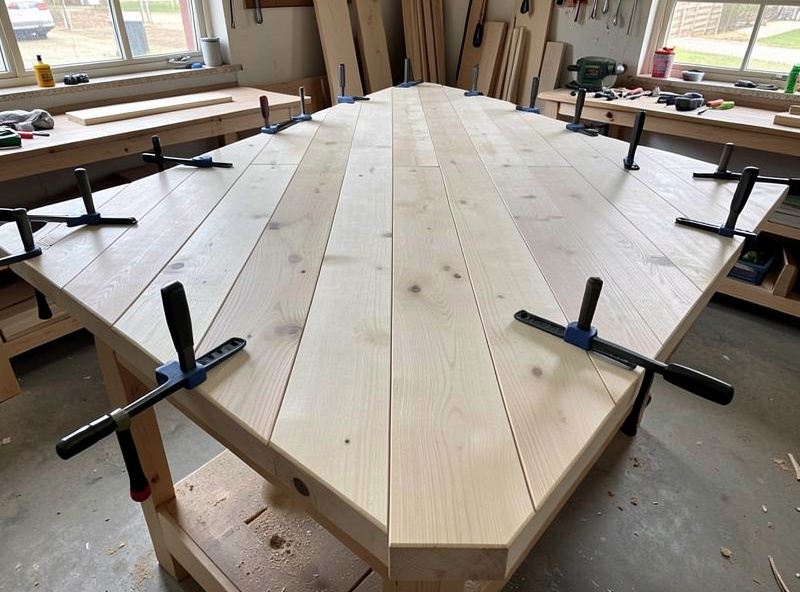
The CNC’s contribution is repeatability. A router-table tongue-and-groove setup drifts as you feed board after board; the CNC cuts every tongue and every groove to the exact same dimension, so the twentieth board fits the same as the first. When I edge-join a wide tabletop or run a wall of shiplap, that consistency means the whole panel assembles without a single board fighting its neighbor.
Cutting the Tongue and the Groove
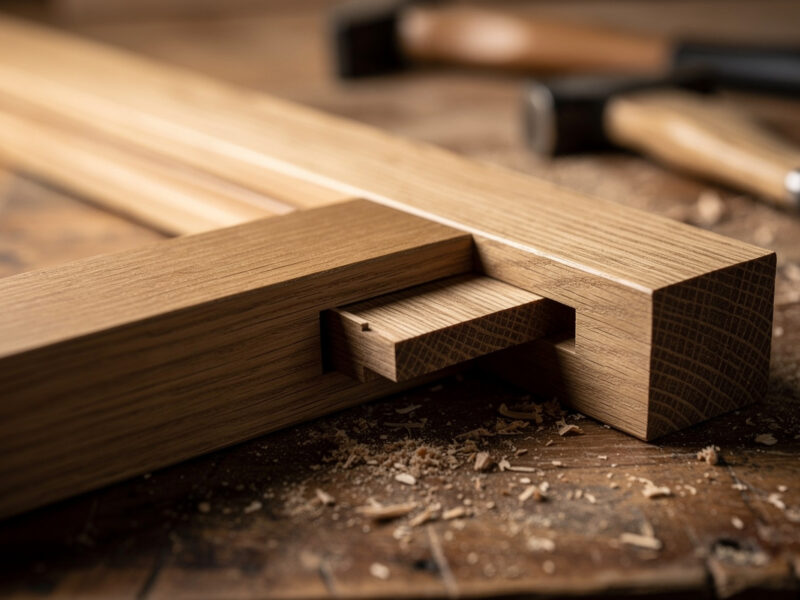
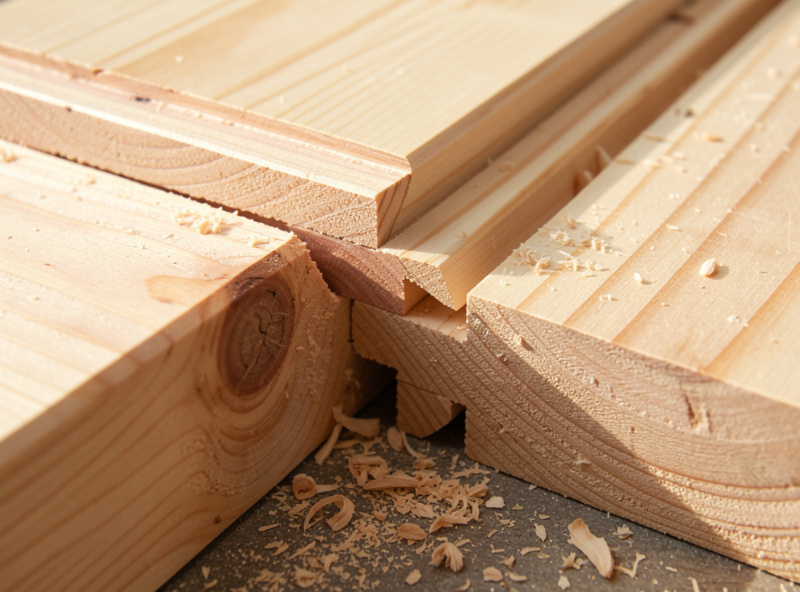
I cut the groove first — a straight slot run along the board edge at a set depth, centered on the edge thickness. Then I cut the tongue on the mating board by removing material from both faces of the edge to leave a centered tongue that matches the groove. On the CNC I do this with the board held edge-up so the bit works the edge directly, or by laying the board flat and profiling the edge with a series of passes, depending on board width and how I am holding it.
Centering matters: if the tongue or groove is off-center, the two board faces won’t sit flush and you get a step at every seam. I reference both cuts from the same face of each board — always the show face — so even if my stock varies slightly in thickness, the show surfaces line up and any thickness variation hides on the back. This single referencing habit is what keeps a tongue-and-groove panel dead flat across its show face.
The Fit That Survives Winter
Here is the detail that separates a tongue-and-groove panel that lasts from one that cracks: the tongue must be slightly loose in the groove, not press-fit. Wood moves across its width with the seasons, and a tongue glued in tight along its whole length leaves the board no room to expand — it cracks the groove wall or buckles the panel in humid summer, and opens gaps in dry winter. I size the tongue for a snug slip fit, a hair of clearance on the cheeks, so the boards seat fully but the tongue can shift in the groove.
Equally important: on a wide panel of solid wood I glue only the tongue’s shoulders or just a spot at the center of each board, never the full length of the tongue. That lets each board expand and contract from its own center without stressing its neighbors. Flooring takes this further and floats entirely — no glue, the boards just interlock. The rule scales with how much the wood will move: solid hardwood needs the loose fit and minimal glue; stable plywood or MDF panels can be glued more freely because they barely move.
Bit and Depth
I cut tongue-and-groove with a straight bit sized to the groove width — commonly a 1/4″ bit centered on a 3/4″ board edge, leaving roughly 1/4″ walls on each side of the groove. The tongue depth and the groove depth should match with a hair of bottom clearance so the tongue never bottoms before the board faces meet — the same shoulder-seats-first logic that governs a mortise and tenon. A tongue that bottoms out holds the seam open; let the faces meet and the tongue ride free in the groove bottom.
Depth of cut in passes keeps the groove walls clean and square, and I climb-cut the final pass on the groove wall for the smoothest surface. Bit selection across all my joinery follows the same reasoning — the full reference is in my router bits guide, and the edge-quality tradeoff between cut directions is in my downcut vs upcut breakdown. For long board edges, holding the stock dead straight against a fence is the workholding challenge — covered in my workholding guide.
The tongue thickness is the part to get right: about a third of the board thickness, centered, so the two grooves walls left on either side stay strong. Too thick a tongue and the groove walls are thin and split; too thin and the tongue itself is fragile and snaps during handling. On a 3/4″ board that puts the tongue and each groove wall at roughly a quarter inch each — the same one-third proportion that governs a tenon, which is no coincidence. The interlock only works if both the tongue and the walls it rides between are robust.
Edge-Joining a Wide Panel, Board by Board
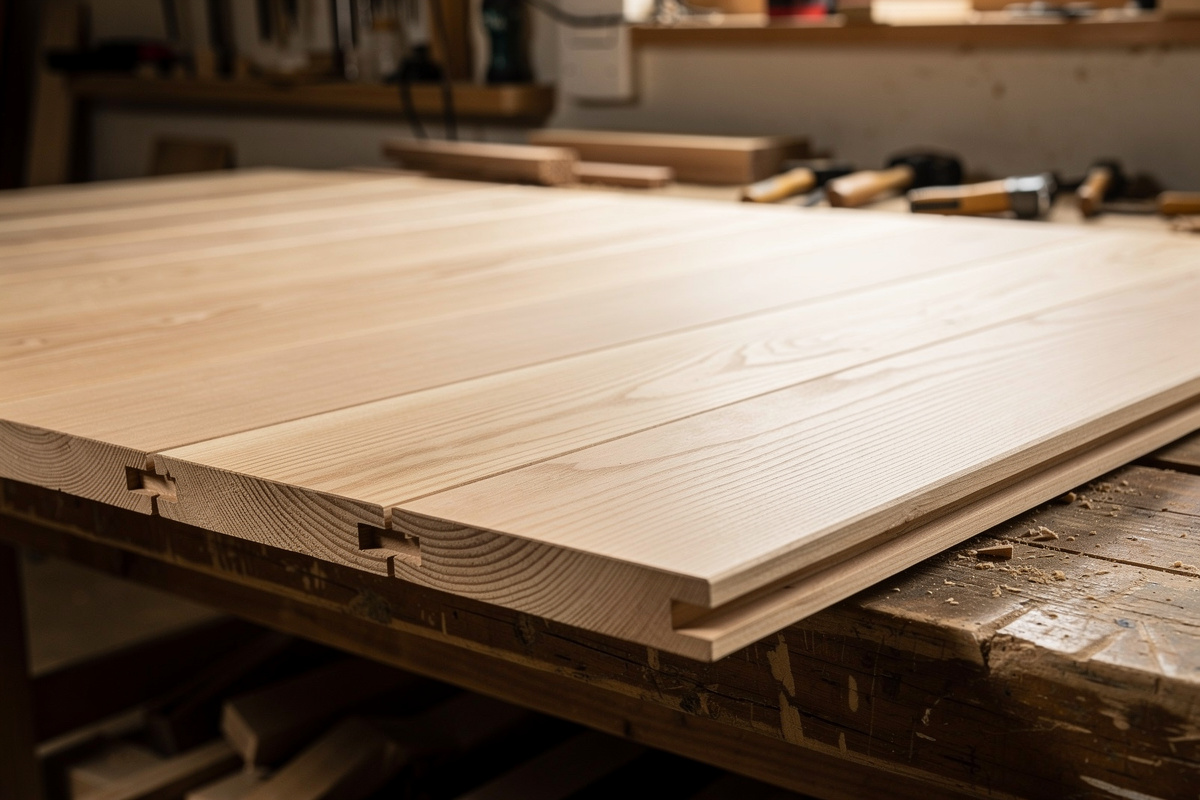
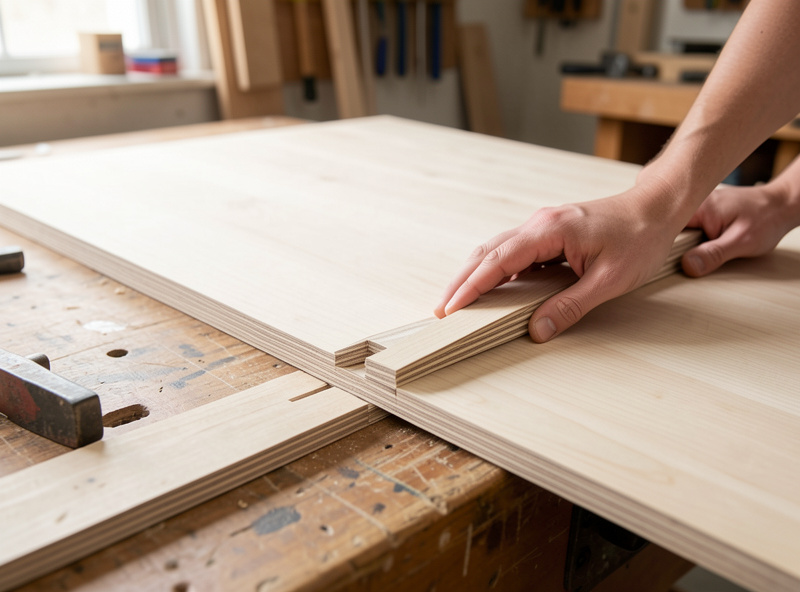
The real workflow on a wide tabletop or a panel is sequential, and the CNC turns it into a repeatable routine. I dimension all the boards to the same thickness first — consistent thickness is what makes the tongue and groove line up — then arrange them for grain and color before cutting any joints. Once the layout is set, I mark a triangle across the boards so I never lose the order, then cut a groove on the right edge and a tongue on the left edge of every board, all referenced from the show face.
Because every joint is cut to the same machine dimension, the panel assembles in one pass: tongue into groove, tap home, move to the next board. There is no fitting, no plane-and-test, no fighting one stubborn seam — the consistency that a hand or router-table setup loses across a dozen boards is exactly what the CNC holds. I dry-fit the whole panel first to confirm it pulls flat, then glue it up in sections so the open time doesn’t beat me. For a panel that will see real humidity swings, that sequential interlock is what keeps the surface flat for years.
How the Material Changes the Joint
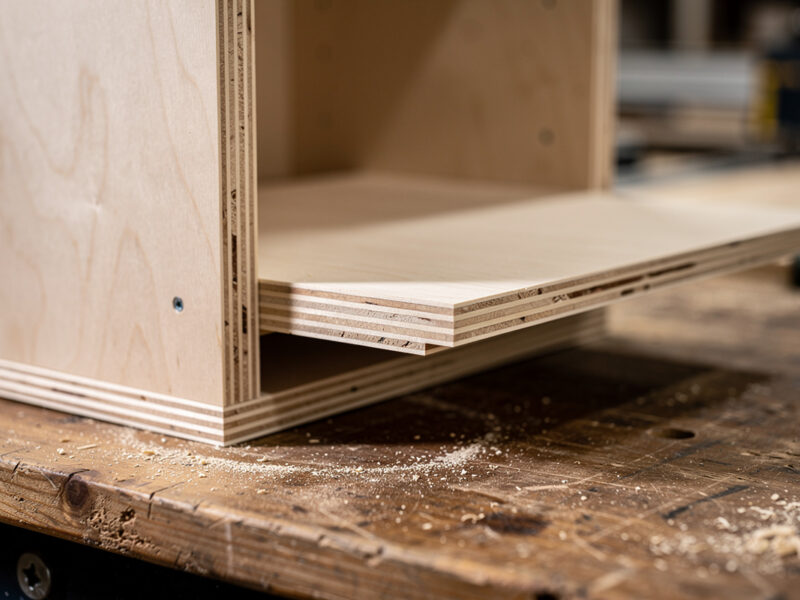
Solid hardwood is where the loose-fit, minimal-glue discipline matters most — it moves the most across its width, so the tongue rides free and the glue stays light. Softwoods like pine for shiplap move plenty too and want the same treatment. Engineered panels behave differently: plywood and MDF barely move, so I can fit the tongue snugger and glue more freely without risking a crack, which is why ready-made flooring uses tight-tolerance engineered tongues that snap together. Knowing which side of that line your stock falls on decides whether you glue the tongue or float it.
Grain direction is the other quiet factor. A tongue-and-groove seam running long-grain to long-grain along the boards is structurally sound and glues well; the joint is doing what wood does best. The feeds and finish quality on the show face also matter because the seam sits right on the surface — I run the same dialed feeds I use for visible hardwork, covered in my hardwood cutting guide, so the joint edge comes off clean and needs minimal sanding before finish.
Shiplap and V-Groove Variations
Two close cousins are worth cutting on the CNC. Shiplap swaps the tongue-and-groove for overlapping rabbets — each board has a rabbet on opposite faces of opposite edges, so adjacent boards lap over each other. It is simpler to cut (two rabbets, no tongue) and gives a deliberate reveal line between boards, which is the look people want for accent walls. I cut the rabbets exactly as in my dado-and-rabbet work, just mirrored on opposite edges.
The V-groove tongue-and-groove adds a chamfer to the top edge of each board so the seam reads as a crisp V-line — classic for paneling and ceilings. I cut the chamfer with a V-bit in the same setup as the tongue. Both variations are the same joint logic with a cosmetic twist, and the CNC cuts the decorative edge in the same program as the structural one — no second setup, no drift between the joint and the reveal. That single-program approach is the through-line of CNC joinery: the precision is free once the file is right, so the work shifts from fitting each joint by hand to getting the geometry correct once and letting the machine repeat it perfectly down the whole stack.
Keep Building
Tongue and groove is the panel-joining end of the joinery spectrum; these guides cover the rest of the family and the groundwork: