Safety first. The following information is for educational purposes. CNC machining involves high-speed rotating cutters. Always wear eye and ear protection, never leave a running machine unattended, and verify all feeds and speeds for your specific setup.
A gap of even 0.2mm where a rail meets a stile lands right at eye level on a finished cabinet door, and that is the whole challenge of CNC cope and stick cabinet doors: the coped end of the rail has to mirror the stick profile of the stile exactly, or the mismatch is the first thing anyone sees. The payoff for getting it right is real — cutting the whole rail-and-stile profile as a CNC toolpath frees me from a matched router-table bit set and lets me tune the profile to whatever the door wants. The price is precision the test-corner routine exists to protect.
Cope-and-stick is one of the harder joints in the family covered by my CNC router joinery guide, because it combines a decorative profile, a panel groove, and an end-grain cope that has to mirror the profile precisely. Get it right and the door looks shop-built in the best sense; get it wrong and the mismatch is the first thing anyone sees.
The Anatomy of a Cope-and-Stick Door
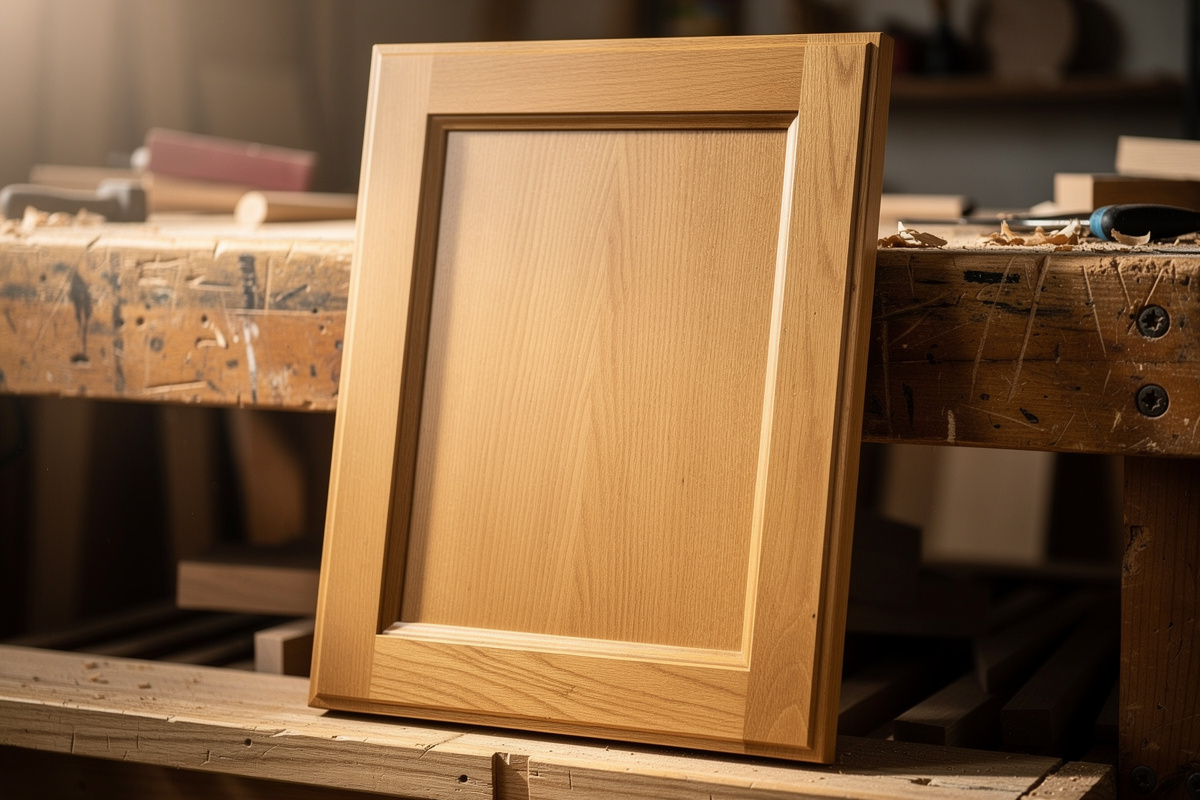
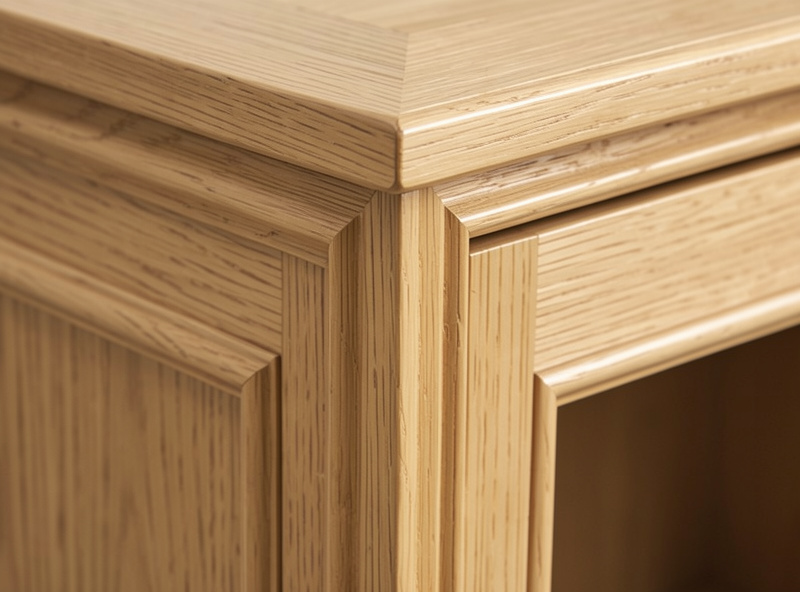
A frame-and-panel door has four frame members — two vertical stiles and two horizontal rails — surrounding a floating center panel. The stick is the profile-and-groove run along the inside edge of every frame member: a decorative profile on the show face and a groove behind it that captures the panel. The cope is the reverse-profile cut on the ends of the rails so they wrap around and mate against the stiles’ profile. When cope meets stick, the profiles nest and the joint closes flush.
On a router table you buy a matched two-bit set and flip between the stick cut and the cope cut. On the CNC I cut both as toolpaths from the same profile geometry, mirrored for the cope. That means I control the profile shape, the groove width, and the fit entirely in CAM — and I can cut a whole batch of doors with every joint identical. The tradeoff is that I have to get the toolpath geometry right, where the bit set bakes it in.
Cutting the Stick Profile and Panel Groove
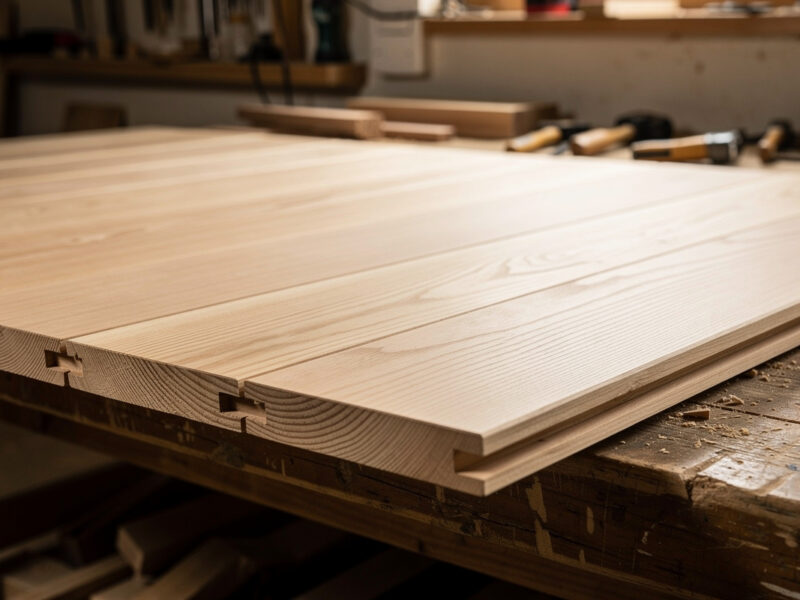
I cut the stick run with a profile bit or a combination of a straight bit for the groove and a V-bit or roundover form for the decorative edge, depending on the look. The groove is the critical structural part: it has to be wide enough to let the panel float and deep enough to keep the panel captured through seasonal movement. I run the groove around 8mm deep on a typical door so the panel never falls out of the frame even when it shrinks in winter — the same flat-bottomed slot work covered in my dado and rabbet guide.
The decorative profile is a matter of taste, but it has to be consistent across every frame member because the cope has to mirror it exactly. I cut the stick on all four members first, in one program, so they are identical, then move to the cope cuts on the rail ends. Bit choices for the profile and groove follow the same logic as the rest of my joinery — the full reference is in my router bits guide, with V-bit detail relevant to the profile lead-ins.
Cutting the Cope
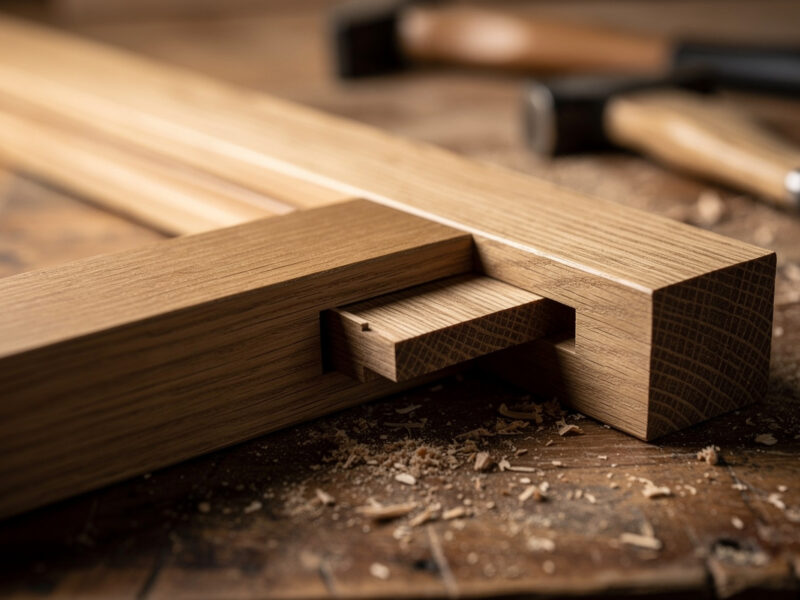
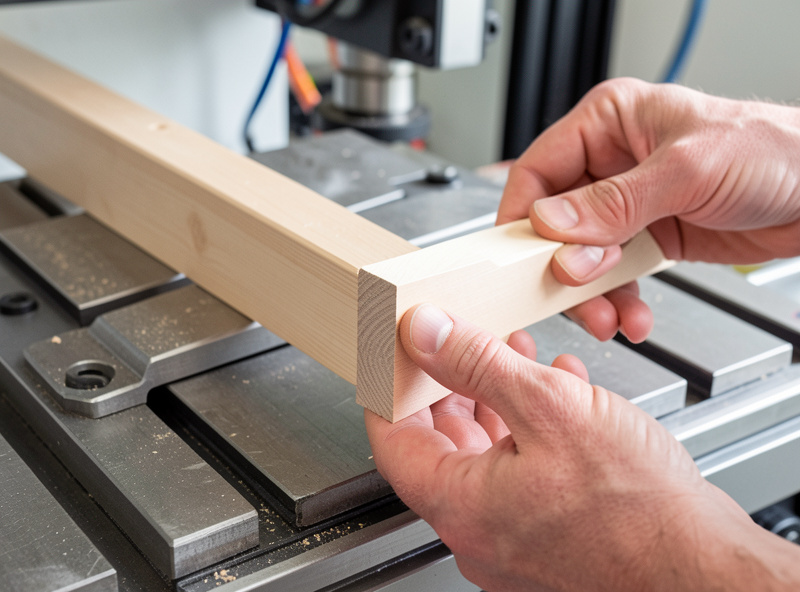
The cope is the reverse of the stick profile, cut on the end grain of the rails so they wrap around the stile profile. This is the fussy part: the cope toolpath has to be the exact negative of the stick profile, positioned so the rail’s groove lines up with the stile’s groove for a continuous panel slot all the way around. End-grain cutting also wants a sacrificial backer behind the cope so the bit doesn’t blow out the rail’s back edge on exit.
Because the cope mates against the visible profile, I cut a test corner before committing the real rails — one short rail end against one stile, checked for a clean profile meet and aligned grooves. I adjust the cope toolpath until the corner closes with no gap and the profiles flow into each other, then run the full set. Skipping the test corner is how you discover a profile mismatch after you have already coped four expensive rails.
The Floating Panel and Seasonal Movement
The center panel must float — sized to sit loose in the grooves so it can expand and contract across the seasons without splitting the frame or popping a joint. The classic mistake is gluing the panel in; a glued solid-wood panel that shrinks in winter cracks, and one that swells in summer pushes the joints apart. I size the panel a few millimeters narrower than groove-to-groove and use small rubber space balls or a dab of flexible caulk to keep it centered and rattle-free while still letting it move.
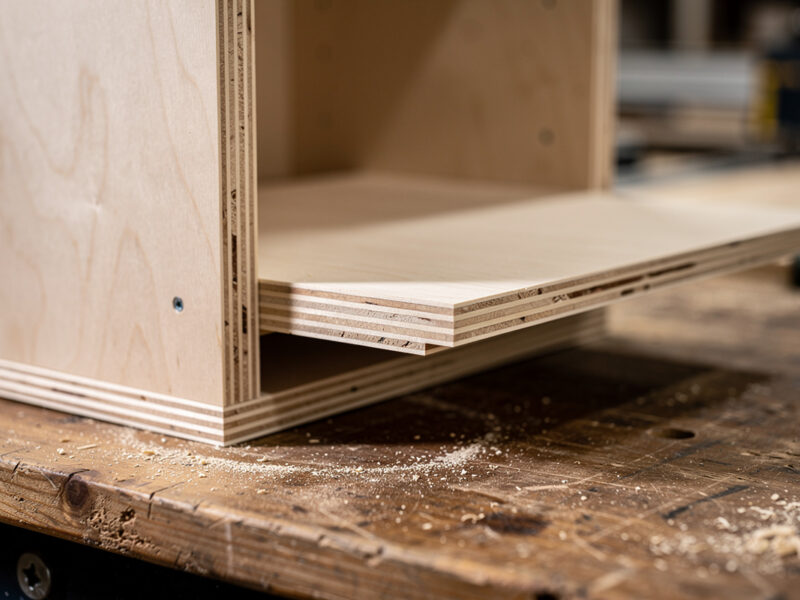
A plywood or MDF panel barely moves and can be sized tighter, but I still leave it floating out of habit and to avoid stressing the frame joints. The same loose-fit, let-the-wood-move discipline drives a CNC tongue and groove panel. The whole point of the frame-and-panel design is that the frame stays dimensionally stable while the panel does the moving — honor that and the door stays flat and tight for decades. Ignore it and the prettiest cope-and-stick joint in the world cracks anyway.
Glue-Up and Workholding
At glue-up I glue only the cope-and-stick joints at the corners, never the panel. I spread glue on the coped end and the mating stick profile, drop the floating panel into its grooves dry, and clamp the frame square across the joints. Because the profiles self-align when they nest, a well-cut door pulls square with light clamping; if it fights, the cope fit is off, not the clamps. I check diagonals before the glue grabs.
Holding the frame members for the stick and cope cuts is a workholding exercise — long thin rails and stiles want to be clamped flat against a fence with the cut edge supported, and the coped rail ends need that sacrificial backer. My full approach to holding awkward frame stock is in the workholding guide, and the clamps I reach for on long members.
Door Styles the CNC Makes Easy
Because the profile lives in CAM rather than in a fixed bit, the CNC opens up door styles that would each need a different cutter on a router table. A Shaker door is the simplest — a flat panel in a square-shouldered frame with just a groove, no decorative profile — and it is what I cut most, because it suits modern cabinetry and is the most forgiving fit. A raised-panel door adds a profiled center panel that I machine on the CNC as a 3D-lite operation, beveling the panel edge to seat in the groove. A beadboard or grooved-panel door uses a textured panel that I rout in the same setup.
I pick the style by the kitchen or the piece, but the workflow is the same: profile the frame, cut the cope, machine the panel, float it in the grooves. The CNC’s real gift here is consistency across a full kitchen’s worth of doors — thirty Shaker fronts that are dimensionally identical, with grooves that line up and openings that fit the hinges, all cut from one set of files. That is where the machine pays for itself against hand-fitting each door.
The Bits I Cut Cabinet Doors With
Cope-and-stick on the CNC needs fewer specialty cutters than the router-table version, but a good profile-and-groove bit set still earns its place when I want a specific traditional profile, and a clean straight bit handles the groove. The pieces I keep on the shelf for door work:
- A rail-and-stile cope-and-stick bit set for traditional door profiles when I want a known geometry.
- A 1/4" straight bit for cutting the panel groove to an exact width.
Disclosure: As an Amazon Associate I earn from qualifying purchases. The links above are products I use or recommend; buying through them costs you nothing extra and helps support this site.
Frequently Asked Questions
Can I cut cope and stick doors on a CNC without a matched bit set?
Yes. You cut both the stick profile and the mirrored cope as toolpaths from the same geometry, so you control the profile, groove width, and fit in CAM. A matched bit set is optional; the CNC’s advantage is tuning the profile and cutting a batch of identical joints.
Why does my cope and stick joint show a gap?
The cope is not an exact mirror of the stick profile, or the grooves do not line up. Cut a test corner first, one rail end against one stile, and adjust the cope toolpath until the profiles meet cleanly and the grooves align before running the full set.
Should I glue the panel in a cabinet door?
No. The center panel must float so it can expand and contract seasonally. A glued solid-wood panel cracks when it shrinks or pushes joints apart when it swells. Size the panel a few millimeters narrow and use space balls to keep it centered and rattle-free.
How deep should the panel groove be?
Around 8mm on a typical cabinet door, so the panel stays captured even when it shrinks in winter. The groove must also be wide enough to let the panel float. Cut the groove on all frame members in one program so it lines up continuously around the door.
Do I need a backer when cutting the cope?
Yes. The cope is cut on rail end grain, which blows out on exit without support. Clamp a sacrificial backer behind the coped end so the bit shears cleanly through instead of tearing the back edge of the rail.