Safety first. The following information is for educational purposes. CNC machining involves high-speed rotating cutters. Always wear eye and ear protection, never leave a running machine unattended, and verify all feeds and speeds for your specific setup.
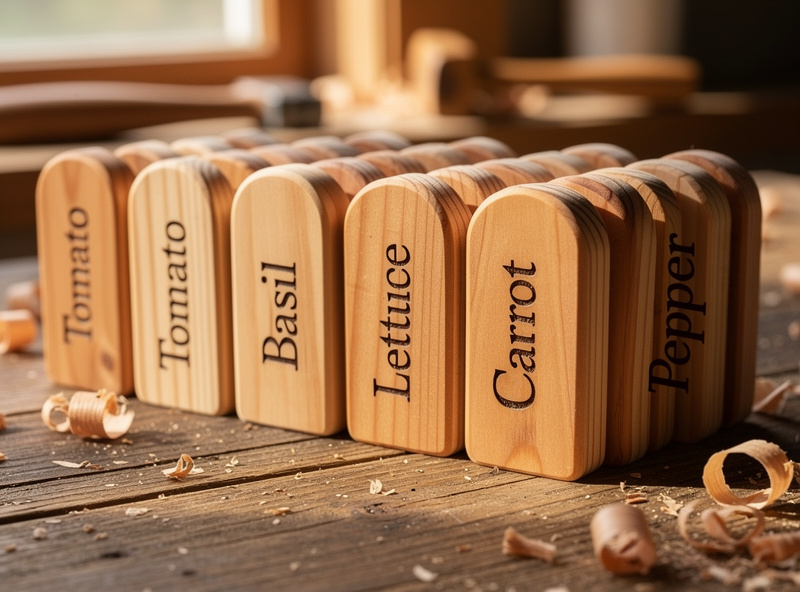
A desktop CNC carves a cedar garden marker in 4-7 minutes per stake — name engraved at the top, plant date and variety on the back, beveled edge for water shedding. A 12-marker run for a typical raised-bed vegetable garden takes about 90 minutes of machine time and uses a single 4-foot 1×4 cedar board. Materials cost: under $8. Same kit at a craft store: $50-90.
This guide walks through the V-bit and end-mill selection that gives you crisp lettering and clean cutouts, the Carbide Create or Vectric Aspire workflow that batches a full marker set into one tool path, and the sealing options that keep cedar markers readable through 3+ growing seasons.
Why Cedar (and Not Pine, Not PT, Not Plywood)
Cedar’s natural rot resistance, straight grain, and consistent density make it the right wood for outdoor garden markers. Pine looks similar at the lumberyard but rots in 6-12 months in soil contact and produces fuzzy V-carve edges due to soft early-wood / hard late-wood density variation. Pressure-treated lumber is non-negotiable: never use it in food-garden contact. Plywood with formaldehyde glue (most CDX) sheds chemicals into the soil — also not for vegetable beds.
Western red cedar from a 1×4 board (3/4″ x 3 1/2″ actual) yields markers about 8-10″ tall with the bottom 4″ planted in soil. Eastern white cedar is acceptable but softer — increase feed rate to avoid burn marks. Reclaimed cedar fence pickets are excellent and free if you can find them. Avoid juniper from old fence rails — it dulls bits aggressively.
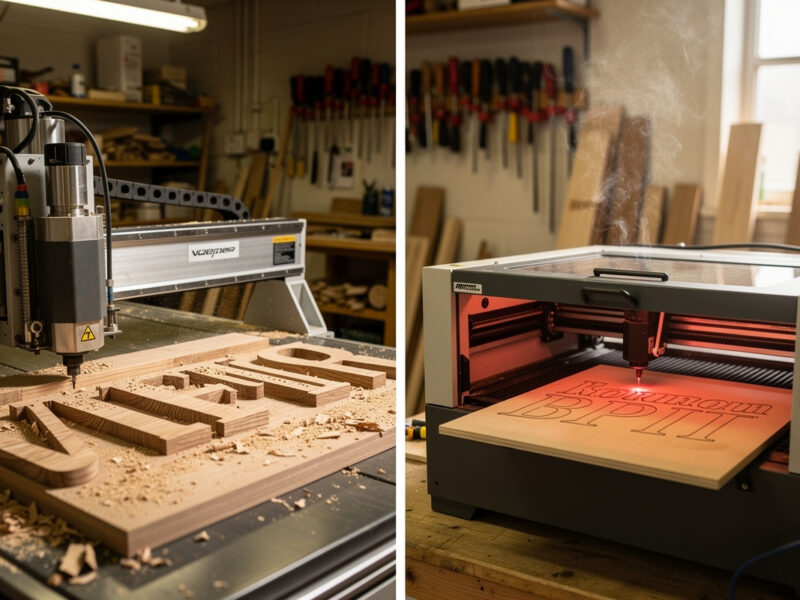
Tool and Speed Settings That Actually Work
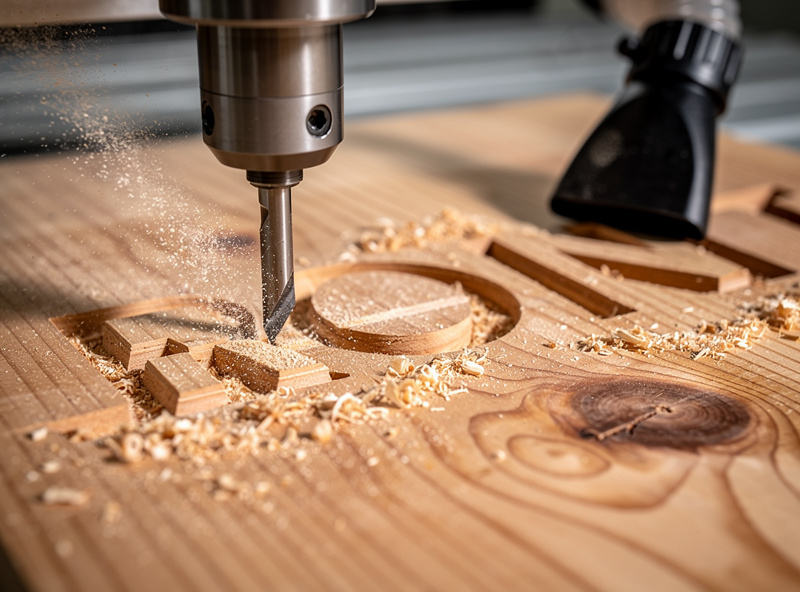
Two bits cover the entire project: a 60-degree V-carve bit for lettering, and a 1/4″ upcut spiral end mill for the outline cut. Settings for a hobby-class CNC (Shapeoko, Onefinity, Carve King, X-Carve) running 1-2 HP spindle:
- V-carve lettering (60-degree bit): Spindle 18,000 RPM, feed rate 1500 mm/min, depth of cut 1.5-2 mm in a single pass. Letter height 25-35 mm for legibility from 6 feet away.
- Outline cut (1/4″ upcut spiral): Spindle 18,000 RPM, feed rate 1200 mm/min, depth per pass 3 mm. Total depth 19 mm for full cut-through of 3/4″ cedar. Add 0.2 mm offset to keep parts in the stock.
- Onion-skin tab strategy: Stop at 17 mm of the 19 mm depth, leaving a 2 mm onion skin instead of dropping the part mid-job. Snap the parts out with a chisel after the run completes — far safer than tabbed cuts and faster than full-through.
- Climb cut for outlines. Conventional cutting tears cedar grain; climb cutting gives crisp edges. Most CAM software toggles this in a single checkbox.
For exact bit recommendations and feeds-and-speeds tables across hardwoods, the CNC cutting hardwood guide covers the broader settings library. For dialing in specific projects, the CNC beginner projects walkthrough covers the fixturing and zeroing techniques that make a 4-piece run go right on the first try.
The Carbide Create Workflow for a Full Marker Run
The single biggest time saver on a 12-marker project is laying out all 12 in one CAM file with shared toolpaths.
- Stock setup: Workpiece 24″ x 3.5″ x 0.75″ (a standard 1×4 piece, 2 feet long). Zero at the bottom-left corner, top-of-stock for Z.
- Layout 12 markers in a 12×1 grid — each marker 8″ tall, 3″ wide, 5 mm spacing between. Total layout footprint about 24″ x 3″ — fits on most hobby-class CNC beds.
- V-carve toolpath for all text simultaneously. Group all 12 text objects under one V-carve operation — Carbide Create and Vectric Aspire both do this in a single click.
- Outline toolpath grouped. All 12 outlines under a single contour operation with onion-skin enabled.
- Tool-change pause between V-bit lettering pass and 1/4″ outline pass. Most hobby CNC firmware (GRBL, FluidNC, Mach3) supports M6 tool-change pauses — verify your machine before starting the run.
For a deeper comparison of Carbide Create vs Vectric Aspire vs free alternatives like Easel and Estlcam, see the best CNC CAM software guide and the side-by-side Carbide Create vs VCarve walkthrough. For Fusion 360-based workflows, the Fusion 360 for hobby CNC guide covers the equivalent tool-grouping in Manufacturing workspace.
The 12 Most Useful Marker Designs
Six families of marker design that cover most gardens:
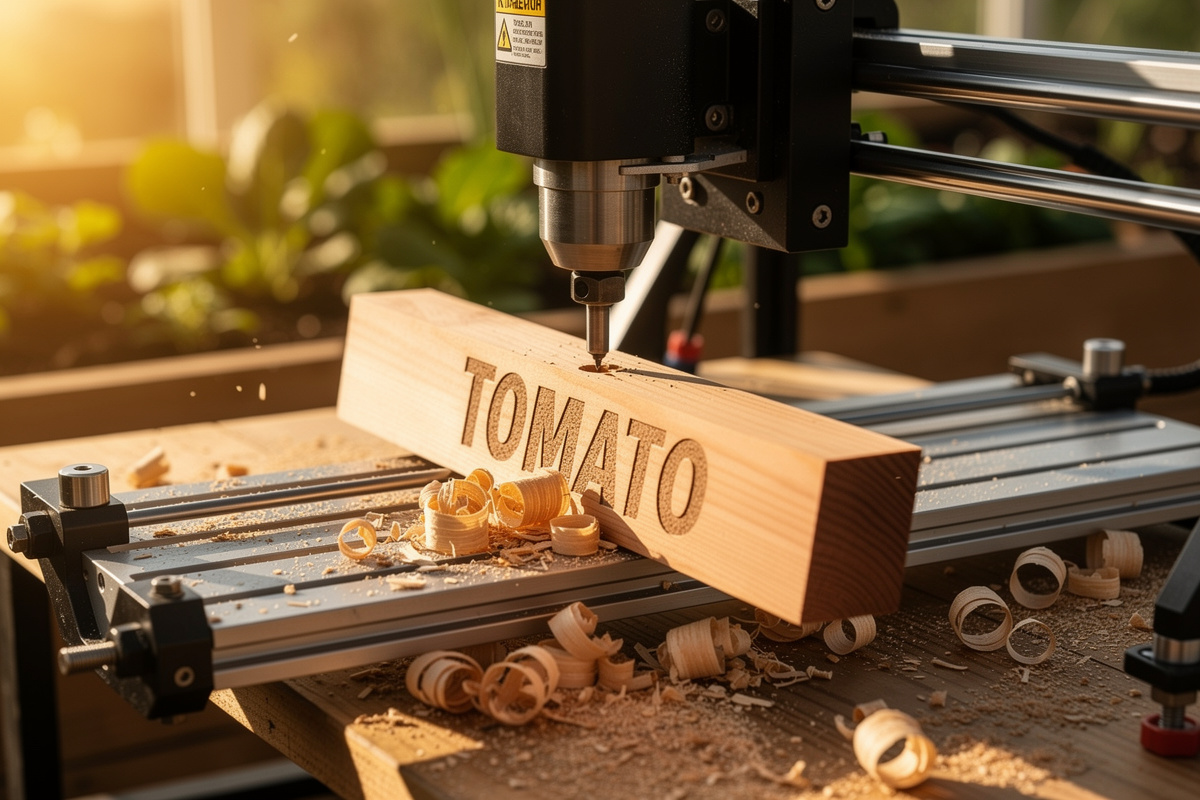
Plant Name + Variety (the default)
Top half: bold plant name (28 mm letter height). Bottom half: variety in smaller text. Example: “TOMATO” / “Sun Gold”. Useful for at-a-glance bed identification when you have 3-4 varieties of the same plant.
Plant Name + Plant Date
Same layout, but bottom shows the planting date. Lets you track succession-planted lettuce or beans without a separate notebook. Compact format, fits 8 lines on a 6″ marker.
Companion Planting Reminders
For your more involved beds: plant name on top, “Pairs with: Basil” on the bottom. Useful in the first year when you’re still learning combinations. The complete container gardening guide on our partner site covers the full companion-planting matrix you’d be marking from.
Bed Section Headers (large markers)
One tall (12-15″) marker per bed labeled “Tomato Bed,” “Herbs,” “Salad Greens.” Useful in larger gardens where multiple beds host the same plant family.
QR-Code Plant Markers (advanced)
V-carve a QR code that links to your gardening notes app entry for that specific planting. Requires a tighter V-bit (45 degrees) and 0.5 mm depth. Modern phones scan engraved QR codes reliably.
Seasonal Markers
Reusable markers carved with months: “MARCH,” “APRIL,” “MAY” for marking succession planting timing in a single bed.
Comparison: Marker Material Choices
| Material | Cost / marker | Outdoor life | Carve time | Recommended for |
|---|---|---|---|---|
| Western red cedar | $0.60 | 3-5 years (sealed) | 5-7 min | Default — best balance |
| White oak | $1.40 | 5-8 years | 8-12 min | Premium long-term markers |
| Pressure-treated | $0.50 | 10+ years | 5-7 min | NEVER — toxins in food garden |
| Reclaimed pallet wood | $0 (free) | 1-2 years | 5-9 min | Single-season trial markers |
| HDPE plastic sheet | $1.10 | 10+ years (stays readable) | 3-5 min | Permanent perennial markers |
| Aluminum (with V-bit + lubricant) | $2.20 | 20+ years | 15-20 min | Heritage tree, fruit bush IDs |
| Acrylic (acrylic-rated end mill) | $0.90 | 5-8 years | 4-6 min | Greenhouse / indoor markers |
Sealing for Outdoor Durability
Unsealed cedar markers fade and gray within one growing season — the carved letters remain visible but the contrast against the weathered face drops significantly. Three sealing options:
- Tung oil (best food-garden choice): Pure tung oil (not “tung oil finish” which contains thinners and metal driers) is plant-safe. Two coats, dry time 24-48 hours between. Renew annually.
- Exterior polyurethane (longest-lasting): Two coats of spar urethane or marine varnish. Lasts 3-5 years before re-coating. Slight amber tint deepens cedar color. Acceptable for vegetable garden use after full cure (72 hours).
- Beeswax + linseed oil paste (food-safe, hand-applied): Mix equal parts beeswax and food-grade linseed oil; warm and apply with cloth. Renew quarterly. Best for herb-garden and edible-flower markers where direct soil contact with sealed wood happens daily.
For the carved letters specifically, mixing carbon-black or burnt-umber pigment into the first coat of sealer fills the V-grooves with permanent color. Wipe excess off the surface immediately. The result is high-contrast lettering that reads from across the yard for years.
What to Carve First This Weekend
- Saturday morning: Mill 12 cedar blanks from a 1×4 stock (rip to 3″ width on table saw, cut to 8″ lengths). Sand surfaces lightly with 120-grit.
- Saturday afternoon: CAM file setup in Carbide Create or Vectric — layout 12 markers, group toolpaths. Run V-carve pass (about 50 minutes for all 12). Tool-change pause. Run outline pass (about 35 minutes).
- Sunday morning: Snap parts from onion-skin, sand cut edges, apply first coat of tung oil with carbon-black pigment for letter fill. Dry 4 hours.
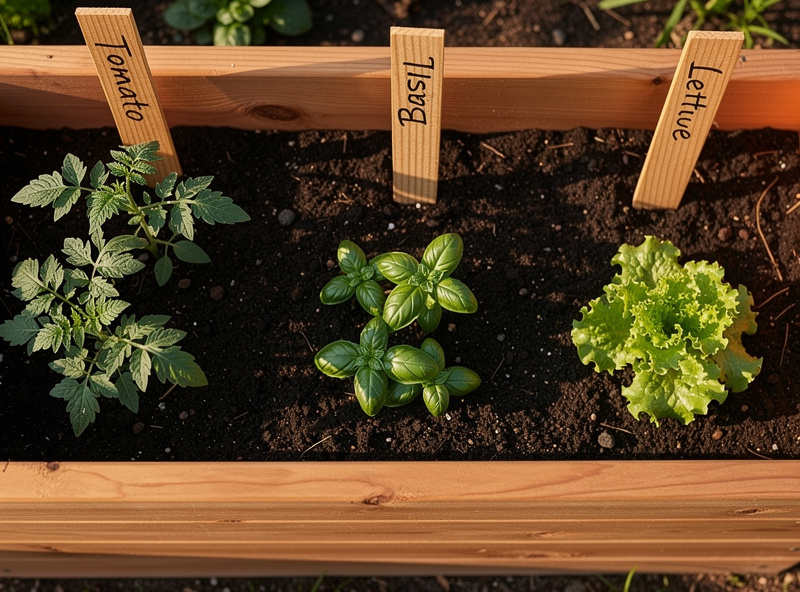
- Sunday afternoon: Apply second coat. Plant in the garden bed with 4 inches buried.
Total: 90 minutes of CNC time, 1.5 hours of finishing work, 12 functional markers. Material cost: about $8 for cedar, $0.50 of pigment, $4 of tung oil — under $13 total.
For broader CNC project ideas where the same cedar-and-V-bit workflow applies — house numbers, drawer organizers, custom signage — see the CNC beginner projects guide. For the workflow that takes a Fusion 360 design from CAD to CAM to finished part, the Fusion 360 to STL workflow covers the multi-tool toolpath setup that scales beyond simple marker projects.
For deeper background on the woodworking side — moisture content, grain orientation, and how each affects CNC carving quality — the WoodWeb professional reference library is the most-cited free resource. For garden-marker design templates as starter SVGs, search Thingiverse for “garden marker SVG” or “CNC garden plant tag.”
Frequently Asked Questions
What CNC do I need to make garden markers?
Any hobby-class CNC with a 1-2 HP spindle handles cedar marker projects. Shapeoko, Onefinity, X-Carve, Carve King, MillRight Carve King are all suitable. The minimum useful work area is 24 inches in one dimension to fit a full marker run on a single piece of stock. A 600 by 800 mm machine is comfortable.
Is cedar safe to use in vegetable gardens?
Yes. Western red cedar’s natural rot resistance comes from harmless oils, not from chemical preservatives. Cedar is the standard recommendation for raised garden beds, garden markers, and any wood in direct food-soil contact. Avoid pressure-treated lumber and any plywood containing formaldehyde glue.
What V-bit should I use for crisp lettering?
A 60-degree V-carve bit at 18,000 RPM with 1.5-2 mm depth of cut gives the best balance of letter clarity and cut speed on cedar. A 90-degree bit produces wider but shallower letters; a 45-degree bit gives finer detail at the cost of carving slowness. Most beginner kits include a 60-degree bit, and that’s the right starting point.
How long do cedar garden markers last outdoors?
Sealed cedar markers stay readable for 3-5 years in most climates with annual tung oil refresh. Unsealed cedar grays in 1 year but the carved letters remain legible for 2-3. Adding carbon black pigment to the V-cut grooves dramatically increases contrast longevity. White oak markers last 5-8 years if you want a longer-life option.
Can I make markers without a CNC?
Yes, with a router and template, hand-cutting, or wood burning. None match the speed and consistency of a CNC for runs of 10+ markers. For one-off markers, a wood-burning pen is the easiest tool. For repeated marker batches across multiple seasons, a CNC pays for itself within 2-3 years through reduced labor and consistency.
What CAM software do I need for marker projects?
Carbide Create (free for Carbide 3D machines, $360 lifetime for others) handles the full workflow easily. Vectric VCarve Desktop ($349) is the long-time hobbyist favorite for V-carve work. Easel (free) is the lowest-friction option for X-Carve owners. Fusion 360 personal license (free with limits) covers everything but has a steeper learning curve.
How do I keep the carved letters visible after a few seasons?
Mix carbon-black or burnt-umber pigment into the first coat of tung oil or polyurethane sealer. Apply liberally so the V-grooves fill with pigment, then wipe the flat surface immediately. The pigment stays trapped in the grooves while the surface sheds it. Re-coat annually for year-after-year contrast.