Safety first. The following information is for educational purposes. CNC machining involves high-speed rotating cutters. Always wear eye and ear protection, never leave a running machine unattended, and verify all feeds and speeds for your specific setup.
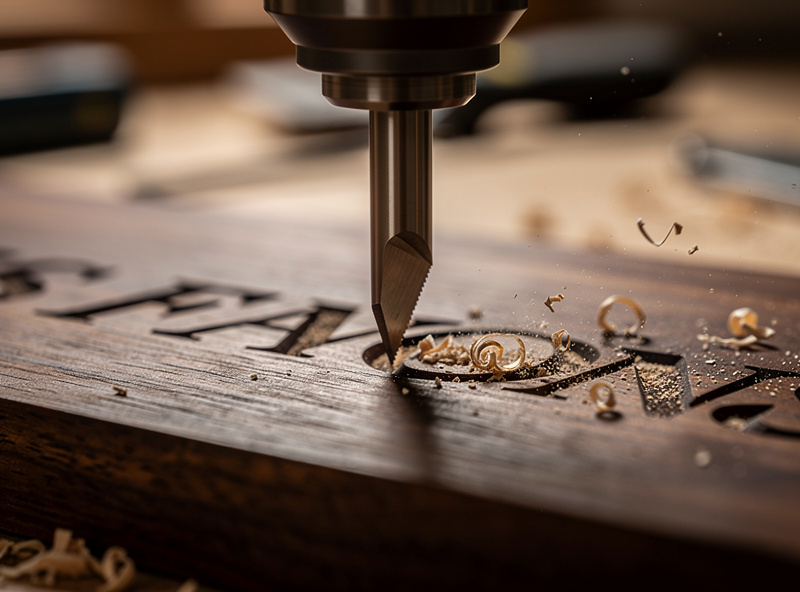
A CNC V-bit is a cutter ground to a point at a fixed included angle — 60° and 90° are the everyday workhorses — used for engraving, sharp-cornered lettering, decorative inlay, and chamfers. Because the tip is a cone, the width of cut changes with depth, which is what lets a single bit carve text of varying line weight. Get the Z-zero right and a V-bit produces detail no flat end mill can.
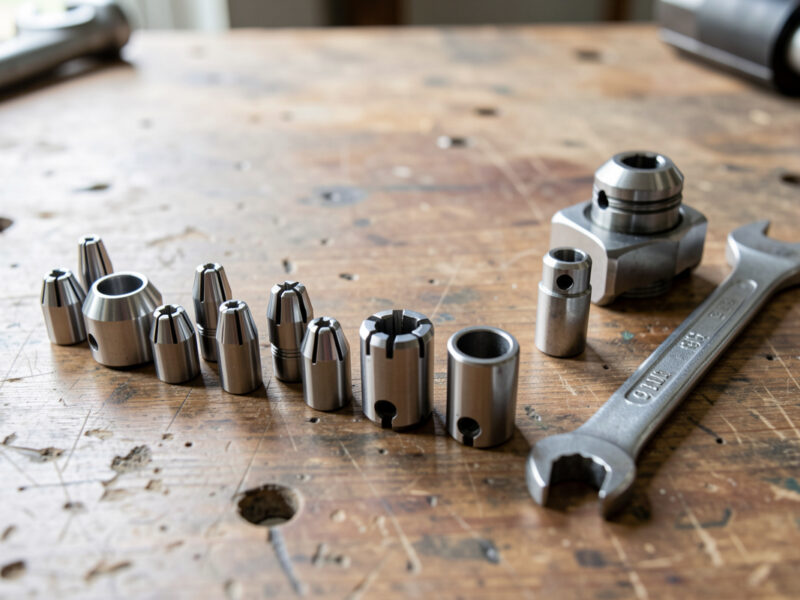
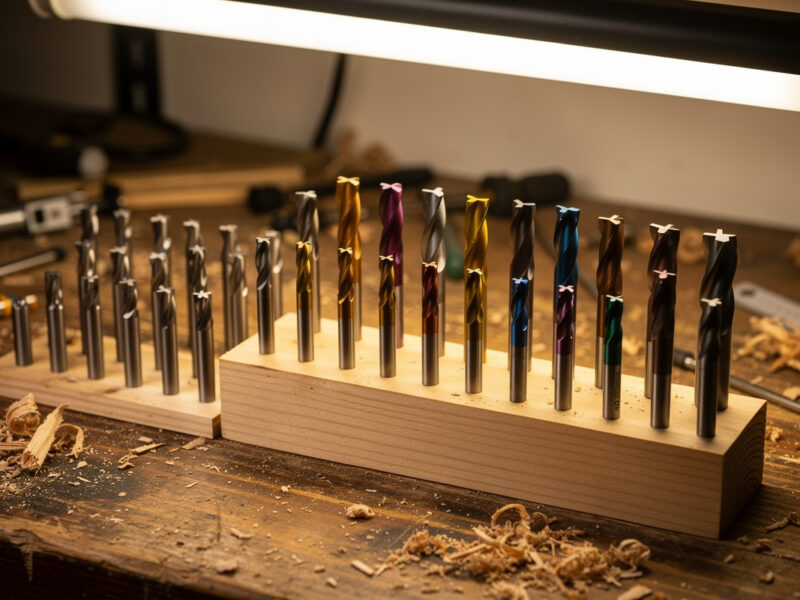
V-carving was the technique that made me fall for sign work on the CNC. On my Shapeoko Pro and Onefinity I keep a 60° and a 90° V-bit loaded more often than almost anything except a roughing end mill, because so much of what people actually want from a desktop machine — names, logos, address plaques, inlay — is V-carved. This is one of the five families in my CNC router bits guide, and it is the one where the desktop CNC earns its keep on a flexy hobby gantry, because the cutting forces are low.
What a V-Bit Actually Is
A V-bit (also called a V-groove or engraving bit) is a conical cutter defined by its included angle — the full angle measured across the point. A 90° bit has a wide, shallow cone; a 60° bit is narrower and reaches into tighter detail; 30° and 20° bits exist for very fine engraving. The cutting happens along the angled flank and the tip, so the deeper the bit plunges, the wider the cut it leaves at the surface.
That depth-equals-width relationship is the whole magic of V-carving. CAM software calculates a variable-depth toolpath so the bit dips deep where a letter stroke is wide and rises shallow where the stroke narrows, sweeping into perfectly sharp inside corners that a round end mill physically cannot reach. It is also why a V-bit can cut crisp serifs and fine script — the point follows the vector outline exactly. The software side of this is in my V-carve toolpath tutorial.
60° vs 90° vs the Fine Engravers
Choosing the angle is choosing between detail and depth-of-cut for a given line width. A 90° bit reaches full line width with very little plunge depth, so it carves fast and shallow — ideal for large lettering and signs where you do not need deep walls. A 60° bit has to plunge deeper to hit the same width, giving steeper, more dramatic V-walls and reaching finer detail, which is why it is my default for smaller text and intricate logos.
Go narrower — 30° or 20° — only for genuinely fine engraving like jewelry-scale text or PCB-style detail, where the tiny tip is fragile and demands light passes. The trade is always the same: wider angle equals faster and shallower but coarser detail; narrower angle equals finer detail but deeper plunges and a more delicate tip. I keep a 60° and a 90° on the shelf and reach for a 30° only when a job genuinely needs it.

Why Z-Zero Is Everything With V-Bits
The single skill that separates clean V-carving from disappointment is an accurate Z-zero. Because cut width is a function of depth, an error of even a few thousandths in your zero changes the line weight across the entire carve — set it too low and your fine text balloons fat and merges; too high and delicate strokes vanish entirely. With a flat end mill a small Z error just means a slightly shallow pocket; with a V-bit it means the wrong-looking job.
I zero V-bits with a touch probe whenever the setup allows, and a careful paper-feel zero when it does not, then I run a test carve on scrap before committing to the real workpiece. Spindle runout matters here too: a wobbling tip widens and roughens the finest strokes. Keeping the bit choked up in a clean collet keeps the point cutting true — the same runout discipline I cover for all small cutters in CNC end mills.
What V-Bits Do Best
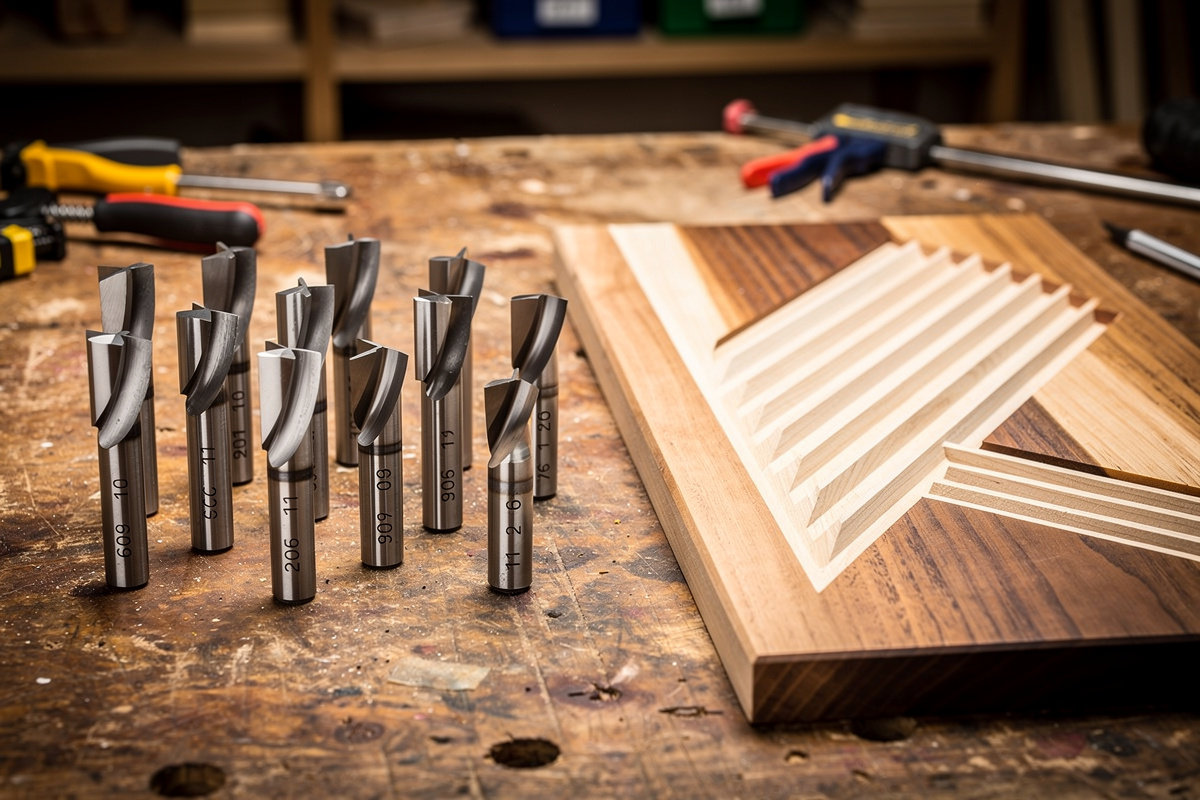
The headline use is V-carving text and logos, but V-bits earn their drawer space several other ways. Chamfering is a big one — a V-bit puts a clean 45° break on an edge (with a 90° bit) that softens a part and removes the sharp corner, something no flat end mill can do in a single pass. They cut decorative grooves and borders, and they are the heart of V-carve inlay, where a male and female V-carve nest together so a contrasting wood or resin sits flush in the surface.
V-bits also engrave metal beautifully at the right feed — brass nameplates and trophy plates take a fine, bright prismatic letter from a sharp V-bit, which I detail in brass CNC engraving. The common thread is that the cut is defined by a point following a vector, so anything that is fundamentally line art — rather than a pocket or a 3D surface — is V-bit territory.
| V-Bit Angle | Best For | Plunge for Given Width | Detail Level |
|---|---|---|---|
| 90° | Large signs, fast lettering, chamfers | Shallow | Coarse |
| 60° | General lettering, logos, inlay | Medium | Fine |
| 45° | Deeper grooves, bold text | Medium-deep | Medium |
| 30° | Small intricate text, fine detail | Deep | Very fine |
| 20° and under | Jewelry-scale, PCB engraving | Deepest | Finest (fragile tip) |
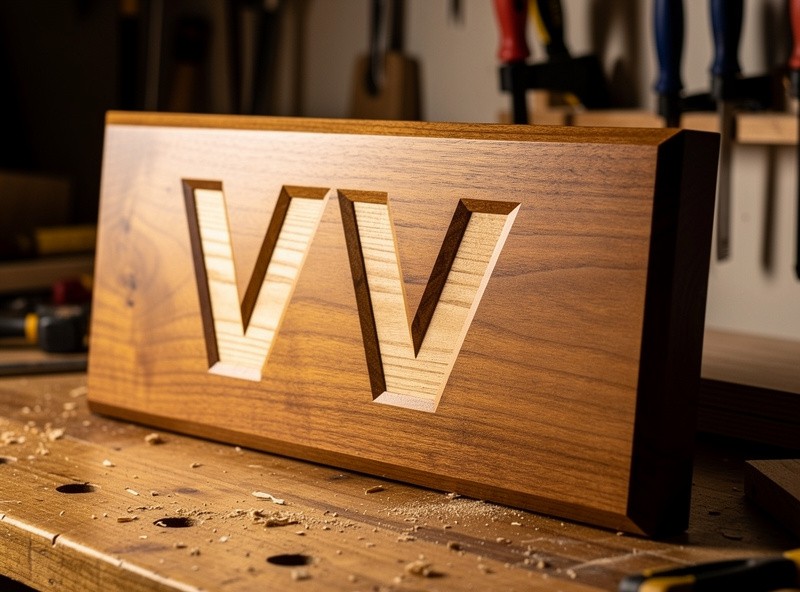
V-Carve Inlay — The Trick Worth Learning
V-carve inlay is the technique that makes people think you have a far more expensive machine than you do. You V-carve a female pocket in the base material and a matching male plug in a contrasting wood, then glue the plug into the pocket and surface it flush. Because both halves are cut with the same V-bit, the angled walls wedge together tightly with no visible gap — a contrasting walnut name inlaid into a maple board looks machined to a tolerance hand tools cannot touch.
The secret is the relationship between the female pocket’s start depth and the male plug’s flat depth, which your CAM sets up automatically when you use its inlay function. I run inlay with a 60° bit for crisp corners and always cut a test pair in scrap first, because the glue-and-surface step is unforgiving if the fit is loose. It is the single most impressive thing a beginner can make once they understand V-bits — and it costs nothing but a bit and two offcuts.
Feeds for V-Bits
V-bits cut differently from end mills because the engagement changes constantly with depth, so I treat the feed conservatively and let the geometry do the work. The tip is the most fragile part of the tool — especially on narrow angles — so I keep plunge moves gentle and ramp into deep sections rather than stabbing straight down. Spindle speed runs in the same range as a same-diameter end mill in that material, and the feed I pull back a touch from a flat-cutter feed to protect the point.
For wood and acrylic the numbers track my general material settings, with the caveat that a V-bit’s variable engagement means you watch the finish on the test carve rather than trusting a single feed. My starting points are in the CNC feeds and speeds chart. The one rule I never break: a sharp V-bit and a clean test pass beat any feed-rate guess on the real part.
Which V-Bits to Buy
Start with a 60° and 90° V-bit set — between them they cover the vast majority of sign and lettering work. If you want to step into fine engraving and inlay, add a 30° engraving bit for small text. For metal engraving, a sharp solid-carbide V-bit holds its point far longer than a coated budget cutter.
Buy solid carbide, keep the tips protected when stored (a chipped point ruins fine work), and replace a V-bit the moment the smallest strokes start looking fuzzy — a dull tip is the most common reason a previously crisp carve goes soft.
Disclosure: As an Amazon Associate I earn from qualifying purchases. The links above point to the V-bit types I actually run for sign and inlay work; buying through them supports this site at no extra cost to you.
Frequently Asked Questions
What is a CNC V-bit used for?
A V-bit carves sharp-cornered lettering, logos, decorative grooves, chamfers, and V-carve inlay. Because the cutting tip is a cone, cut width changes with depth, letting one bit produce variable-width strokes and reach perfectly sharp inside corners a round end mill cannot.
What is the difference between a 60 and 90 degree V-bit?
A 90 degree bit reaches full line width with a shallow plunge, so it carves large lettering fast and shallow. A 60 degree bit plunges deeper for the same width, giving steeper walls and finer detail. Use 90 for big signs, 60 for general lettering, logos, and inlay.
Why is my V-carving coming out the wrong size?
Almost always an inaccurate Z-zero. Because cut width depends on depth, a zero set too low makes strokes fat and merged, too high makes fine detail vanish. Set the zero with a touch probe or careful paper-feel and run a test carve in scrap before the real part.
Can a V-bit do inlay?
Yes, V-carve inlay is one of its best tricks. You carve a female pocket and a matching male plug in contrasting wood with the same V-bit, glue the plug in, and surface it flush. The matching angled walls wedge together with no visible gap. Use the CAM inlay function and test in scrap.
What angle V-bit is best for fine engraving?
A 30 degree bit suits small intricate text and fine detail, and 20 degree or narrower bits handle jewelry-scale and PCB engraving. The narrow tip is fragile, so run light plunge moves. For general sign lettering a 60 degree bit gives better tip strength and still cuts fine.
Do I need a special V-bit to engrave metal?
Use a sharp solid-carbide V-bit and the right feed. Brass and aluminum take a clean bright prismatic letter from a carbide V-bit run conservatively. Avoid soft budget cutters that lose their point quickly, and keep the tip from chipping in storage to preserve fine detail.