Safety first. The following information is for educational purposes. CNC machining involves high-speed rotating cutters. Always wear eye and ear protection, never leave a running machine unattended, and verify all feeds and speeds for your specific setup.
Tabs and onion skinning solve the same problem from two directions: how to keep a part from breaking loose and launching at the exact moment a profile cut finishes it. When the cutter completes the perimeter, the part is no longer attached to anything — and on a hold that doesn’t grip the part itself, that’s when it gets thrown by the spindle or recut into ruin. Tabs leave small bridges of material connecting the part to the surrounding stock; onion skinning leaves a paper-thin floor under the whole part instead of cutting all the way through. Both are programmed in CAM, both cost nothing in hardware, and choosing between them is a real decision with real trade-offs.
This is how each one works, when I reach for which, and how they fit alongside the physical holds in my CNC workholding guide. They’re the fifth family of workholding — the cut-strategy holds — and they pair with, rather than replace, the clamps, vacuum, and tape-and-glue methods that hold the stock itself.
A quick note: some links below are affiliate links. Buy through one and I may earn a small commission at no extra cost to you. I only point to gear I’d actually use cleaning up my own parts — details on my disclaimer page.
The Problem Both Solve: The Final-Pass Launch
Picture a part being profiled out of a sheet held down by tape or vacuum. The hold grips the sheet, not the individual part. As the cutter closes the last bit of the perimeter, the part separates — and now it’s a loose chunk sitting in a pocket with a cutter spinning next to it at thousands of RPM. Best case it shifts and ruins its own edge; worst case it lifts into the tool, breaks the bit, and becomes a projectile. This is one of the most common ways a clean job turns into a broken-bit story on the very last pass.
Tabs and onion skinning both prevent it by keeping the part attached to the held stock until you deliberately release it after the machine stops. The part never becomes loose while the spindle is running. The difference is purely in how they keep it attached — small bridges in specific spots, or a continuous thin floor everywhere — and that difference drives when each is the right call.
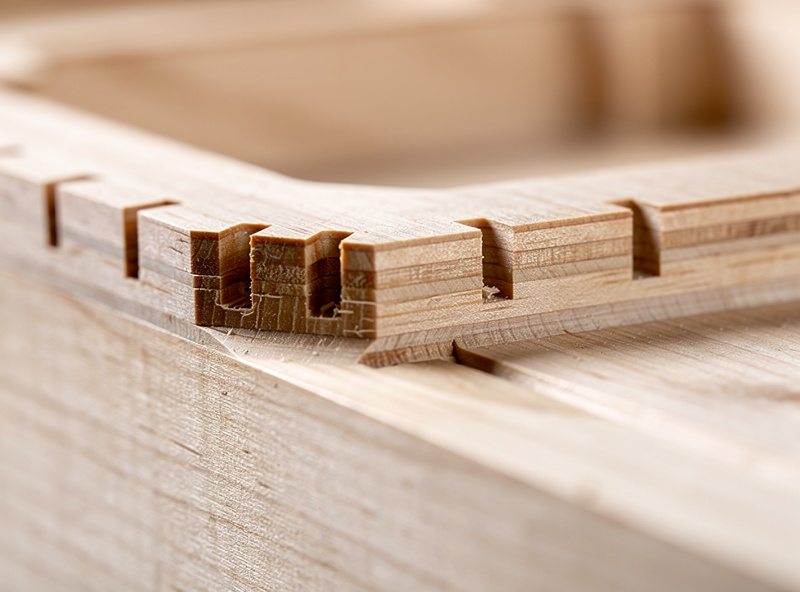
How Tabs Work
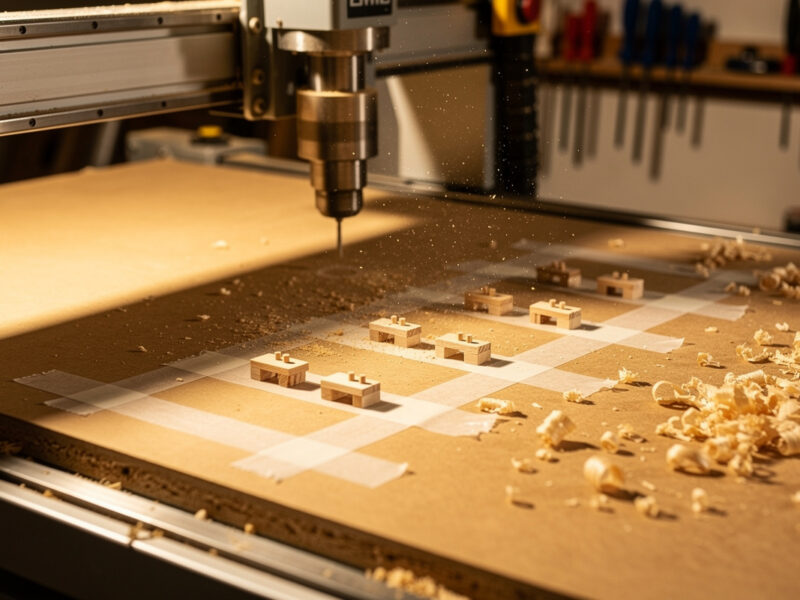
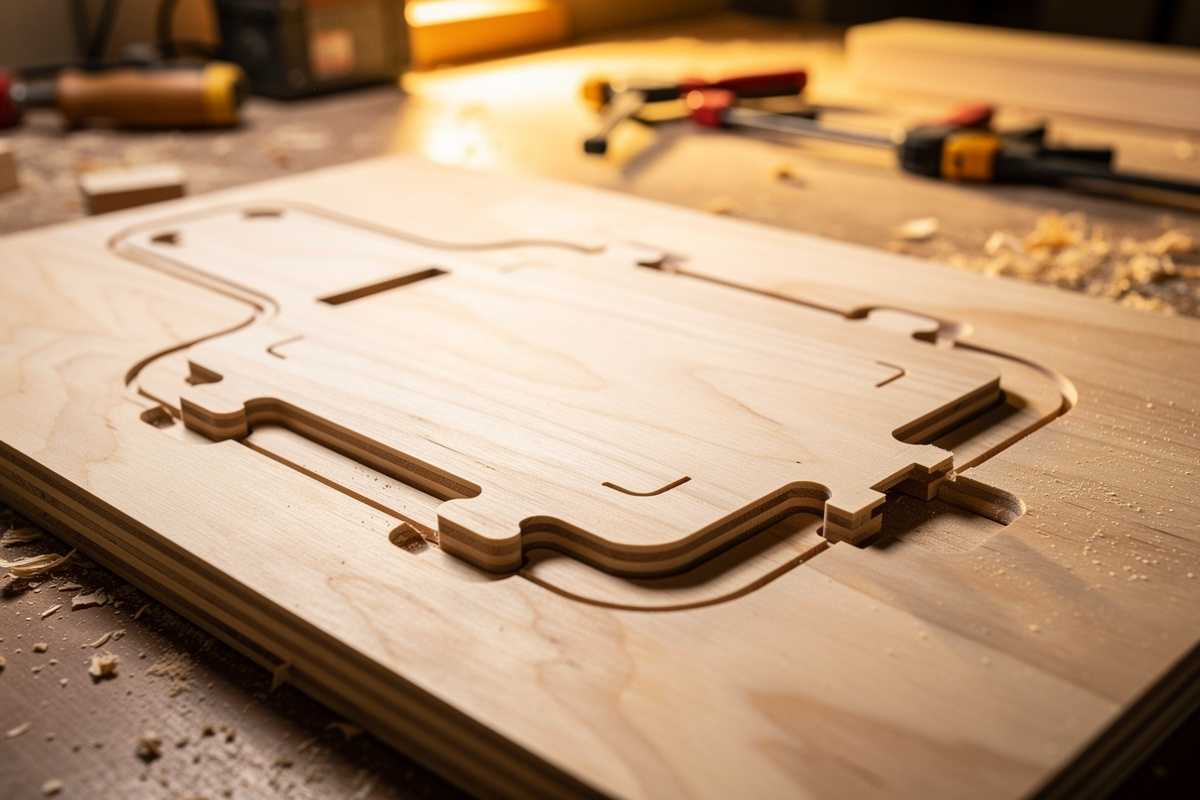
Tabs are small bridges of uncut material — typically a few millimetres wide and a millimetre or two tall — left at intervals around the part’s perimeter. Your CAM software places them automatically or where you click, lifting the cutter slightly to skip over each tab spot on the final depth pass. After the program finishes, you cut or snap the tabs to free the part and clean up the little nubs left behind.
Tabs are efficient and strong. A handful of well-placed tabs holds a part securely with minimal extra machining, and you can size and space them to match the part’s weight and the cutting forces — more and bigger tabs for a heavy part or aggressive cut, fewer for a light one. The downsides are the cleanup (every tab leaves a nub to trim and sand) and the cosmetic interruption they leave on the edge. For most profiling jobs in wood and plywood, tabs are my default — fast, reliable, and easy to clean up with a flush-cut saw or a sharp chisel from a good wood chisel set.
Placement is where tabs reward a little thought. I put them on straight sections of the perimeter rather than on curves or corners, because a nub on a flat edge is far easier to clean flush than one on a radius. I avoid placing tabs where a feature needs to be dimensionally perfect, and I keep them off any edge that mates with another part. For a long or heavy part I add tabs near the unsupported ends, where the part would sag and pinch the cutter as it separates. The CAM default of evenly spaced tabs is a fine starting point, but moving a few of them deliberately — onto straight runs, away from critical edges, toward the heavy end — is the difference between tabs that help and tabs that leave you sanding a curve for ten minutes.
Tab dimensions matter too. Too small and they snap mid-cut, defeating the purpose; too large and you’re sawing and chiselling forever. For typical hardwood and ply parts a tab a few millimetres wide and roughly a third of the stock thickness tall holds well while still trimming easily. Thicker or heavier stock wants taller tabs; thin sheet wants short ones so they don’t tear the material when you snap them. I tune those numbers to the part rather than trusting one default for everything.
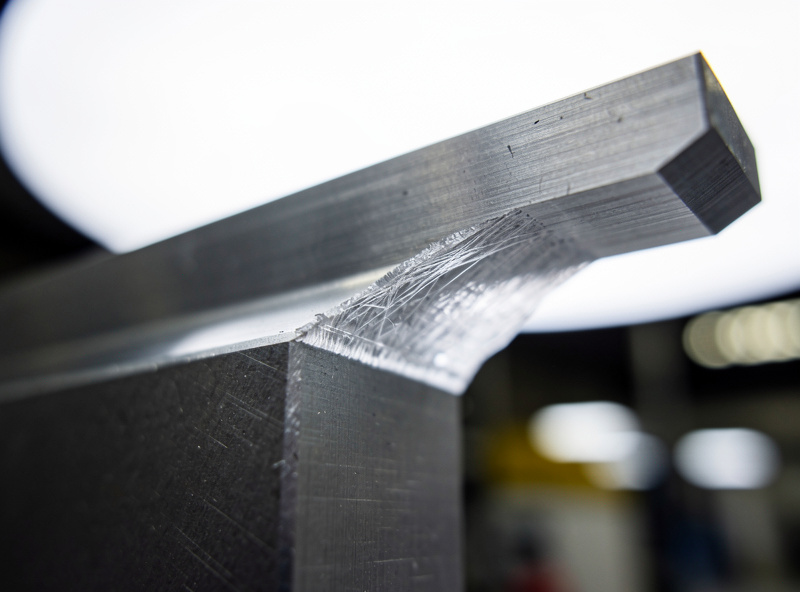
How Onion Skinning Works
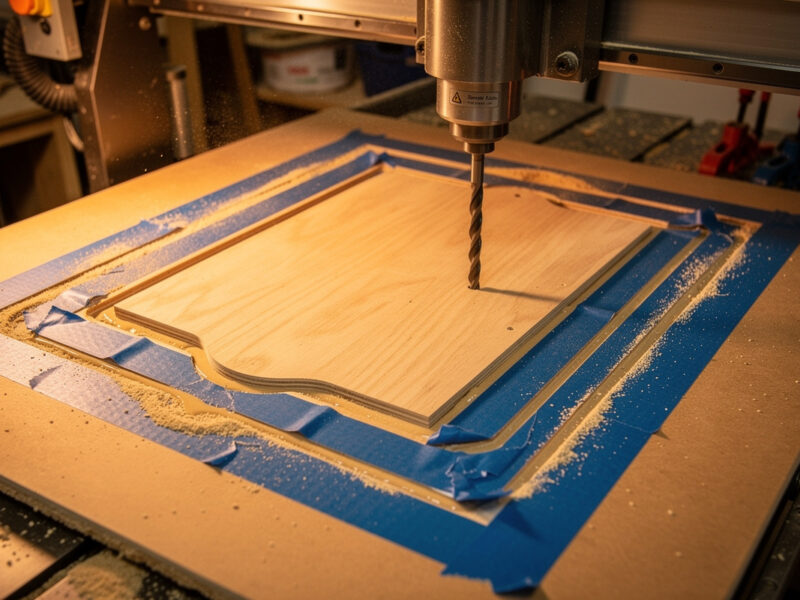
Onion skinning leaves a continuous thin floor of material — the “skin” — under the entire part instead of cutting fully through. You program the profile to stop a few tenths of a millimetre above the bottom, so the part stays connected across its whole footprint by that uniform membrane. After the cut, you separate the part by slicing or sanding through the thin skin.
The advantage is a perfectly clean, uninterrupted edge — there are no tab nubs anywhere on the perimeter, because the connection is on the bottom face, not the edge. That makes onion skinning the better choice for parts where edge cosmetics matter, for very small or delicate parts that tabs would distort, and for thin flexible materials where a uniform skin holds more gently than point-load tabs. The trade-off is that you machine the whole skin away afterward — more cleanup across the entire bottom face — and getting the skin thickness right takes a dialed-in Z-zero, since too thick is a fight to remove and too thin lets the part break free early.
Skin thickness is the whole game with onion skinning. A few tenths of a millimetre is the usual target — thick enough to hold the part through the cut, thin enough to slice or sand through quickly afterward. That precision is why onion skinning depends so heavily on an accurate, repeatable Z-zero and a flat reference surface: if your Z-zero is off by a couple of tenths, your skin is either gone (part breaks loose mid-cut) or twice as thick as planned (a real chore to remove). On a wasteboard that varies in height across the bed, the skin thickness varies with it, which is exactly why I onion-skin only on a freshly surfaced board. Separating the part is usually a job for a sharp knife on thin skins or a light sanding pass on the back, and on softer materials you can sometimes just flex the part free.
How I Choose Between Them
My decision comes down to the part. For ordinary profiling in wood and ply where a few edge nubs don’t matter, tabs win on speed and simplicity. For parts where the edge must be flawless, for tiny or fragile parts, and for thin flexible sheet that point-load tabs would distort, onion skinning wins. Material thickness plays in too: onion skinning needs a reliable, repeatable Z-zero to leave a consistent skin, which is far easier on a wasteboard I’ve surfaced flat so the bottom reference is true everywhere.
The two aren’t mutually exclusive with physical holds — they layer on top. I’ll vacuum-hold a sheet and add tabs so each part stays put as it’s freed, or tape a part down and onion-skin a delicate cutout. Cut-strategy holds are the safety net that catches what the physical hold can’t: the moment a part separates. Thinking of them as complementary rather than alternative is what keeps the last pass from being the dangerous one. A deburring tool makes quick work of cleaning up either tab nubs or onion-skin remnants once the part is free.
The Mistakes That Catch People Out
Both techniques have a few classic failure modes worth knowing before you trust a part to them. With tabs, the big one is too few or too small: a single thin tab on a heavy part snaps the moment cutting force hits it, and now you have the exact launch you were trying to prevent. The fix is more tabs, bigger tabs, and tabs placed where the part would otherwise sag. The second tab mistake is placing them on critical or curved edges, which turns cleanup into a precision sanding job instead of a quick flush trim.
With onion skinning, the recurring trap is Z-zero drift. Because the skin is so thin, any error in your Z reference or any unevenness in the wasteboard ruins the result — too thin and the part frees early and gets recut, too thick and you fight to remove it. Setting Z-zero carefully off a surfaced board solves most of it. The other onion-skin mistake is using it on thick stock where the skin you’d need to hold a heavy part securely is too thick to remove cleanly; that’s a job for tabs. And with either method, the universal error is forgetting that a freed inside cutout — a slug — can still lift into the spindle, so I tab or skin those too rather than letting them float loose. Plan the release before you cut, and neither technique surprises you.
Tabs vs Onion Skin at a Glance
| Factor | Tabs | Onion skin |
|---|---|---|
| Connection | Small bridges on the edge | Thin floor across the bottom |
| Edge quality | Nubs to clean up | Flawless, uninterrupted |
| Cleanup effort | Trim each tab | Remove whole skin |
| Best for | General profiling, wood/ply | Delicate, small, or cosmetic parts |
| Setup demand | Easy, forgiving | Needs reliable Z-zero |
| Hold tuning | Size/number of tabs | Skin thickness |
Keep Building
Tabs and onion skinning are the cut-strategy layer of workholding — the safety net that catches a part the instant it separates from the stock. Pair them with the right physical hold and a dialed-in wasteboard and the final pass stops being the one that breaks bits. To go deeper on the methods that hold the stock itself, start with the main workholding guide and the deep dives on clamps, the DIY vacuum table, and the painter’s tape and CA glue method. The broader workholding and fixturing fundamentals tie the whole picture together.