Safety first. The following information is for educational purposes. CNC machining involves high-speed rotating cutters. Always wear eye and ear protection, never leave a running machine unattended, and verify all feeds and speeds for your specific setup.
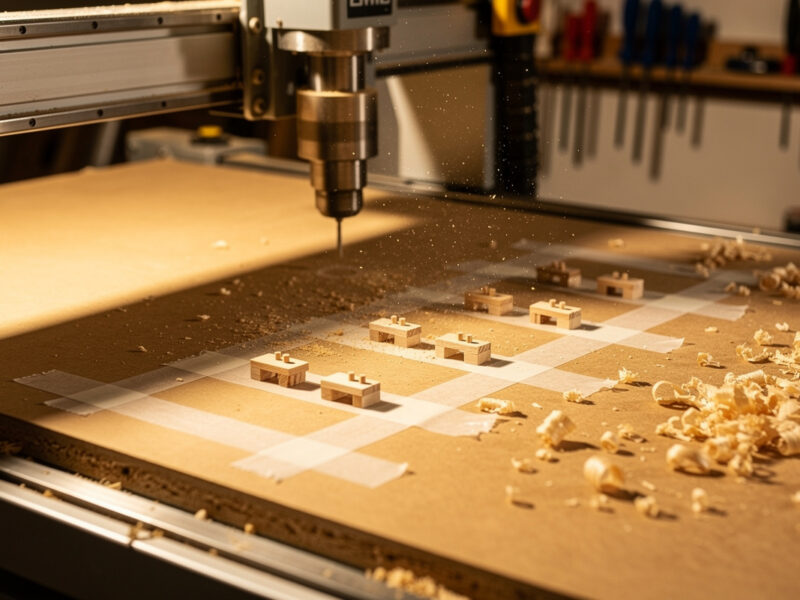
The painter’s tape and CA glue method is the workholding trick that feels like cheating the first time it works. You stick painter’s tape to the workpiece, painter’s tape to the spoilboard, then glue the two tape layers together with cyanoacrylate — and suddenly a part is held strongly enough to take aggressive cuts, with no clamps anywhere in the toolpath. When the job’s done, solvent or a sharp tug releases the tape and the part lifts clean, with no glue bonded to your stock or your fixture plate. It’s my go-to for flat parts that mechanical clamps would distort or that need their entire top face machined.
This is exactly how the method works, why the tape layers matter, and where it beats both plain double-sided tape and a vacuum table. It sits alongside the other holds in my CNC workholding guide; when the part is too heavy or thick for adhesive, the clamps deep dive and the vacuum table guide cover the alternatives.
A quick note: some links below are affiliate links. Buy through one and I may earn a small commission at no extra cost to you. I only point to supplies I actually keep on my own bench — details on my disclaimer page.
Why Tape-and-Glue Holds So Well
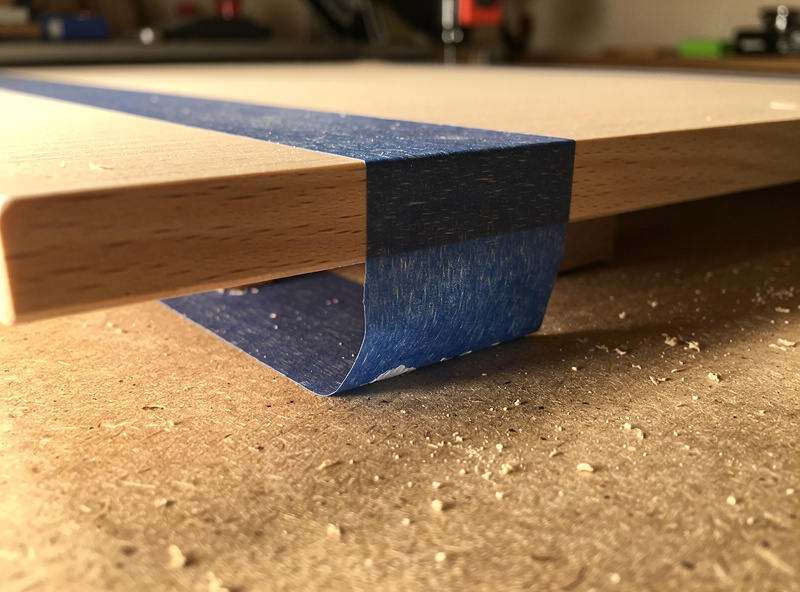
The genius of the method is the double tape layer. CA glue bonds ferociously — bond it directly to your workpiece and you’ll never get it off cleanly, and bond it to your fixture plate and you’ve ruined the plate. Painter’s tape solves both problems at once. Tape sticks to the workpiece with a removable adhesive, tape sticks to the spoilboard the same way, and the CA glue bonds the two tape backings to each other. The glue joint is rock solid for the cut, but the tape-to-surface bonds peel away cleanly afterward.
That stacked bond takes real cutting forces — far more than plain double-sided tape, which holds only as well as its own adhesive. With tape-and-glue I’ve run aggressive profiling and pocketing on parts I’d never trust to carpet tape alone. The hold is also distributed across the whole footprint rather than concentrated at clamp points, so thin and delicate parts stay flat instead of bowing between clamps.
There’s a subtle reason it beats carpet tape on demanding cuts. Double-sided tape relies on the shear and peel strength of a single soft adhesive layer, which creeps under sustained load and lets go at the edges where peel forces concentrate. The CA-welded tape stack behaves more like a rigid bonded joint — it doesn’t creep, and because the bond is continuous across the footprint there’s no soft edge for a cut to start peeling. That rigidity is also why the method keeps thin parts genuinely flat: the part is effectively laminated to the table for the duration of the cut rather than just stuck to it.
The Method, Step by Step
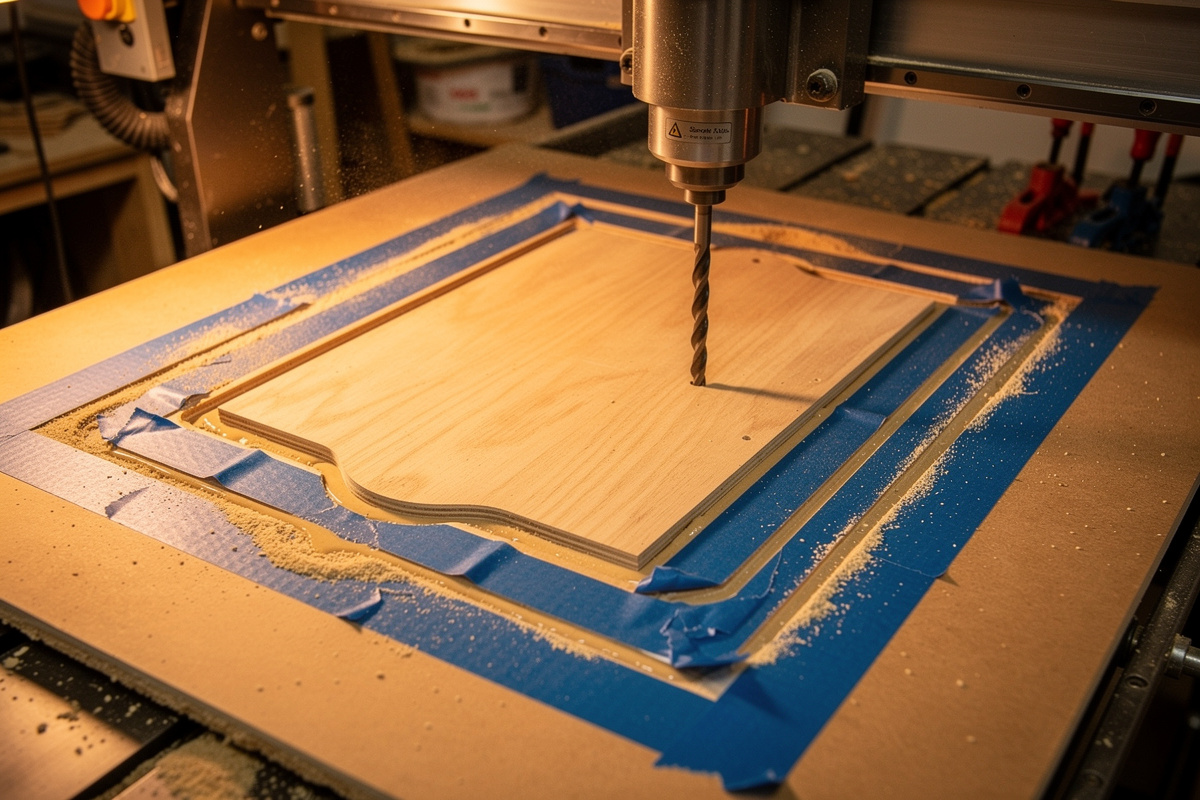
The technique is simple once you’ve done it once. Apply a layer of painter’s tape to the back of the workpiece, pressing it down hard to fully wet out the adhesive. Apply a matching layer of painter’s tape to the spoilboard or fixture plate where the part will sit, pressing it just as firmly — weak tape adhesion is the most common failure, so this pressing step matters. Run a thin bead of CA glue on one tape layer, mist the other with accelerator, then press the part down onto its spot and hold for several seconds while the glue snaps off.
Use thin CA for the strongest, fastest bond on flat mating tape surfaces. A reliable pairing of thin CA glue with accelerator is the heart of the method — the accelerator cures the joint in seconds so you’re not standing there holding the part. Keep the bead modest; you want the tape layers welded, not a flood of glue squeezing out the edges. Then machine as you normally would, confident the part won’t move.
Two habits make the difference between a bond that holds and one that surprises you. First, glue one tape layer and accelerate the other, not both — mixing accelerator into the glue bead can flash it off before the surfaces meet. Second, apply firm, even pressure across the whole part when you set it down, not just at the center, so every tape strip makes contact before the glue snaps. A few seconds of deliberate press beats slapping the part down and hoping. With accelerator the joint is ready to cut almost immediately, which is part of why this method is faster than its reputation suggests once you’ve got the rhythm.
Tape Choice Makes or Breaks It
Not all painter’s tape is equal for this. You want a tape with strong backing and adhesive that grips firmly but still releases cleanly — a quality blue or green painter’s tape, not the cheapest bargain roll whose adhesive either fails under load or tears apart on removal. The tape’s job is to hold the CA bond to the surfaces, so weak tape is the weak link. I keep a roll of good wide wide painter’s tape dedicated to workholding so I’m never tempted to use a worn-out roll mid-job.
Width matters too: wider tape means fewer seams and more continuous bond area. For a larger part I lay strips edge to edge across the whole footprint rather than just framing the perimeter, which spreads the hold and keeps a thin part dead flat. Press every strip down hard — the single biggest improvement most people can make to their results is simply burnishing the tape properly before gluing.

Releasing the Part Cleanly
Removal is where the double-tape design pays off. After the cut, slide a thin putty knife or palette knife under the part and work it along the tape line — the tape-to-surface bond peels apart while the CA-bonded tape backings stay together. The part comes free with tape stuck to its back, which peels off, leaving clean stock. Any tape residue wipes away with a little isopropyl alcohol. Nothing is bonded permanently to either the part or the fixture, which is the whole point.
If a stubborn bond resists, a little isopropyl alcohol or acetone wicked into the tape line softens it — though with good tape and proper technique you rarely need solvent to release. Keep a CA glue debonder on the shelf for the occasional time a bead of glue ends up where you didn’t want it. Plan the release before you cut, just as you plan clamp clearance — knowing how a part comes free is part of holding it well.
When I Reach for Tape-and-Glue
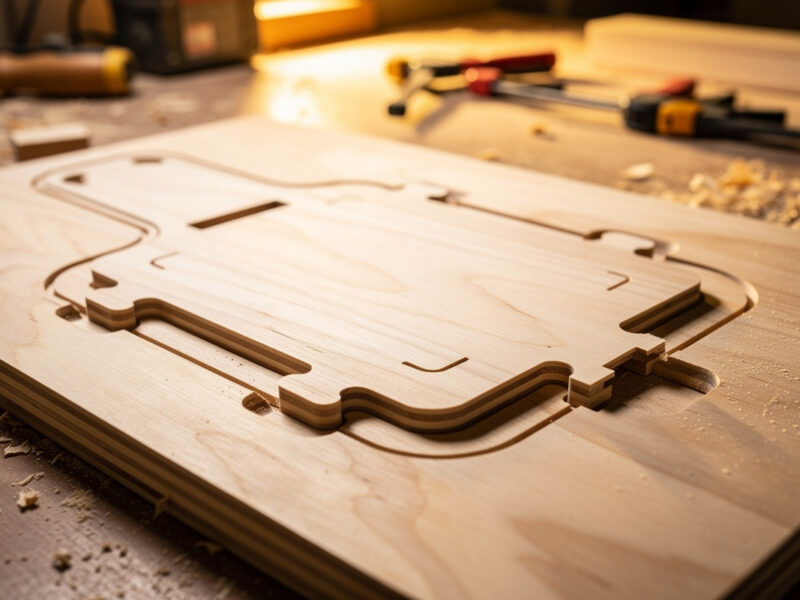
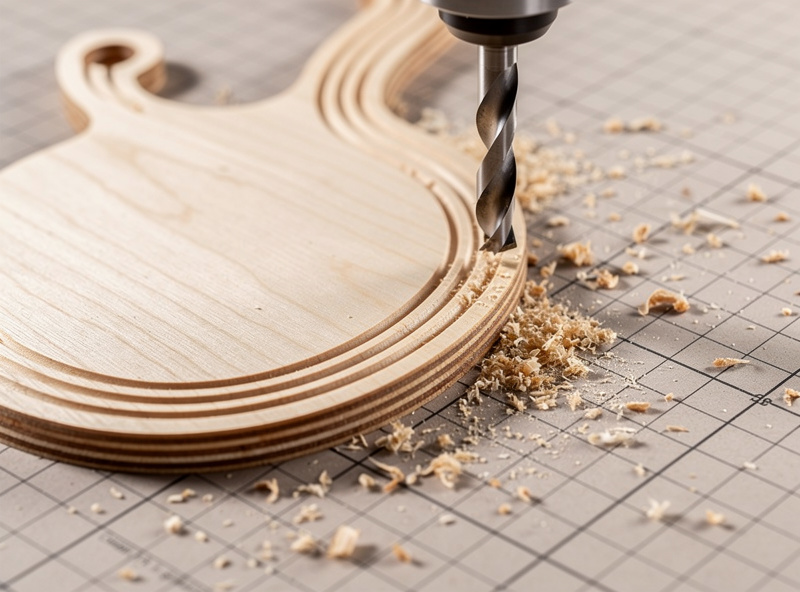
This method earns its keep on a specific kind of part: flat, with a clean back face, that needs aggressive machining or full top-face access, and that mechanical clamps would distort or get in the way of. Intricate sign work where clamps would block half the toolpath, thin plywood inlays that bow under edge clamps, small flat parts a vise can’t grip well — these are textbook tape-and-glue jobs. I’ll also use it as a backup hold, taping down an offcut or a slug that a profile would otherwise free into the spindle.
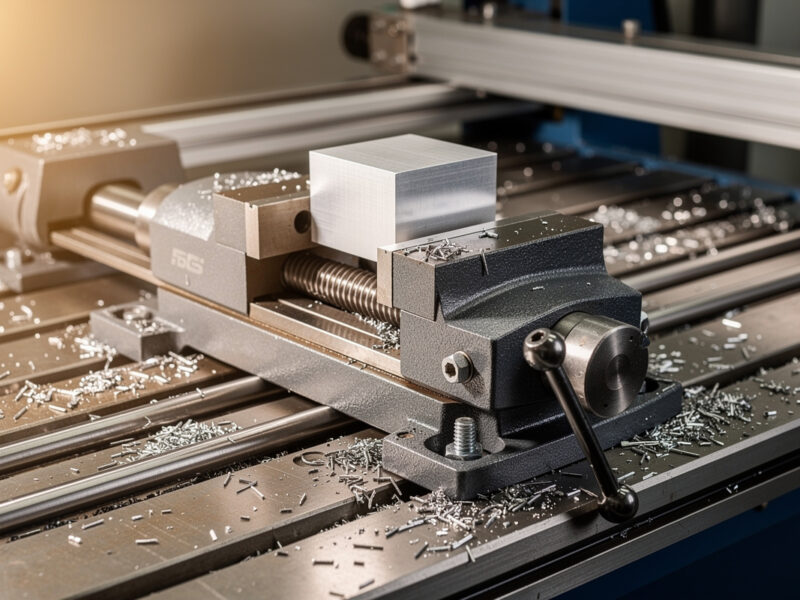
It’s not the answer for everything. Thick, heavy stock takes loads the tape bond can struggle with; non-flat parts can’t make the full-contact tape bond it depends on; and very deep or long-running aggressive cuts in metal still belong in a vise. The honest framing is that tape-and-glue lives between plain tape and full mechanical hold: stronger and flatter-holding than carpet tape, cheaper and more flexible than a vacuum table, but limited to flat parts. Knowing exactly where it sits in that lineup is what lets me pick it instantly when a part calls for it.
Tape-and-Glue vs Tape vs Vacuum
| Method | Hold strength | Setup time | Best for | Limits |
|---|---|---|---|---|
| Double-sided tape | Low-medium | Fast | Thin sheet, light cuts | Tears free under heavy cuts |
| Painter’s tape + CA glue | High | Medium (cure) | Aggressive cuts on flat parts | Flat surfaces only |
| Vacuum table | Medium (area-dependent) | Very fast per part | Large flat sheet, production | Small or porous parts |
Frequently Asked Questions
Why use painter’s tape with CA glue for CNC workholding?
The double tape layer lets CA glue bond strongly without sticking to your part or fixture. Tape grips each surface with removable adhesive, and the glue bonds the two tape backings together. The joint holds aggressive cuts yet peels apart cleanly afterward.
What kind of CA glue should I use?
Thin cyanoacrylate gives the strongest, fastest bond on the flat mating tape surfaces. Pair it with accelerator so the joint cures in seconds rather than making you hold the part. Use a modest bead so the tape layers weld without glue flooding out the edges.
How strong is the tape and glue method?
Far stronger than plain double-sided tape. The stacked tape-and-CA bond takes aggressive profiling and pocketing on flat parts, with the hold spread across the whole footprint so thin parts stay flat instead of bowing between clamp points.
How do I remove a part held with tape and CA glue?
Slide a thin putty knife along the tape line after the cut. The tape-to-surface bond peels apart while the glued tape backings stay together, so the part lifts free with tape on its back. Peel that off and wipe residue with isopropyl alcohol.
Will the tape and glue method work on aluminum?
Yes, for flat aluminum parts with careful surface prep and firmly pressed tape, though heavy aluminum cuts may still call for a vise. Clean the back of the stock so the tape adhesive grips fully, and lay continuous tape strips for maximum bond area.