Safety first. The following information is for educational purposes. CNC machining involves high-speed rotating cutters. Always wear eye and ear protection, never leave a running machine unattended, and verify all feeds and speeds for your specific setup.
A DIY CNC vacuum table is the upgrade that quietly ended an entire category of failure on my bench — the “the part flew off the spoilboard” mornings. For flat sheet work, it holds the whole part down with zero clamps in the way, so you can machine the full top surface and load the next blank in seconds. Built from MDF and fed by a shop vac, it costs little and is well within reach of any hobby setup. The catch is that vacuum holding is governed by physics, not optimism, and knowing where it works and where it quits is the difference between a table that earns its keep and one that disappoints.
This is the build, the math, and the honest limits, sitting alongside the other methods in my CNC workholding guide. Vacuum is one of five families of hold; if you’re not sure it’s the right one for your parts, that decision tree is in the main guide, and the clamps and hold-downs deep dive covers what to use when vacuum can’t.
A quick note: some links below are affiliate links. Buy through one and I may earn a small commission at no extra cost to you. I only point to gear I’d actually plumb into my own vacuum setup — details on my disclaimer page.
How Vacuum Workholding Actually Works
Vacuum holds a part by removing air from under it so atmospheric pressure presses it down against the table. The hold force is simple: vacuum pressure multiplied by the sealed contact area. That’s the whole equation, and it explains everything about where vacuum wins and loses. A large flat panel has enormous sealed area, so even a modest vacuum holds it firmly. A small part has almost no area, so the same vacuum barely holds it at all.
A typical shop vacuum pulls somewhere in the range of 5 to 8 PSI of vacuum. Run the numbers on a 300mm by 300mm part: roughly 90,000 square millimetres of area, which at shop-vac vacuum gives several hundred newtons of holding force — plenty for engraving and light profiling, marginal for aggressive material removal. Double the part size and you roughly quadruple the area and the hold. That scaling is why vacuum is a production sheet-goods tool and a poor choice for small parts.
It’s worth internalising that vacuum holds straight down and resists lift well, but resists sideways sliding only through friction between the part and the table. That changes how I cut on a vacuum table: I favour conservative depths of cut and let adaptive toolpaths spread the lateral load rather than slamming the cutter into a full-width slot that could shove the part sideways. A textured or slightly grippy top surface helps friction, and so does a downcut bit that keeps pressing the part down. The hold is strongest exactly where sheet-goods cutting is gentlest, which is why the two suit each other so well.
Building an MDF Vacuum Table
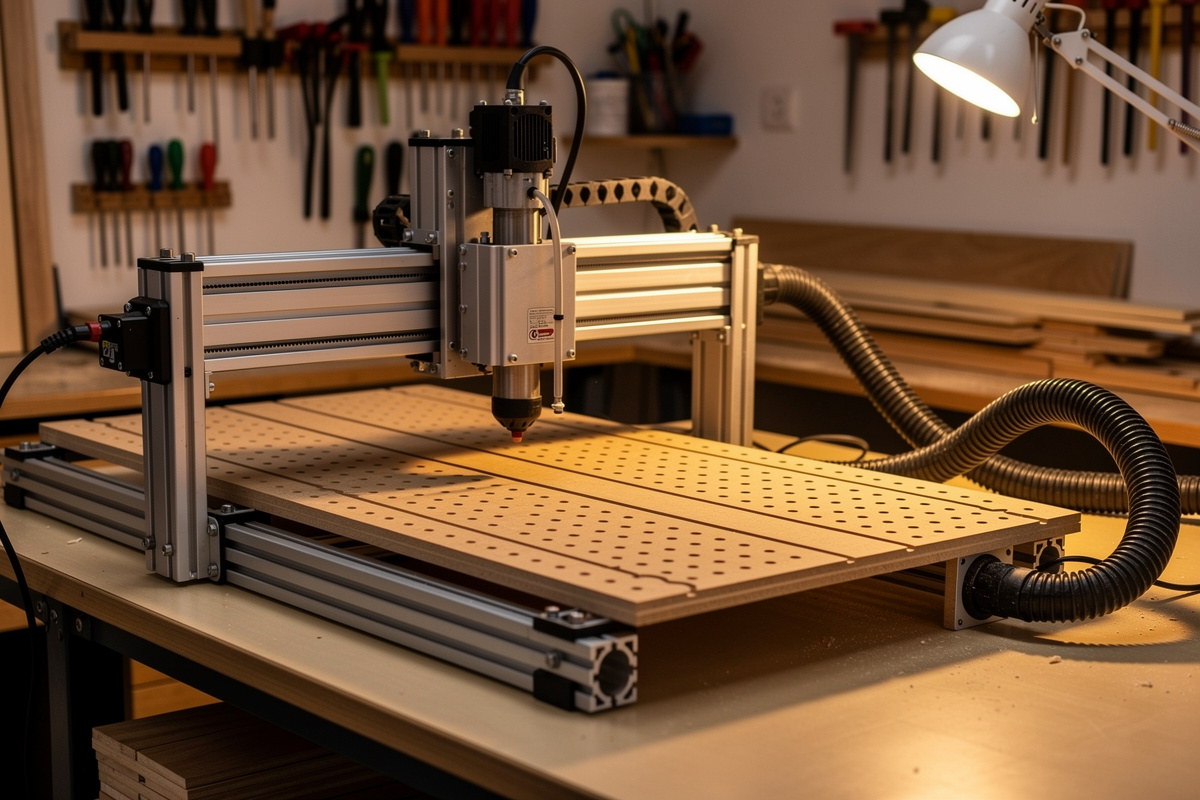
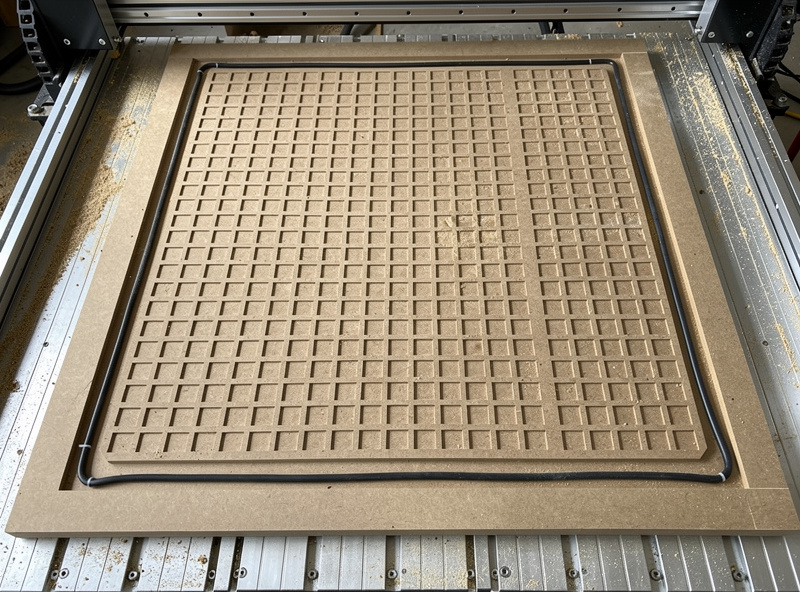
The hobby-standard build is a plenum-and-spoilboard sandwich. The bottom layer is a sealed plenum chamber with a port for the vacuum hose. On top sits a sacrificial layer of porous MDF — and porous is the key word, because standard MDF passes air through its thickness, distributing the vacuum across the whole top surface. You surface the top MDF flat in place (same machine, same trammed spindle) so it’s co-planar with the cutter, then the vacuum pulls evenly anywhere you set a part.
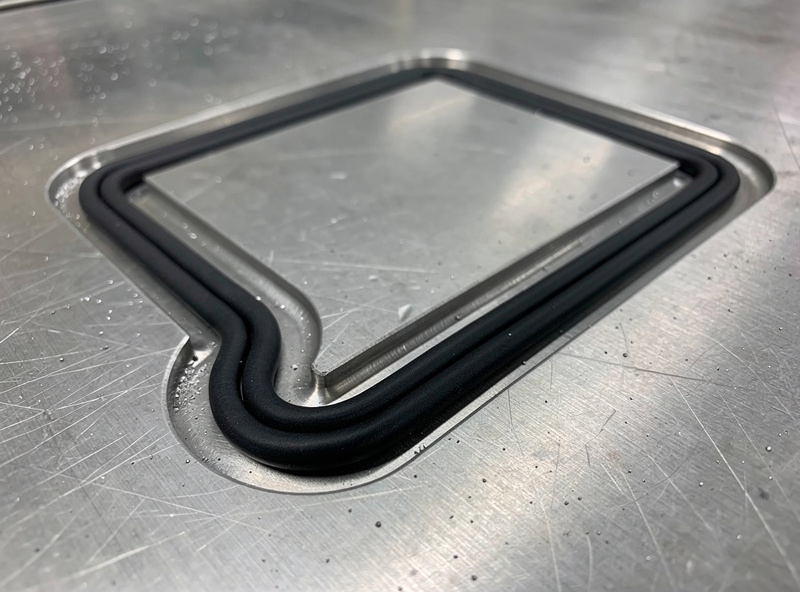
For parts smaller than the full table, or for non-porous materials like acrylic that won’t let air through, you add a gasket: a channel routed around the part footprint and filled with closed-cell vacuum gasket cord that seals the perimeter so vacuum concentrates under just that part. Zoned tables take this further with valves so you can switch vacuum to only the area in use. Start simple — a single plenum and a porous top — and add gasketing once you know your common part sizes.
A few build details matter more than they look. Seal the plenum thoroughly — every unsealed seam or screw hole is a leak that steals vacuum, so I paint or seal the inside of the plenum box and caulk the joints. Keep the top MDF a sacrificial layer you can re-surface; once it picks up enough cut scars and glue residue to stop sitting parts flat, a fresh surfacing pass restores the seal. And size the vacuum port and hose generously, because a shop-vac system lives on airflow and a pinched hose chokes the hold. None of this is hard, but skipping the sealing step is the most common reason a first vacuum table underwhelms.
Shop Vac or Dedicated Pump?
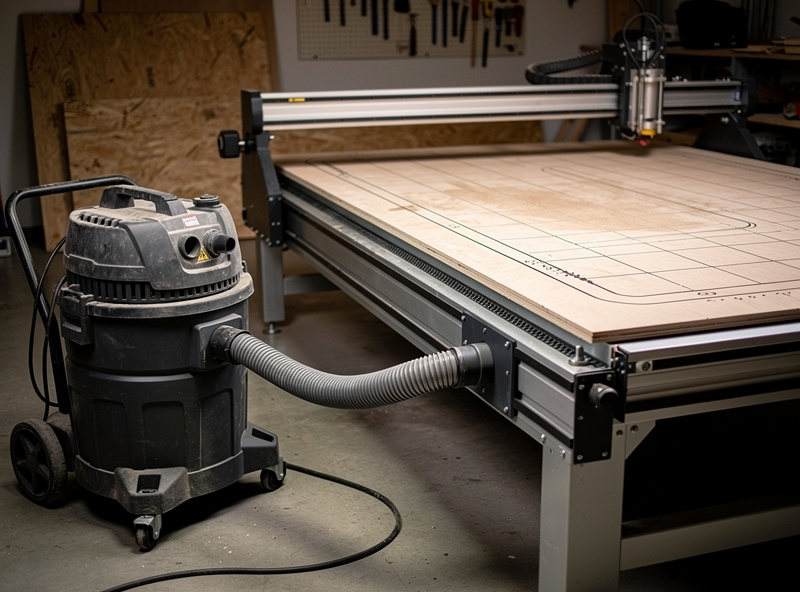
The vacuum source is the single biggest decision. A shop vacuum is cheap, you probably own one, and it moves a lot of air — which matters because porous MDF and imperfect seals leak constantly, and high airflow keeps the hold alive despite the leaks. The downside is noise, heat, and that a shop vac isn’t built to run continuously for an hour-long job. A capable high-suction wet/dry shop vacuum is where most people start, and it’s genuinely enough for plywood and acrylic sheet work.
A dedicated vacuum pump pulls a deeper vacuum but moves far less air, so it only works with a well-sealed system and non-porous surfaces or a sealed gasketed zone — feed it a leaky porous MDF top and it can’t keep up. It’s the right answer for serious production on sealed tables, but it’s an upgrade you make after the shop-vac version proves the concept. For monitoring how much vacuum you’re actually pulling, an inline vacuum gauge tells you instantly whether a seal has failed mid-job.
Where Vacuum Wins and Where It Quits
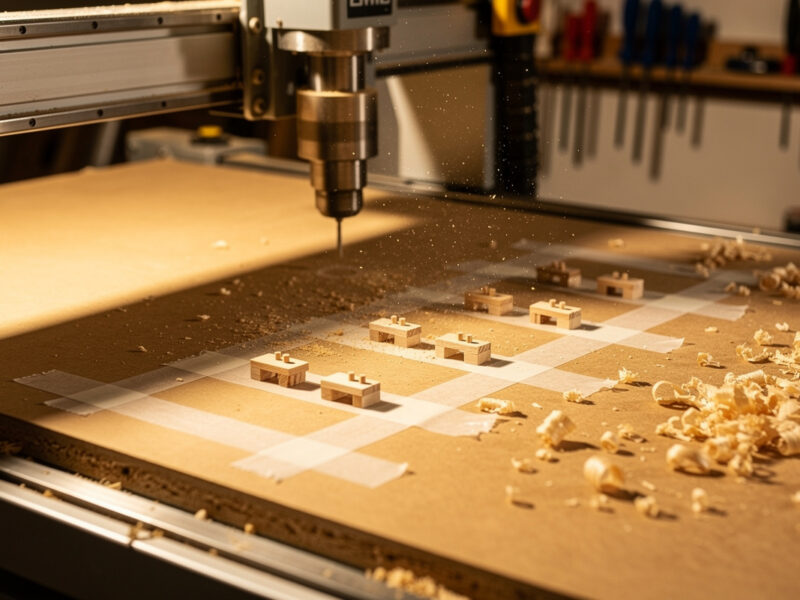
Vacuum excels at flat sheet goods: plywood, acrylic, thin aluminum panels, MDF parts. It shines in production because loading is instant — place the sheet, switch on the vacuum, machine, switch off, remove. No clamp adjustment between parts, no hardware in the toolpath, full access to the entire top face. For a run of identical flat parts it’s unbeatable.
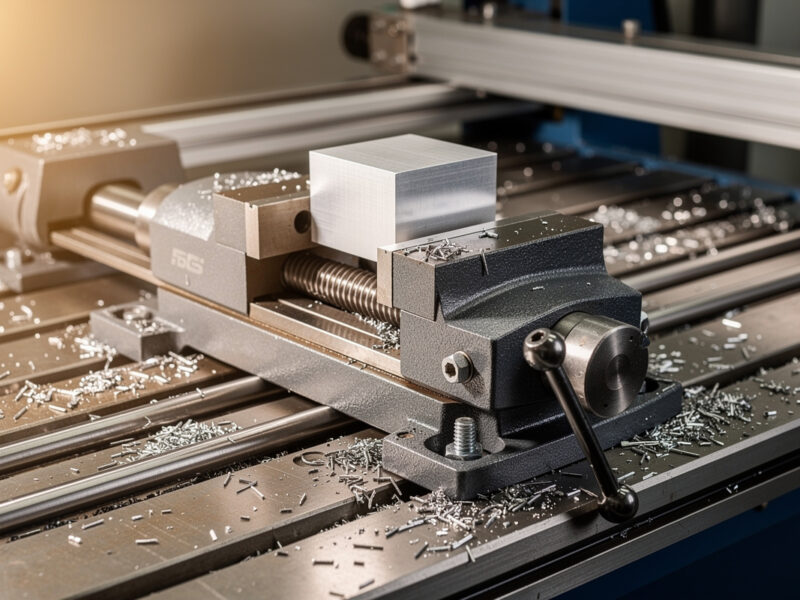
It quits in four predictable places. Porous materials like rough-sawn wood and some MDF leak so much vacuum the hold weakens. Non-flat parts can’t seal against the table. Small parts have too little area for a usable hold. And aggressive cutting forces — a deep aluminum roughing pass — can overcome the vacuum and shift the part. When I hit any of those, I switch methods: clamps for thick or heavy work, the edge-gripping toe clamps for full-face access on thicker stock, or tape and glue for small flat parts. A downcut bit also helps enormously on a vacuum table because it presses the part down rather than trying to lift it off the seal.
Gasketed Zones and Hybrid Holds
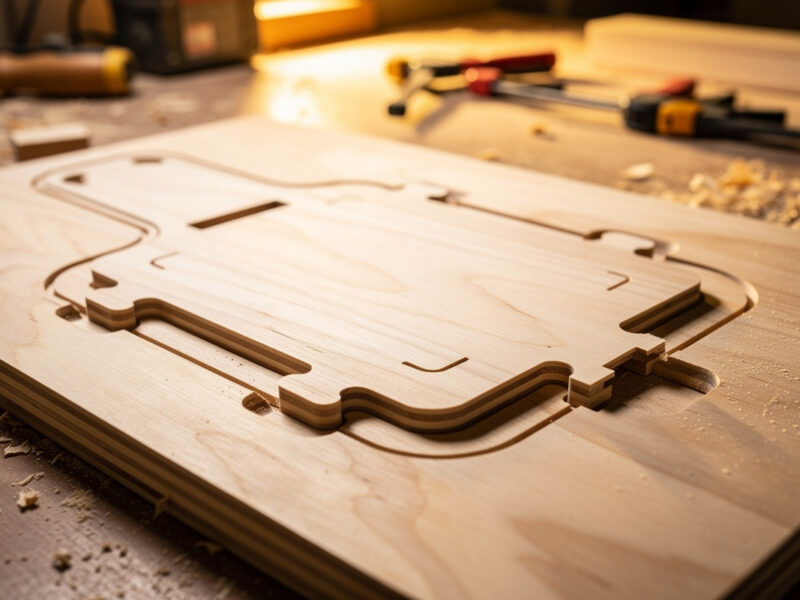
The most useful upgrade after a basic porous table is a set of gasketed zones for your common part sizes. I route shallow channels in a grid and keep a length of gasket cord on hand; when I’m cutting something smaller than the full table, I drop cord into the channels that frame the part and the vacuum concentrates exactly where I need it. This is what turns a vacuum table from a “big sheets only” tool into something that holds a wide range of parts firmly.
Even then, I treat vacuum as one tool in a hybrid hold rather than the whole answer. On a profiling job where parts cut free of the sheet, vacuum holds the sheet but does nothing for an individual part once it’s separated — so I add tabs in CAM to keep each part attached until I lift it. On a part with a fussy inside cutout, a strip of tape over the freed slug stops it lifting into the spindle. Combining vacuum with tabs and a downcut bit covers the situations where vacuum alone leaves a gap.
Vacuum Source Comparison
| Source | Vacuum depth | Airflow | Tolerates leaks | Best for |
|---|---|---|---|---|
| Shop vacuum | Low-medium | High | Yes | Porous MDF tops, hobby sheet work |
| Dedicated vacuum pump | High | Low | No | Sealed/gasketed tables, production |
| Regenerative blower | Medium | Very high | Yes | Large porous tables (advanced) |
Frequently Asked Questions
Can I use a shop vac for a CNC vacuum table?
Yes, and it is the best starting point. Shop vacuums move a lot of air, which compensates for the constant leaks in a porous MDF table. They pull enough vacuum to hold plywood and acrylic sheet for engraving and light profiling. A dedicated pump is an upgrade, not a requirement.
How much holding force does a vacuum table give?
Hold force equals vacuum pressure times sealed contact area. A shop vac pulls roughly 5 to 8 PSI, so a 300mm square part gets several hundred newtons of hold, enough for engraving and light cuts. Larger parts hold proportionally harder; small parts barely hold at all.
What materials can a vacuum table hold?
Flat, relatively non-porous sheet goods hold best: plywood, acrylic, thin aluminum panels, and dense MDF. Porous rough wood leaks vacuum, non-flat parts cannot seal, and small parts lack the area for a usable hold. Use clamps or tape for those instead.
Do I need a gasket on a CNC vacuum table?
Only when the part is smaller than the table or the material is non-porous like acrylic. A gasket cord in a routed channel seals the part perimeter so vacuum concentrates under just that part. A fully porous MDF top holds flat porous parts without one.
Why is my vacuum table not holding the part?
Common causes are a leaking seal, a part too small for enough area, a porous or non-flat surface, or cutting forces exceeding the hold. Check vacuum with an inline gauge, add a gasket, use a downcut bit, or switch to clamps for heavy cuts.