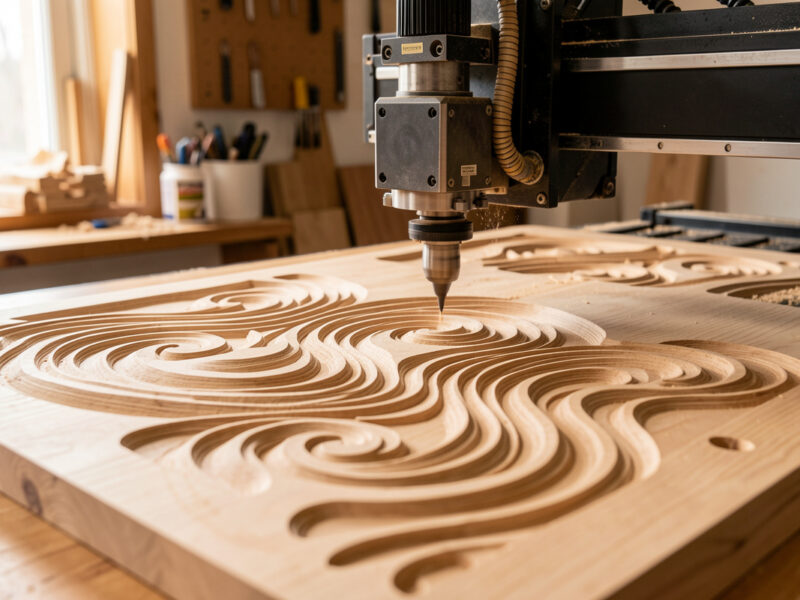
Safety first. The following information is for educational purposes. CNC machining involves high-speed rotating cutters. Always wear eye and ear protection, never leave a running machine unattended, and verify all feeds and speeds for your specific setup.
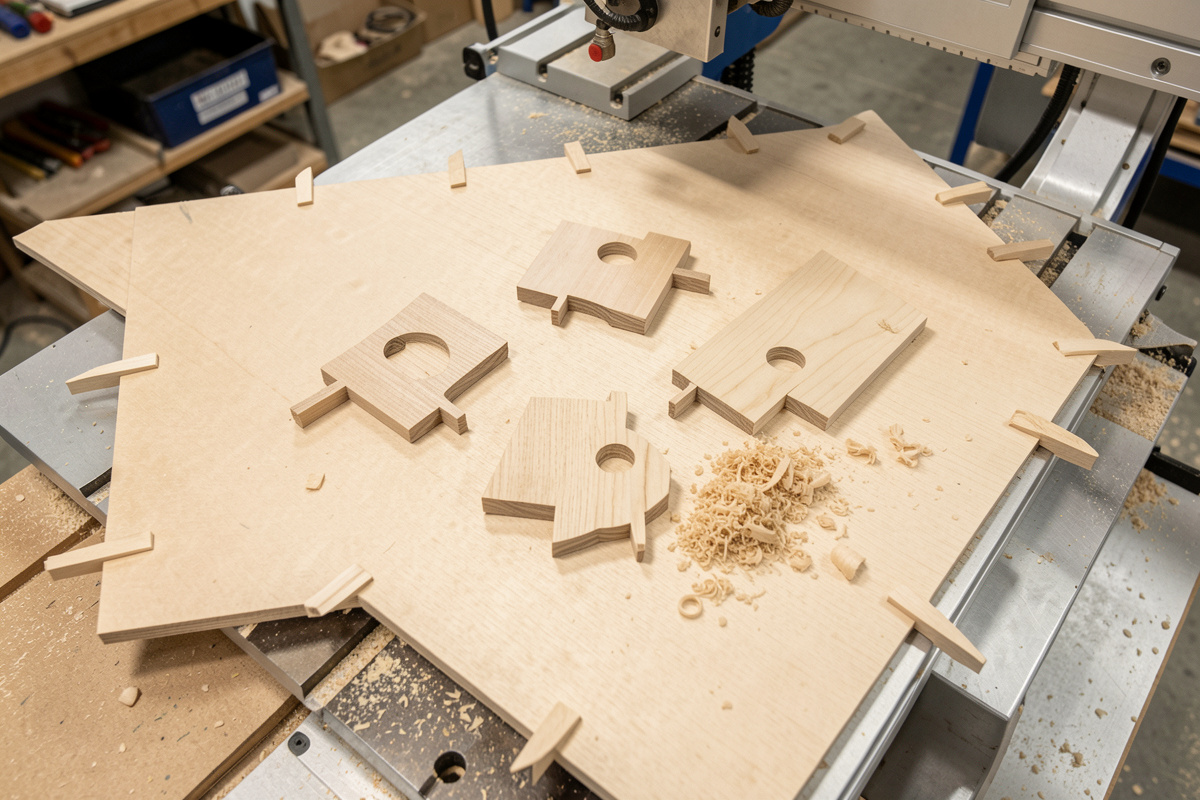
Tabs are small uncut bridges of material your CAM leaves in a through-cut to hold the part to the surrounding stock until you cut or snap it free by hand. Without them, the moment a profile cut finishes, the part is loose on a spinning cutter — and a loose part becomes a projectile or a ruined edge. Adding tabs in CAM takes thirty seconds and saves the part, so on every through-profile I run, tabs go in before the toolpath is posted.
The skill is not switching tabs on; it is sizing and placing them so they hold without becoming a cleanup nightmare. Too few or too small and the part breaks loose mid-cut; too many or too thick and you spend an hour sanding stubs. This guide covers the CAM-side workflow; for the broader hold-it-down decision and the alternative, see tabs vs onion skin, and the full strategy map in the CAM toolpath mastery hub.
How Tabs Work in CAM
In every CAM package, tabs are an option on the 2D contour or profile operation. You set three things: tab height (how tall the bridge is, measured up from the bottom of the cut), tab width (how wide along the path), and either a tab count or a spacing distance. The CAM then lifts the tool by the tab height at each tab location, skips over the bridge, and drops back down to continue the cut. The part stays attached by those little ramps of uncut material.
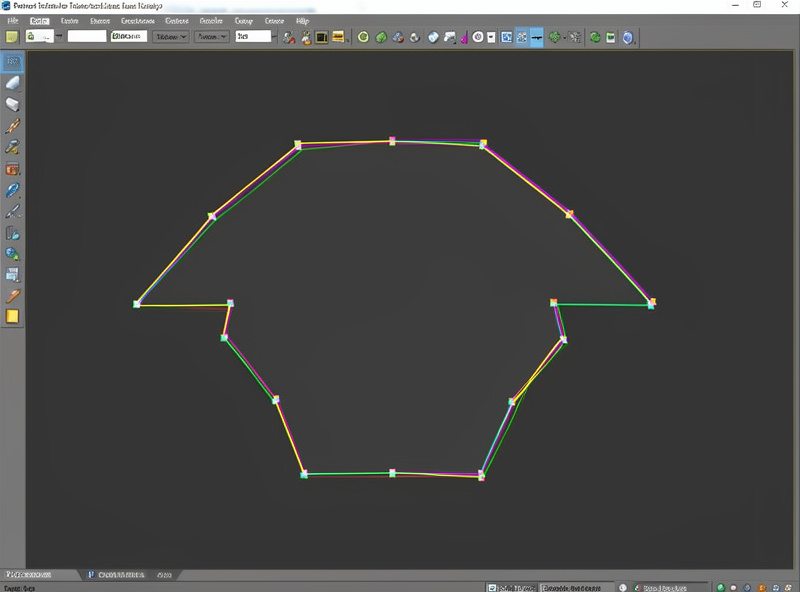
Most CAM lets you place tabs automatically by count or distance, or drag them manually to exact spots. Automatic placement is fine for simple shapes; manual placement matters on anything with thin necks or delicate features, where a tab in the wrong place either fails to hold the floppy bit or lands where you cannot clean it. I almost always nudge auto-placed tabs by hand on real parts. The entry move into the cut around tabs is worth tuning too, which ties into the ramping and lead-in guide.
Sizing Tabs by Material and Part
Tab size scales with part weight, cutting force, and material. A small light part in 6 mm plywood needs only a few thin tabs; a large heavy panel or a part being cut with aggressive feeds needs more and thicker. My rough starting points are below — they are starting points, because the real variable is how much the part wants to move under your specific cut.
| Material / Part | Tab Height | Tab Width | Tabs per Part |
|---|---|---|---|
| Thin plywood, small part | 0.6-1.0 mm | 3-5 mm | 3-4 |
| Hardwood, medium part | 1.0-1.5 mm | 5-6 mm | 4-6 |
| Acrylic / plastic | 0.5-0.8 mm | 3-4 mm | 4-6 |
| Aluminum, small part | 0.3-0.5 mm | 2-3 mm | 4-8 |
| Large heavy panel | 1.5-2.0 mm | 6-8 mm | 6-10 |
Place tabs on straight edges, never on corners or delicate features, and spread them evenly so no section of the perimeter can flap loose. For long thin parts, put a tab near each end and one in the middle so the part cannot vibrate. In aluminum I keep tabs short and thin because they are harder to cut away cleanly, and I deburr the stub with a file rather than fighting it with the cutter.
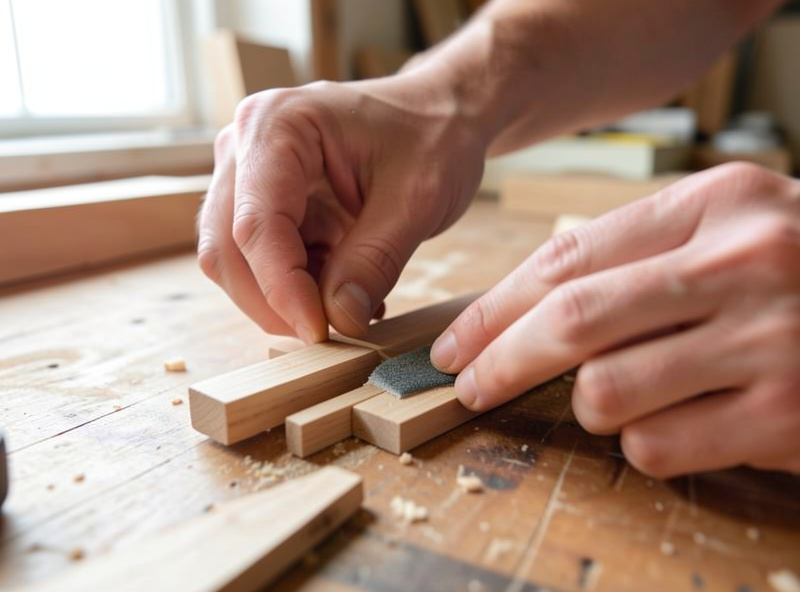
Cutting Tabs Away Cleanly
The cleanup is the part people underestimate. Thin tabs in wood snap with a flush-cut saw or a chisel and sand smooth in seconds. Thick tabs fight back and tear out grain. That is why thinner-but-more beats thicker-but-fewer: several thin bridges hold as well as a couple of fat ones and clean up far faster. In acrylic, a too-thick tab cracks the part when you snap it, so I keep them thin and cut them with a knife.
An alternative to tabs entirely is onion-skinning — leaving a thin continuous floor across the whole part instead of discrete bridges, then peeling or sanding it off. It holds delicate or many-part sheets beautifully but adds a second operation to remove the skin. The choice between the two comes down to part fragility and how many parts are on the sheet, which is exactly the comparison in tabs vs onion skin. Either way, good workholding underneath is assumed, covered in the workholding guide.
Ramped Tabs and Why They Hold Better
Most modern CAM offers a choice between square tabs and ramped (triangular) tabs, and the ramped version is worth understanding. A square tab makes the tool jump straight up and straight back down at the bridge, which slams the cutter into the far side of the tab and can chip the tool or splinter the wood. A ramped tab eases the tool up onto the bridge and back down the other side at an angle, so the entry and exit are gradual. On the machines I run, ramped tabs leave cleaner stubs and break tools far less often, especially in hard material at speed.
The other quiet benefit is that ramped tabs let you use a slightly shorter tab while keeping the same hold, because the gradual transition does not shock the bridge. If your CAM gives the option, default to ramped. The one place I still use square tabs is very thin sheet where the ramp distance would eat the whole tab. Match this to a sensible lead-in on the surrounding profile and the whole through-cut runs smoother, which ties back to the ramping and lead-in strategies.
Tab Failures and How to Avoid Them
The classic failure is a part that breaks loose on the last pass and gets flung or recut. Almost always the cause is too few tabs, tabs that are too thin for the cutting force, or a tab placed on a flexible neck that flapped. The fix is more tabs, slightly taller ones, and better placement on rigid edges. The opposite failure — tabs so thick the part is a wrestling match to remove — wastes time and risks tear-out. Dial tab size to the part, not to a habit, and you avoid both.
I learned the thin-but-more rule the hard way on a batch of small walnut tags. I used two fat 2 mm tabs per tag to feel safe, and every one tore a crescent of grain out of the edge when I twisted it free — the whole batch needed sanding back and three went to scrap. Re-running the same job with four 0.8 mm tabs each held just as well at the cut and popped off with a flush-cut saw and a thumbnail of sanding. The other failure I see often on my own parts is a single tab on a long thin rail: the unsupported middle chattered, widened the cut, and finally snapped the tab anyway. A tab at each end plus one in the centre fixed it. Tabs are cheap insurance — treat them like the structural supports they are, not an afterthought.
When You Do Not Need Tabs
Tabs are for through-cuts where the part separates from the stock. You do not need them on pockets, engravings, or any cut that does not go all the way through — there is nothing to come loose. You also do not need them if your workholding holds the part directly: a vacuum table grips the part itself, and double-stick tape or painter’s-tape-and-CA can hold a part through a full through-cut without a single tab, which is my preference for clean edges when the part is big enough to tape. The trade is that tape and vacuum holds can release if the cut is aggressive, so tabs remain the cheap insurance for anything I cannot afford to launch.
Frequently Asked Questions
What are tabs in CNC CAM software?
Tabs are small uncut bridges of material the CAM leaves in a through-cut to hold the part to the surrounding stock until you remove it by hand. The tool lifts by the tab height at each tab, skips the bridge, and drops back down, so the part stays attached instead of coming loose on the spinning cutter.
How big should CNC tabs be?
Start around 0.6 to 1.0 mm tall and 3 to 5 mm wide for small parts in thin plywood, scaling up to 1.5 to 2.0 mm tall and 6 to 8 mm wide for large heavy panels. In aluminum keep them short and thin. The real driver is how much the part wants to move under your specific cut.
How many tabs do I need per part?
Three to four for a small light part, four to six for medium parts, and six to ten for large or heavy panels. Spread them evenly on straight edges, never on corners or delicate features, and add one near each end of long thin parts so they cannot flap or vibrate loose.
Should I use thick tabs or thin tabs?
Thinner but more tabs beats thicker but fewer. Several thin bridges hold as well as a couple of fat ones and clean up far faster, since thin tabs snap and sand in seconds while thick tabs tear grain in wood or crack acrylic when you snap the part free.
When do I not need tabs?
You do not need tabs on pockets, engravings, or any cut that does not go through, since nothing comes loose. You can also skip them when workholding grips the part directly, such as a vacuum table or double-stick tape, though aggressive cuts can release those holds, so tabs remain cheap insurance.