Safety first. The following information is for educational purposes. CNC machining involves high-speed rotating cutters. Always wear eye and ear protection, never leave a running machine unattended, and verify all feeds and speeds for your specific setup.
CNC-cutting a chicken coop from a single 4×8 sheet of 3/4 inch plywood produces a tab-and-slot 4-bird coop in 90 minutes of cut time, costs $65-$85 in materials, and assembles in 90 minutes with a single hex driver. The cut file (DXF or SVG) nests the floor, two side walls, two roof panels, the back wall, and the door frame on one sheet with under 6% waste. This guide covers the plans available in 2026, the material list that holds up outdoors, and the CAM tool-path optimization that keeps cut quality high without breaking 1/4 inch end mills.
Most “DIY chicken coop plans” online assume a circular saw, miter saw, and 8-12 hours of cutting. CNC-cut plans are a different category — the work shifts to one careful sheet preparation, then 90 minutes of unattended machine time. The trade-off is upfront: you need a desktop CNC capable of cutting full 3/4 inch plywood sheets, the right CAM workflow, and a tab-and-slot plan designed for CNC manufacturing rather than hand-cut framing. Get those pieces right and you have a coop building system that scales from one coop to ten with predictable repeatability.
Why CNC-Cut Plans Beat Traditional Framing
Three advantages drive the choice. First, fit accuracy: CNC cuts hit ±0.1 mm tolerance, which means tab-and-slot joints assemble with a rubber mallet and require zero shimming or trimming. Second, repeatability: cut one coop, save the file, cut the next ten identically — community garden, school project, side business. Third, complex profiles: ventilation cutouts, predator-resistant tab profiles, and integrated nest-box dividers come “for free” because the CNC does not care about cut complexity within the sheet.
The trade-off is the upfront sheet preparation. A traditional plan tolerates rough lumber and approximate measurements. A CNC plan requires a flat 4×8 sheet, careful workholding (vacuum or mechanical), and the right end mill in the spindle. Skip those and the file that should have produced a perfect coop produces a tab-and-slot mess that does not assemble.
The 2026 Plan Landscape
Three sources cover most coop sizes from 2-bird up to 12-bird:
OpenDesk and Hackaday community plans (free). Tab-and-slot 4-bird coop in 18 mm plywood, originally developed for the global maker community. DXF and SVG available, suitable for any 4×8-capable desktop CNC. Lacks integrated nest boxes — those need a separate small file.
Etsy and Cults3D paid plans ($25-$60). The mid-range market. Wider variety of sizes, integrated features, and clearer assembly documentation. Quality varies — read reviews carefully, and look for plans that include a tool-list and recommended end-mill specs. Anything claiming “any CNC will work” without specifying spindle power is probably wrong for hardwood plywood.
Custom-design from open-source layouts. If you have Fusion 360 or VCarve experience, the cleanest path is to take a community 4-bird plan and modify it for your flock size. The SmartCoopHQ DIY chicken coop plans library covers the design fundamentals (sizing per bird, ventilation requirements, nest box placement) you need to translate into the CAD file. The hub-side article is the right starting point if you are designing rather than just executing.
Material List for the Standard 4-Bird Coop
The sheet plan below is the most-built version. Adjust quantities for larger flocks.
- 1× 4 ft × 8 ft × 3/4 inch (18 mm) exterior-grade plywood: Birch ply for indoor protection, ACX or marine-grade if budget allows. About $50-$75. Avoid OSB and CDX — they delaminate within 1-2 outdoor seasons.
- 1× 2 ft × 4 ft × 1/2 inch plywood: Used for nest box floor and removable poop tray. $15-$25.
- 1 lb 1.25 inch wood screws: Stainless or coated deck screws only. $8-$12.
- 4 hex bolts plus 4 wing nuts (3/8 inch by 3 inch): For the corner reinforcements at high-stress tab joints. $5.
- 1 quart exterior-grade water-based stain or sealer: Cabot or General Finishes Outdoor Sealer. $18-$25.
- 10 sq ft 1/2 inch hardware cloth: Predator protection on ventilation openings. $8-$12.
Total material cost: $105-$155. Comparable to a flat-pack farm-store coop in the $200-$300 range, with significantly better build quality and full repairability.
End Mill Selection and Speeds
The single biggest mistake new CNC-coop builders make is using a 1/8 inch end mill on 3/4 inch plywood and snapping it 30 minutes into the cut. The right setup is a 1/4 inch single-flute upcut end mill (Whiteside RU2102 or equivalent) running 16,000-18,000 RPM and 80-100 inches per minute feed rate. Two depth-of-cut passes (0.4 inch + 0.4 inch) with a 0.05 inch finishing pass cleans the cut edges enough that the tabs slot together without sanding.
Our CNC feeds and speeds chart 2026 covers the full speeds-and-feeds table for plywood, hardwood, and softwood. The key principle is single-flute upcut for plywood specifically — double-flute end mills shred plywood face veneer at the cut edge.
Cut-Path Optimization
The CAM-side optimization moves a 4-bird coop cut from 4 hours to 90 minutes without losing edge quality.
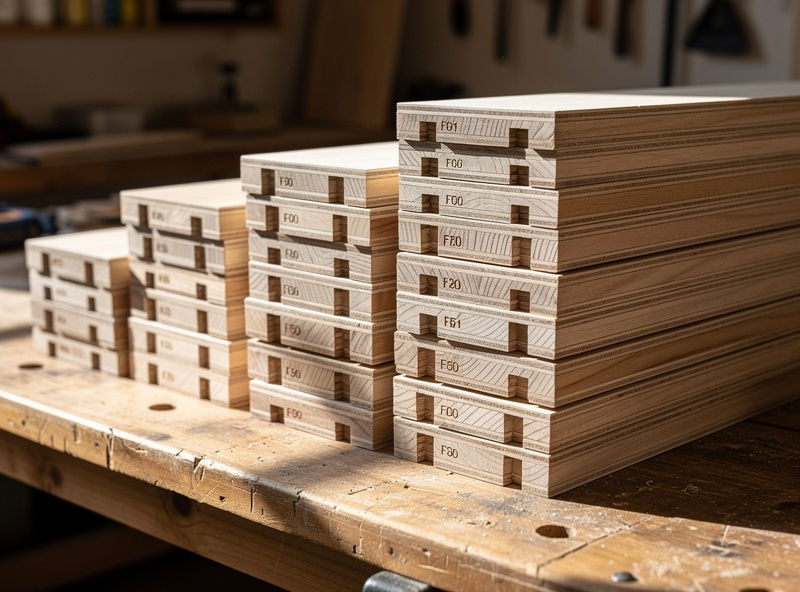
1. Nest panels for grain orientation. Long edges of large panels run with the plywood face grain. Cuts run faster and cleaner along the grain than across.
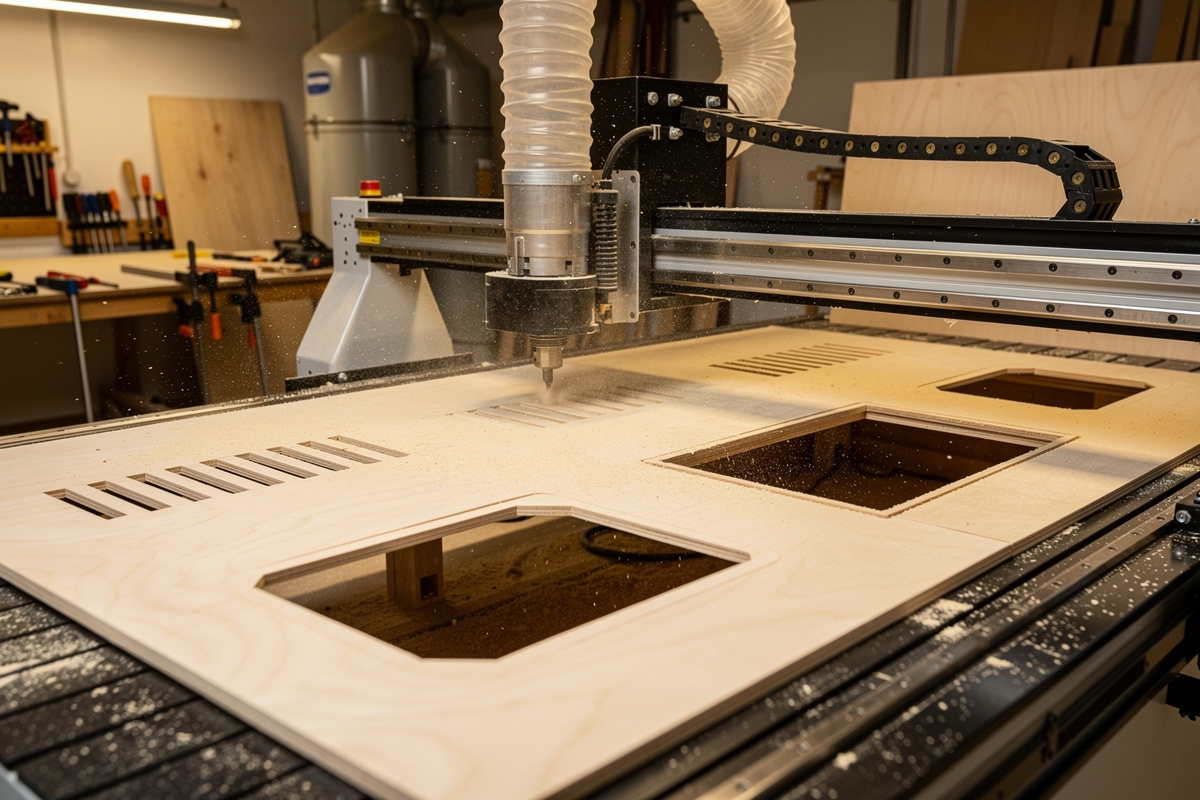
2. Use bridges/tabs to hold parts during cutting. 4 mm wide tabs (3 per panel) keep parts in the sheet until the end of the cut. Knife cleanup at the end takes 10 minutes total.
3. Order operations: holes first, slots second, perimeters last. Drilling all bolt holes and assembly slots while the panel is still anchored in the sheet eliminates workholding errors when the panel comes loose.
4. Use climb cutting for finishing passes, conventional for roughing. Climb cutting gives the cleanest face cut on plywood; conventional removes material faster on roughing. Mixing them in the same cut file is the highest-leverage CAM optimization.
5. Avoid full-depth cuts on the 1/4 inch tool. Two-pass with 0.4 inch DOC each pass is the right call. Single-pass at 0.75 inch will snap the end mill on the third panel.
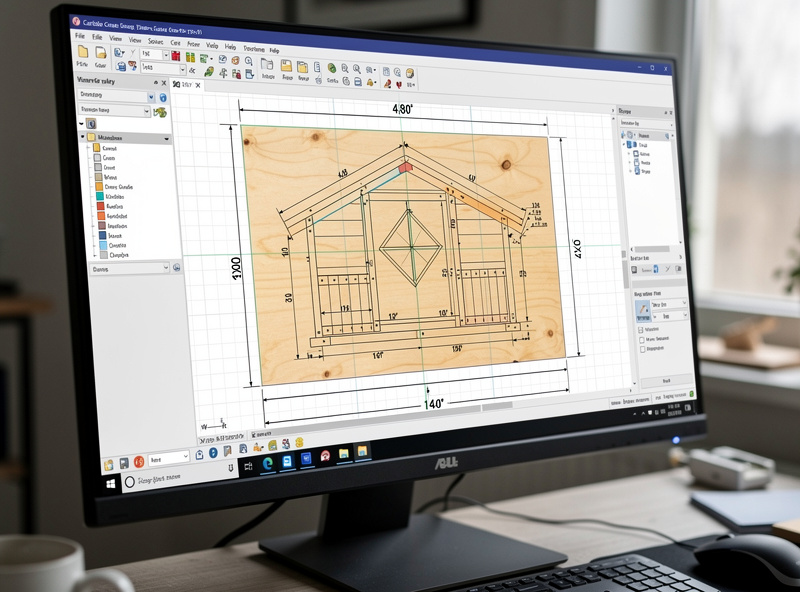
For deeper coverage of CAM workflow, our best CNC CAM software 2026 guide compares Fusion 360, VCarve, and Carbide Create for exactly this kind of plywood-cutting workflow.
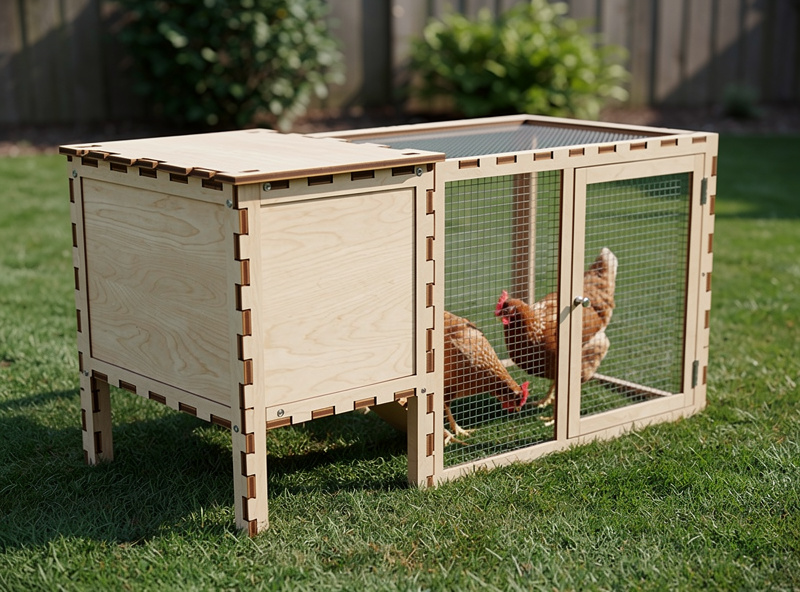
Assembly: 90 Minutes from Sheet to Coop
With the panels cut, assembly follows a strict order. Floor panel down on the work surface; tab the four wall panels into the floor slots; thread the back-wall slot together; slot in the nest box partition; install the roof panels last with hex bolts in the corner reinforcements.
The first time through, expect the first coop to take 2-3 hours of assembly because you will pause to figure out which panel goes where. The second one comes together in 60-75 minutes. From the third onward, the assembly is faster than driving to the farm-supply store.
Outdoor Durability and Sealing
The single highest-leverage post-build step is sealing the cut edges. Plywood absorbs water through end grain at the cut edges; sealed edges last 8-10 years outdoors, unsealed edges fail in 2-4. Two coats of exterior-grade water-based sealer on every cut face — including the inside of every slot — adds 30 minutes to the build and triples coop lifespan.
Roof panels also benefit from a layer of asphalt felt or EPDM rubber roofing membrane stapled to the top face before final assembly. Plywood roofs without a membrane fail in 3-5 years in any climate that sees freeze-thaw cycles.
Material Choice Comparison
| Material | Outdoor Lifespan | Cost (4×8 sheet) | CNC Cut Quality | Notes |
|---|---|---|---|---|
| Marine-grade plywood | 15-20 years | $120-$180 | Excellent | Best long-term choice if budget allows |
| ACX exterior plywood | 8-12 years sealed | $60-$90 | Excellent | Best value for serious builds |
| Birch interior plywood | 4-6 years sealed | $45-$70 | Excellent | OK if heavily sealed and roofed |
| OSB | 1-2 years | $25-$40 | Poor (delaminates) | Avoid for coops |
| CDX construction plywood | 2-4 years | $30-$45 | Fair (rough face) | Acceptable for short-term coops only |
Frequently Asked Questions
Can a desktop CNC actually cut a full chicken coop?
Yes, if it can handle a 4 by 8 plywood sheet. Shapeoko 5 Pro, Onefinity Journeyman, and X-Carve Pro have the work envelope. The Genmitsu and similar 3018-class machines do not. Verify your machine envelope before committing to a 4 by 8 plan.
How long does the cut take?
About 90 minutes of unattended cut time for a 4 bird coop on a 4 by 8 sheet of 3 quarter inch plywood, using a 1 quarter inch single flute end mill at 16,000 to 18,000 RPM and 80 to 100 inches per minute feed. Add 30 minutes for sheet workholding and tool changes.
What end mill should I use?
A 1 quarter inch single flute upcut, like the Whiteside RU2102. Two depth of cut passes at 0.4 inches each, with a 0.05 inch finishing pass. Avoid 1 eighth inch end mills on 3 quarter plywood — they snap. Avoid double flute end mills, which shred plywood face veneer.
How much does the material cost?
$105 to $155 for a 4 bird coop in birch or ACX plywood, including hardware cloth, screws, and exterior sealer. Marine grade plywood pushes the total to $180 to $230 but lasts 15 to 20 years versus 6 to 8 for sealed birch.
Where can I find CNC plans for chicken coops?
OpenDesk and Hackaday community projects (free, 4 bird tab and slot designs), Etsy and Cults3D for paid mid range plans (25 to 60 dollars, more variety), or design your own from a community DIY coop hub using Fusion 360 or VCarve. Verify the plan specifies plywood thickness and end mill requirements.
Do CNC cut coops actually last as long as traditional framed coops?
Longer with proper sealing. The tab and slot joinery is mechanically as strong as nailed framing, and the precision fit means fewer gaps for water and predators to exploit. Sealed properly, expect 10 to 20 years of outdoor service from ACX or marine plywood.