Safety first. The following information is for educational purposes. CNC machining involves high-speed rotating cutters. Always wear eye and ear protection, never leave a running machine unattended, and verify all feeds and speeds for your specific setup.
A CNC-drilled spot-drill template for a weld fixture costs $3 in MDF and 15 minutes of machine time. It replaces 45 minutes of hand-layout with.
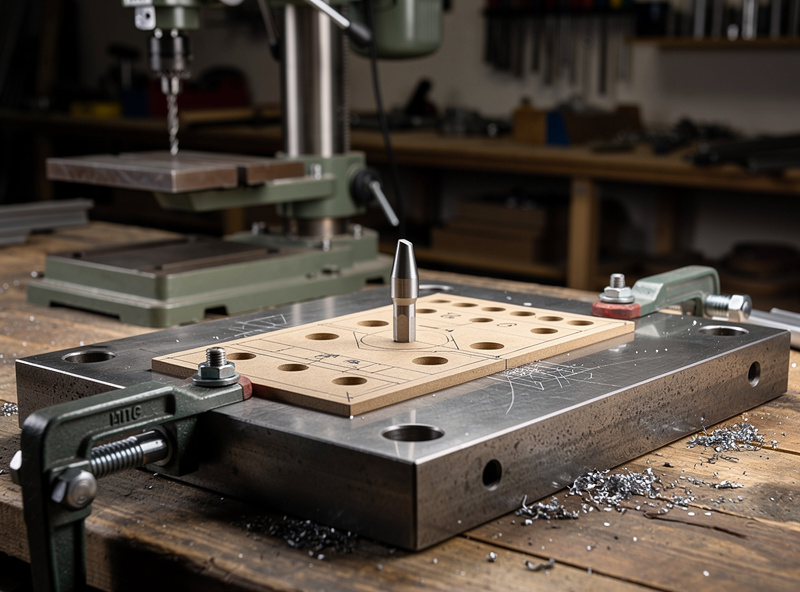
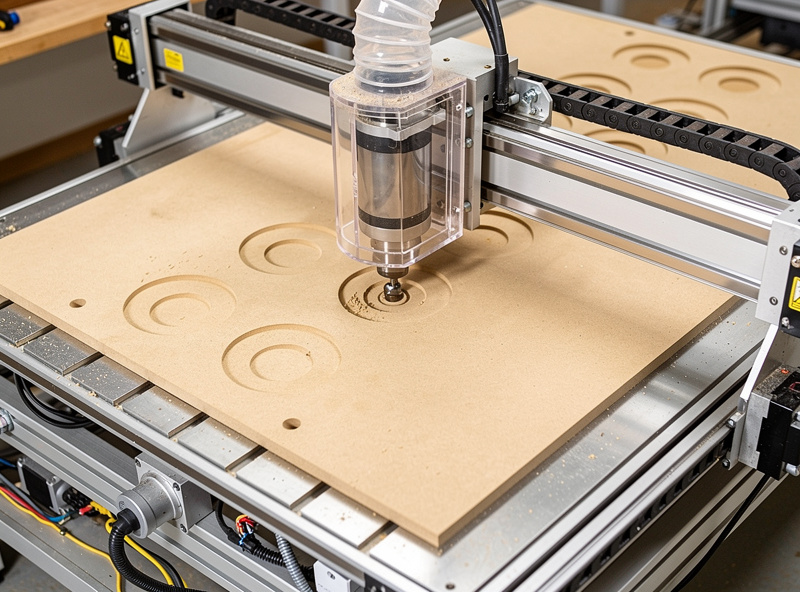
The Shapeoko I run in the workshop handles MDF spot-drill templates at 800 mm/min — the same machine that carves sign blanks also dials in weld-fixture precision. The CNC for Steel Fabrication covers the foundational networking setup this article depends on. a tape measure, a scribe, and a center punch — 45 minutes of marking holes that drift by half a millimeter each, compound across a 300-millimeter fixture plate, and produce a weldment whose holes do not line up with the part they are supposed to hold. The CNC does not drift. The template has the bolt pattern at the exact coordinates the CAM file specified, and every hole it guides centers the drill bit within the machine’s repeatability tolerance. The welder who uses a spot-drill template instead of a tape measure produces a fixture that fits on the first try.
The gap between “I know where the holes go” and a fixture that actually lines up is the difference between relative layout and absolute layout. A tape measure gives you relative — the second hole is 80 millimeters from the first. A CNC gives you absolute — every hole is at the coordinate you typed, independent of every other hole. When the weldment has 12 holes spread across a 400-millimeter plate, relative layout compounds error. The 12th hole is off by the sum of 11 small errors. Absolute layout has no cumulative error. The 12th hole is exactly where the file says it is, and that is why CNC spot-drill templates produce weld fixtures that work on the first assembly.
Why Spot-Drill Templates, Not Full CNC Drill Patterns
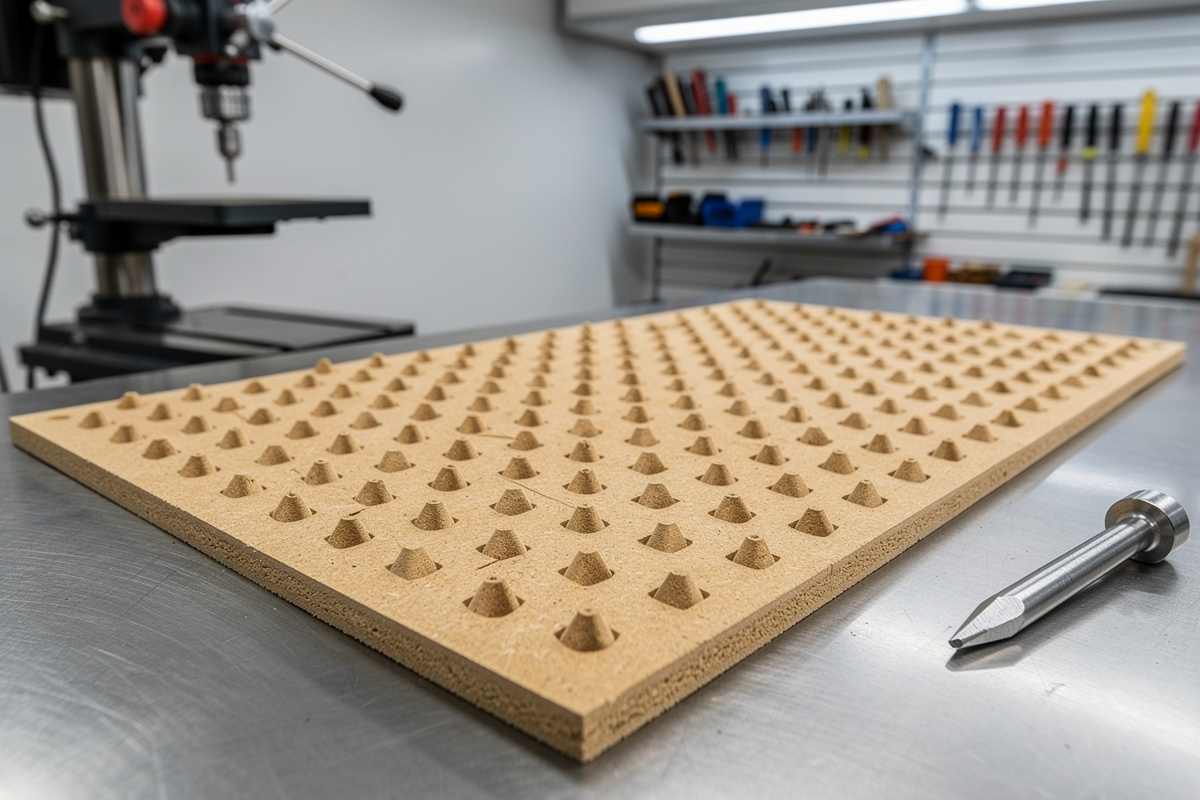
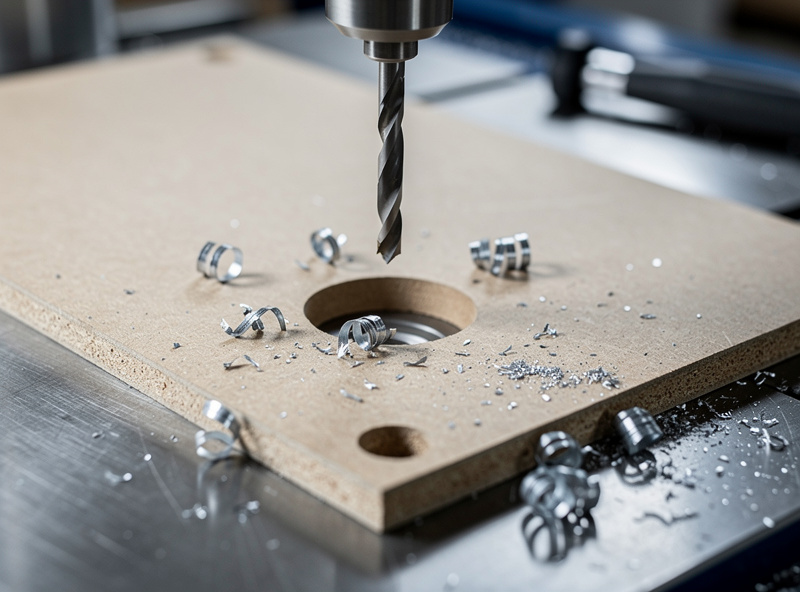
A spot-drill template is a thin sheet of MDF or plywood with shallow conical divots at each hole center, cut by a 60-degree engraving bit or a small ball-nose end mill running at 12,000 RPM with a 0.2-millimeter step-down. The divot is 2 millimeters deep — deep enough to guide a center punch but not deep enough to weaken the template. The welder places the template on the steel fixture plate, center-punches through each divot, removes the template, and drills at the punch marks. The template costs 15 minutes of machine time and a sheet of MDF. The alternative — drilling the steel plate directly on the CNC — requires flood coolant, carbide tooling rated for steel, and feeds-and-speeds that a hobbyist machine lacks both the rigidity and the spindle horsepower to sustain.
The spot-drill template approach separates the precision task (hole location) from the heavy task (hole drilling). The CNC does what it does best — positioning within 0.05 millimeters — and the drill press does what it does best — removing steel. The template bridges the two processes with a physical transfer of coordinates that costs a sheet of MDF and does not require the CNC to be a metal-cutting machine. A hobbyist CNC that stalls on 2-millimeter aluminum cuts MDF at 2,000 millimeters per minute without breaking a sweat. The template is the cheapest precision tool in the workshop, and the welder who learns to make them stops marking holes by hand within a week.
Designing the Template in Fusion 360 CAM
The template design starts as a sketch on the XY plane in Fusion 360: a rectangle matching the fixture-plate dimensions with circles at each hole center. The circles are the hole pattern, dimensioned from a common origin point so every coordinate is absolute. The CAM operation is a 2D contour or a bore operation with a 3-millimeter ball-nose end mill, cutting to a depth of 2 millimeters at a feed rate of 800 millimeters per minute and a spindle speed of 12,000 RPM. The ball-nose bit produces a conical divot with a hemispherical bottom — the center punch seats in the apex of the sphere and the divot guides it to the exact coordinate the CAM file specified.
The post-processor exports G-code that the CNC reads and executes with no manual intervention. The machine homes, the spindle starts, the bit lowers, and 15 minutes later the template is done. The accuracy of the template is limited by two factors: the CNC’s mechanical repeatability and the operator’s center-punch technique. A Shapeoko Pro or Onefinity-class machine repeats within roughly 0.05 millimeters. A center punch guided by a spot-drill divot introduces roughly 0.1 millimeters of positional error from the operator’s hand wobble and the punch tip wandering in the divot. The combined error of 0.15 millimeters across a 12-hole pattern is significantly better than the 1-to-2-millimeter cumulative error of hand layout. For the full workflow that goes from the CNC template to the finished welded fixture — including clamp placement, tack-weld sequence, and distortion control — the guide to welding jigs and fixtures covers the fabrication side that the template is designed to feed into.
Material Selection for Spot-Drill Templates
MDF is the default template material because it cuts clean at high speeds, holds a crisp divot edge, and costs $3 per sheet. The 3-millimeter thickness is standard — thin enough for the divot to guide the punch, thick enough to survive being clamped to a steel plate without tearing at the clamp points. Plywood works but the grain orientation causes the divot to chip out on the trailing edge of the cut, and a chipped divot does not guide a punch as accurately as a clean one. Acrylic works but costs more and offers no accuracy advantage over MDF at these tolerances. Aluminum works but defeats the purpose — if you can machine aluminum well enough to make a template, you can machine the fixture plate directly and skip the template.
MDF wears with repeated use — the divot edges round over after 10 to 15 punch cycles and the positional accuracy degrades by roughly 0.2 millimeters. For a one-off fixture, the template gets used once and discarded. For a production run of five identical fixtures, cut five templates — the machine time is cheap and the accuracy stays consistent across all five fixture plates. The consumable-template approach is the same logic as a disposable bandsaw blade: the tool costs less than the labor it saves, and replacing it per use costs less than the time it would take to make the first one without it.
CAM Settings Reference for MDF Spot-Drill Templates
The CAM profile for MDF templates on a hobbyist CNC: 1/8-inch or 3-millimeter ball-nose end mill, 12,000 RPM spindle speed, 800 millimeters per minute feed rate, 0.5-millimeter step-down per pass, four passes to reach a 2-millimeter divot depth. Ramp into the cut at 3 degrees to prevent the bit from plunging straight down and tearing the MDF surface. Cut dry — no coolant needed for MDF, and moisture swells the fiber and ruins the dimensional accuracy. Run the dust-collection hood at full flow because MDF dust is fine, lung-irritating, and gets into every bearing and linear rail on the machine if you let it accumulate.
Surface the spoilboard before cutting the template if dimensional accuracy matters — a spoilboard that has warped by 0.3 millimeters in one corner transfers that warp to the template, and the divot depth varies across the pattern. A surfacing pass takes 3 minutes and costs 0.1 millimeters of spoilboard thickness. Skip it on the day you need a template in a hurry, but resurface weekly if the CNC sees regular use. The spindle does not care about the spoilboard’s flatness. The template does. And the template’s flatness determines whether the center punch seats at exactly the right depth or glances off a shallow divot and wanders by half a millimeter.
Frequently Asked Questions
How accurate is a CNC spot-drill template compared to hand layout?
A CNC template delivers positional accuracy within 0.1 to 0.15 millimeters across the full pattern, limited by machine repeatability and operator punch technique. Hand layout with a tape measure and scribe typically accumulates 1 to 2 millimeters of positional error across a 12-hole pattern because each measurement compounds the error of the previous one.
Can I use a spot-drill template to drill directly on the CNC?
You can, but hobbyist CNCs lack the rigidity and spindle torque to drill steel efficiently. The template approach separates the positioning task on the CNC from the metal-removal task on the drill press. A hobbyist CNC drills MDF beautifully and struggles with steel — use the right machine for each operation.
What end mill should I use for the spot-drill divots?
A 3-millimeter or 1/8-inch ball-nose end mill produces a hemispherical divot that guides the center punch to the apex. A standard flat end mill creates a flat-bottomed hole that does not guide the punch as precisely. A 60-degree engraving bit works for deeper divots but produces a sharper cone that can crack the MDF at the tip.
How many times can I reuse an MDF spot-drill template?
An MDF template maintains usable accuracy for 10 to 15 punch cycles before the divot edges round over and positional accuracy degrades by approximately 0.2 millimeters. For single-fixture builds, one template is enough. For production runs, cut one template per fixture plate to maintain consistent accuracy.
Will the MDF template swell or warp if the workshop is humid?
Yes. MDF absorbs moisture and swells by 0.5 to 1 percent in high-humidity environments, which translates to 1.5 to 3 millimeters of dimensional change across a 300-millimeter plate. Store templates in a sealed bag with a desiccant pack if the workshop has uncontrolled humidity, or cut the template immediately before use and measure the fixture plate the same day.
Do I need a spoilboard surfacing pass before cutting a template?
Only if your spoilboard shows visible warp or you need the best possible accuracy. A 0.3-millimeter warp transfers to the template and causes inconsistent divot depths. A surfacing pass takes 3 minutes and guarantees a flat reference surface. Skip it for quick one-off templates where absolute accuracy is not critical.