Safety first. The following information is for educational purposes. CNC machining involves high-speed rotating cutters. Always wear eye and ear protection, never leave a running machine unattended, and verify all feeds and speeds for your specific setup.
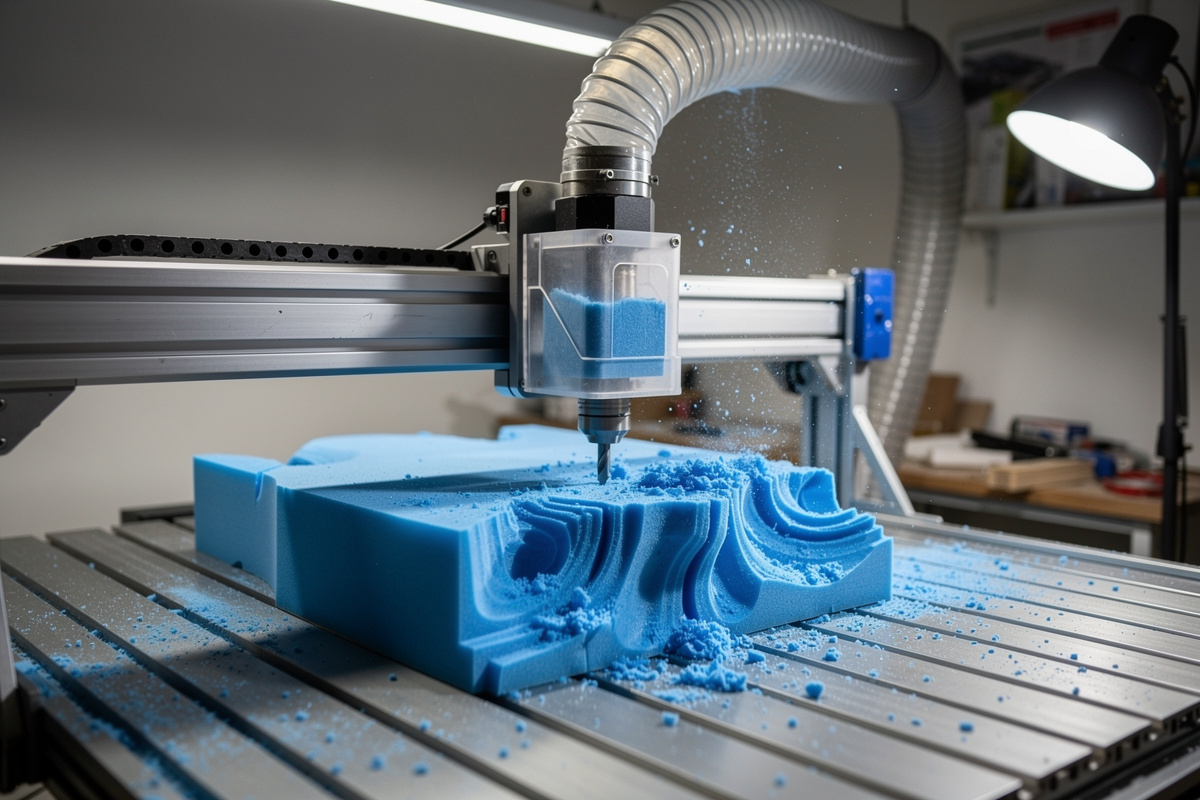
CNC foam carving is the easiest and most forgiving CNC operation. Foam (EVA, polystyrene, polyurethane carving foam) cuts at 200 IPM with 5 mm depth of cut and 50% stepover on every hobby CNC without complaint. The challenge isn’t the cut — it is the dust. Foam produces fine particles that escape standard dust shoes and coat the workshop in a static-cling layer that is hard to clean. After 25+ foam carving jobs in 2026, the working strategy combines aggressive feeds, dedicated dust collection, and the right end mill geometry.
This article covers foam-specific CNC settings, dust management, foam type selection, and the post-finishing techniques that produce gallery-quality foam props and prototypes. It is the foam companion to our CNC feeds and speeds hub.
Foam Types and What They Cut Like
Three foam types dominate hobby CNC work. EVA foam (closed-cell, denser, used for cosplay and shoe insoles) cuts cleanly with sharp edges and minimal fuzz. Polystyrene foam (open-cell, used for craft work and packaging) cuts fast but produces large amounts of static-cling dust. Polyurethane carving foam (Renshape, MasterFoam — purpose-made for CNC) is the premium option for product prototyping with smoother cut surfaces and finer detail capability.
For cosplay armor and large props, EVA foam at $15–25 per square foot (3 mm thickness) is the standard choice. For lightweight aesthetic foam parts (movie props, theatrical scenery), polystyrene at $5–10 per square foot is cheap and easy to shape. For prototype work where surface detail matters, urethane carving foam at $30–60 per square foot delivers better results. Our feeds and speeds hub covers material sourcing.
Foam Carving Settings
| Foam Type | RPM | Feed (IPM) | DOC | Stepover | End Mill |
|---|---|---|---|---|---|
| EVA foam (3 mm) | 10,000 | 200 | 3 mm | 50% | 1/4″ 2-flute upcut |
| EVA foam (10 mm) | 10,000 | 180 | 5 mm | 50% | 1/4″ 2-flute upcut |
| Polystyrene foam | 10,000 | 250 | 10 mm | 50% | 1/4″ or 1/2″ 2-flute upcut |
| Polyurethane (Renshape) | 15,000 | 120 | 5 mm | 40% | 1/4″ 2-flute carbide |
| Detail finishing | 15,000 | 80 | 0.3 mm | 10% | 1/8″ ball-nose carbide |
Foam settings are forgiving — the listed values work, but so do values 30% above or below them. The biggest risk is too-aggressive entry into the workpiece, which can pull large chunks of foam out and produce uneven cuts. Use a ramp entry rather than plunge entry for safer toolpath start. Foam does not need lubrication, does not produce chip welding, and tolerates mediocre work-holding.
Dust Management for Foam CNC
Foam dust is the real challenge. Polystyrene produces the worst dust — fine particles with strong static charge that cling to every surface in the workshop. EVA produces less dust but still requires capture. The fix is aggressive dust collection: shop vacuum at full power, oversized dust shoe (Sweepy Pro at $80 with extended skirt, or DIY MDF dust shoe with 3-inch hose), and an enclosed CNC frame to contain stray dust.
For workshop-volume foam work, add a HEPA cyclone separator (Festool CT-VA, Oneida Dust Deputy) between the dust shoe and vacuum. The cyclone catches 90%+ of dust before reaching the vacuum filter, which extends filter life and prevents the fine particles from clogging the vacuum motor. Without dust collection, expect to vacuum and dust the workshop after every foam job — the static-cling particles get into electronics and tools and cause long-term issues. Our workshop setup article covers full dust collection design.
Carving Techniques for Foam
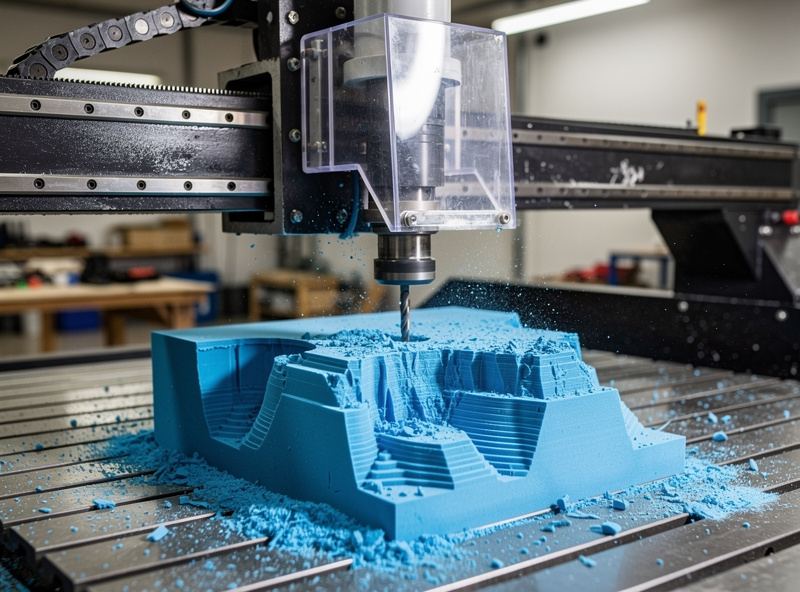
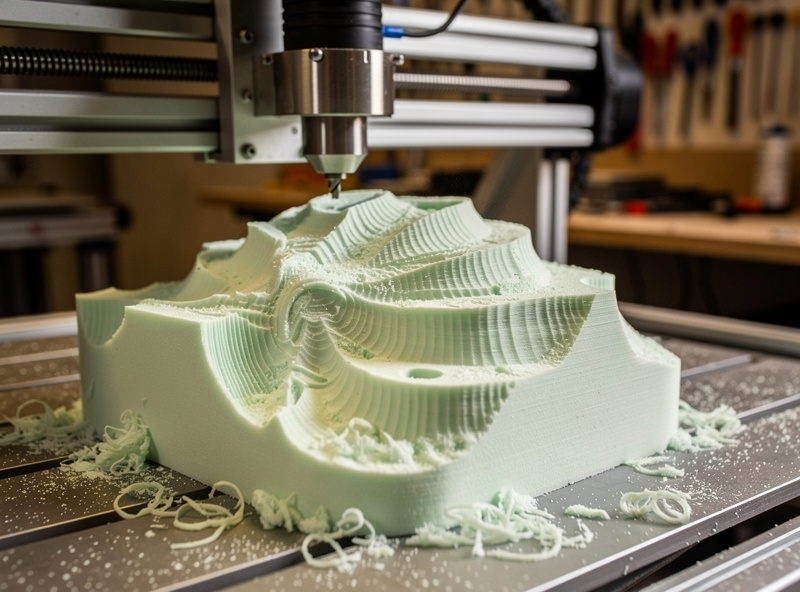
Foam shines for 3D carving work — large 3D shapes that would take hours in wood take minutes in foam. The roughing-and-finishing approach: use a 1/4″ 2-flute upcut for roughing at 5 mm DOC, then switch to a 1/8″ ball-nose for finishing at 0.3 mm DOC and 10% stepover. The result is a smooth 3D surface ready for finishing.
For large props (cosplay armor, movie scenery), join multiple foam blocks with construction adhesive to create blocks larger than the CNC bed, then carve in one operation. The seams between blocks need to be aligned with cut surfaces (not perpendicular to them) so the cut hides the seam. After carving, sand seams smooth and apply primer + paint to unify the appearance. Our 3D roughing article covers the toolpath strategy for 3D foam work.
Finishing Foam: Primer and Paint
Bare CNC-cut foam looks like CNC-cut foam — visible toolpath lines, slightly rough surfaces, and the natural foam color. For finished props and decorative pieces, the standard finishing sequence is: light sanding (220 grit) to smooth toolpath lines, dust removal (vacuum + tack cloth), foam primer (Plasti Dip Spray Primer, FlexBond Foam Coat, or DAP DryDex foam-safe primer), and final paint.
The primer is essential. Direct paint on bare foam dissolves polystyrene foam (causing the surface to melt) and produces uneven absorption on EVA. Foam-safe primers seal the surface and provide a paintable substrate. Two coats of primer (sanded between coats) produces a smooth foundation; three coats of acrylic paint (Krylon, Rust-Oleum) produces durable finish. For cosplay armor, add a top coat of clear matte sealer to protect against handling wear. The total finishing time is 2–4 hours including dry times — substantial but predictable.
Cosplay and Prop Applications
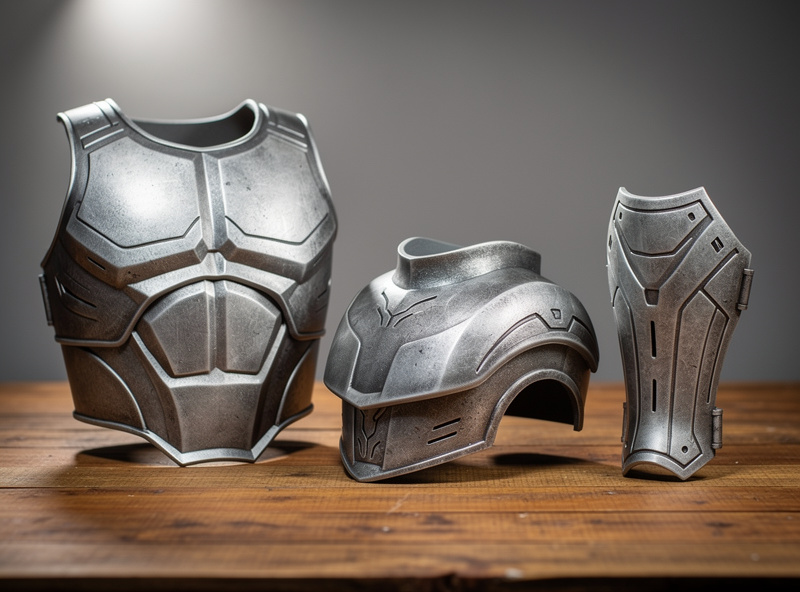
Foam CNC dramatically accelerates cosplay armor production. Where a hand-cut chest piece takes 4–6 hours of work, the same shape CNC-cut from EVA foam takes 20 minutes of CAM setup plus 15 minutes of cutting. The visual quality is comparable to hand-cutting once finishing is complete; the time savings are dramatic.
For volume cosplay work, design the armor in CAD (Fusion 360, Solidworks) or scan from a hand-shaped prototype, generate CAM toolpaths, and run multiple identical pieces in batch. Convention-season production volumes often exceed what hand-cutting can support — CNC foam carving turns a hobby into a viable side business. Our CNC projects article covers project ideas across foam, wood, and metal.
Frequently Asked Questions
What feed rate for cutting foam on CNC?
200 IPM at 10,000 RPM with a 1/4-inch 2-flute upcut spiral end mill, 3–5 mm depth of cut, 50% stepover for EVA foam. Polystyrene cuts faster at 250 IPM. Polyurethane carving foam at 120 IPM with finer toolpaths.
What end mill for cutting foam?
1/4-inch 2-flute upcut spiral for roughing. 1/8-inch ball-nose for 3D finishing. Standard CNC end mills work — foam is forgiving on tool geometry. Sharp edges produce cleaner cuts than worn tools.
What type of foam should I use for CNC?
EVA foam for cosplay and props (clean cuts, durable). Polystyrene for cheap volume work (cuts fast but produces dust). Polyurethane carving foam (Renshape) for prototype work needing surface detail. Match the foam to the project requirements.
How do I manage CNC foam dust?
Aggressive dust collection — shop vacuum at full power, oversized dust shoe with extended skirt, HEPA cyclone separator for workshop volume work. Without dust collection, foam dust coats the entire workshop with static-cling particles.
Can I paint CNC foam directly?
No, especially polystyrene. Direct paint dissolves the foam or produces uneven absorption. Apply foam-safe primer (Plasti Dip Spray Primer, FlexBond Foam Coat) first, then paint with acrylic paint over the primer.
What is the best foam for cosplay CNC?
EVA foam (10 mm) for armor pieces. EVA’s closed-cell structure produces clean CNC cuts and accepts paint after primer. Sources: AmazonBasics craft foam, TNT Cosplay foam, or restaurant supply stores. $15–25 per square foot for hobby quality.
Can a Genmitsu 3018 carve foam?
Yes, foam is the best material for the Genmitsu 3018. The lightweight machine handles the soft material easily. Limited to small parts due to the 300×180 mm work area, but otherwise works well for craft-scale foam projects.